LOADING...

Category "Blog"

7 Simple Steps How To Transform Your Existing Garage Door to a Full View Glass Door for Under $1000

November 9, 2023

This blog post is sponsored by Loctite

I’ve been wanting to replace this old beat up dingy workshop garage door since we moved into our house almost a decade ago.

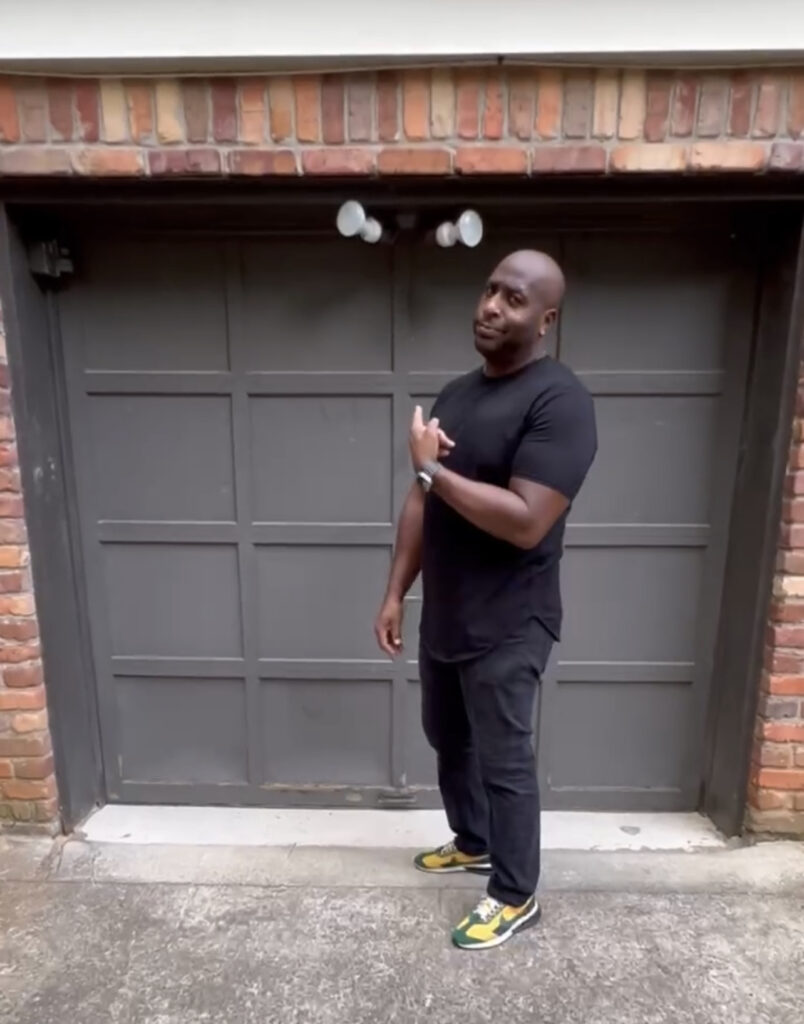
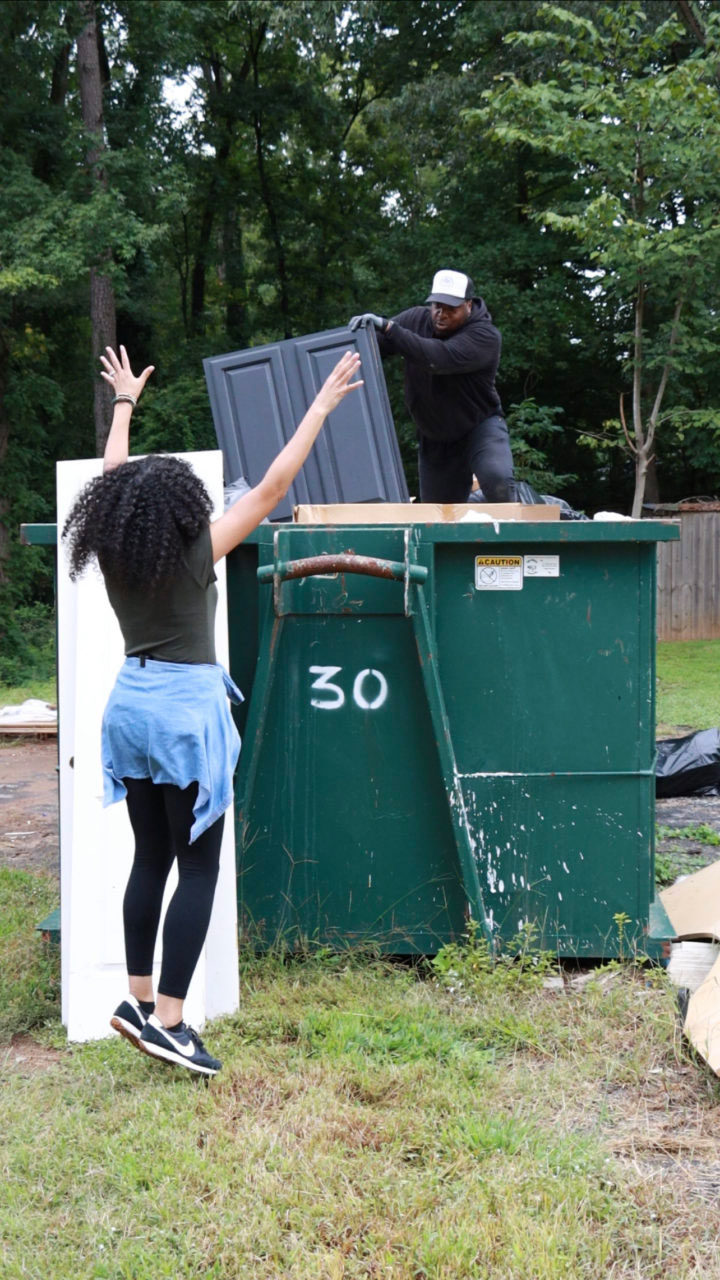
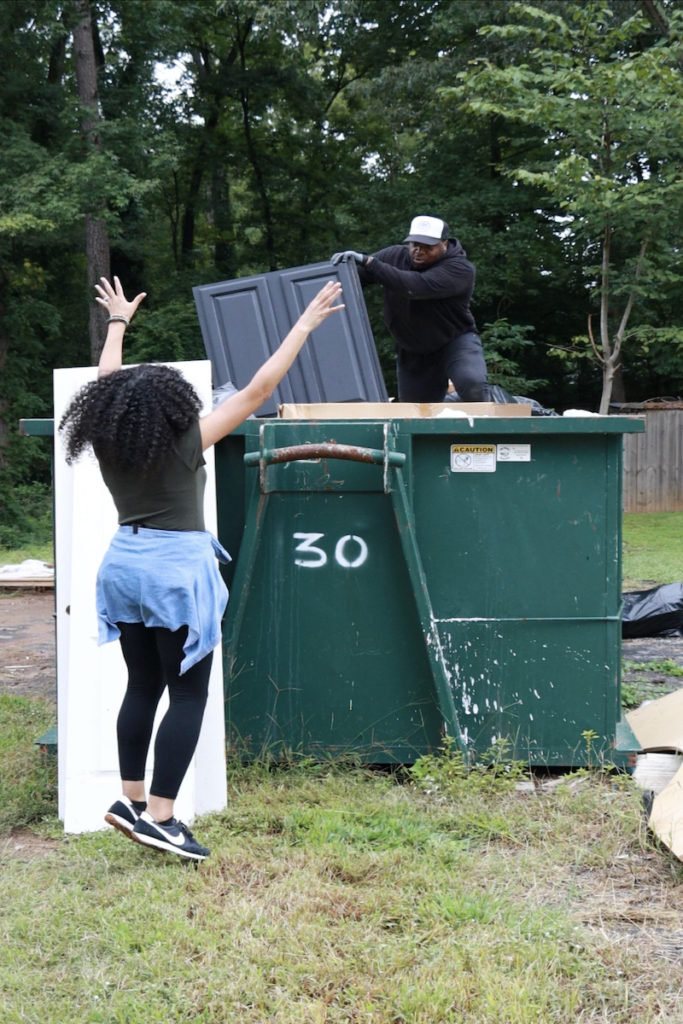
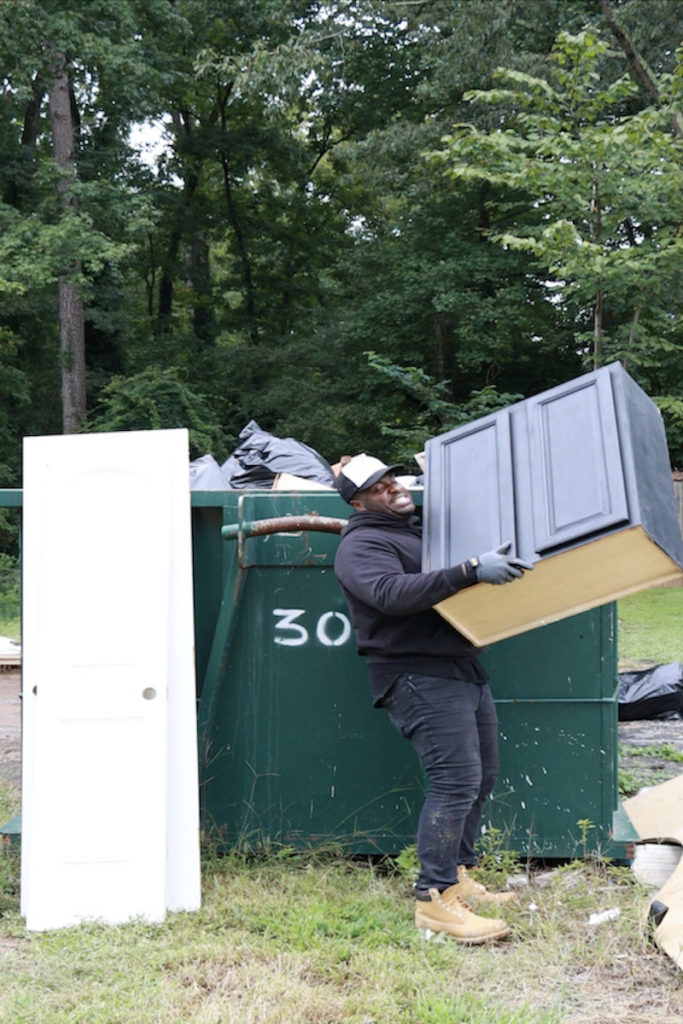
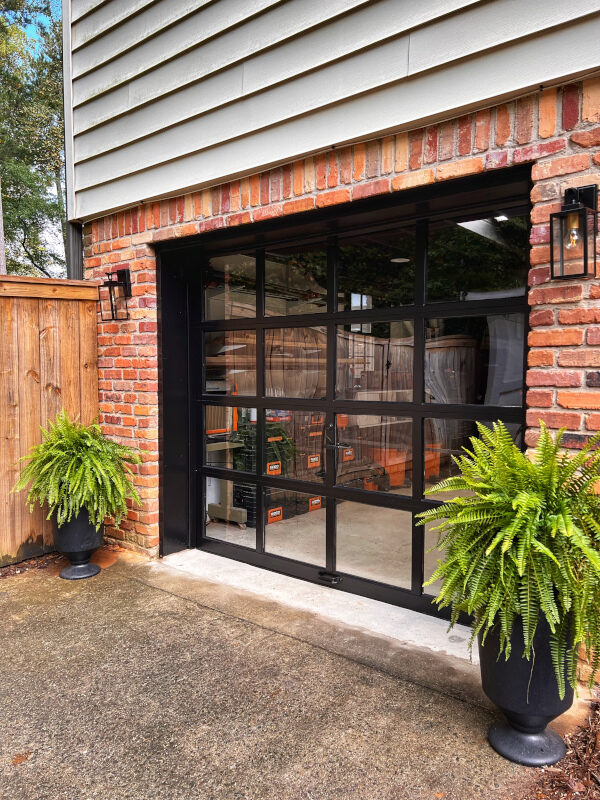
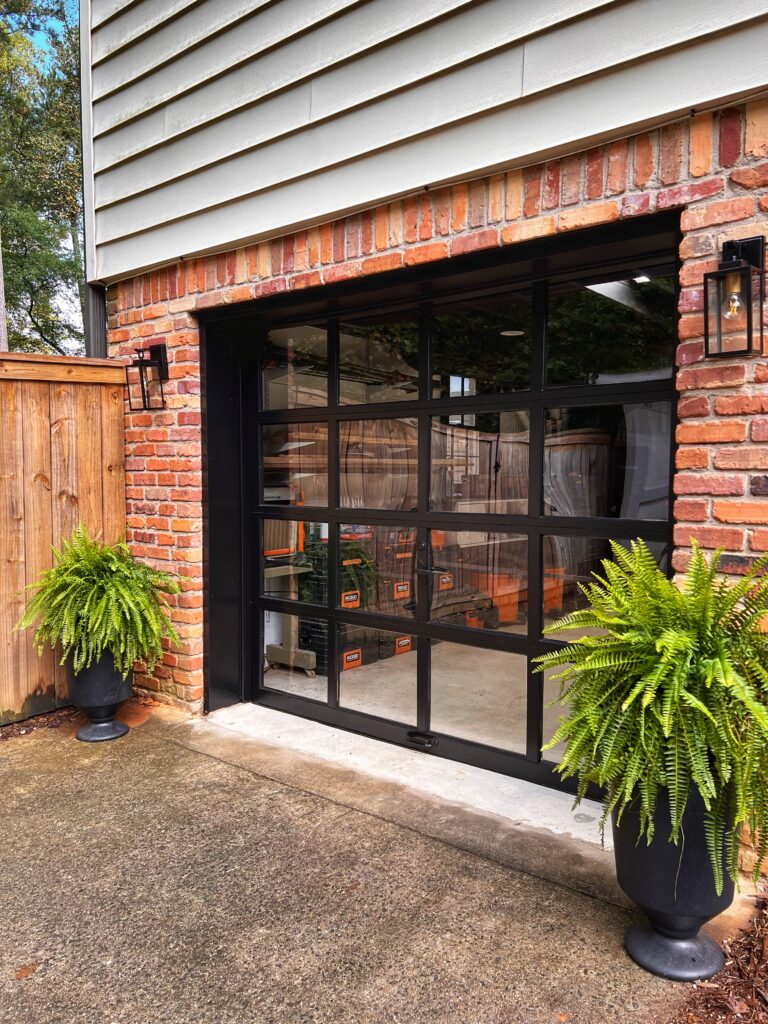
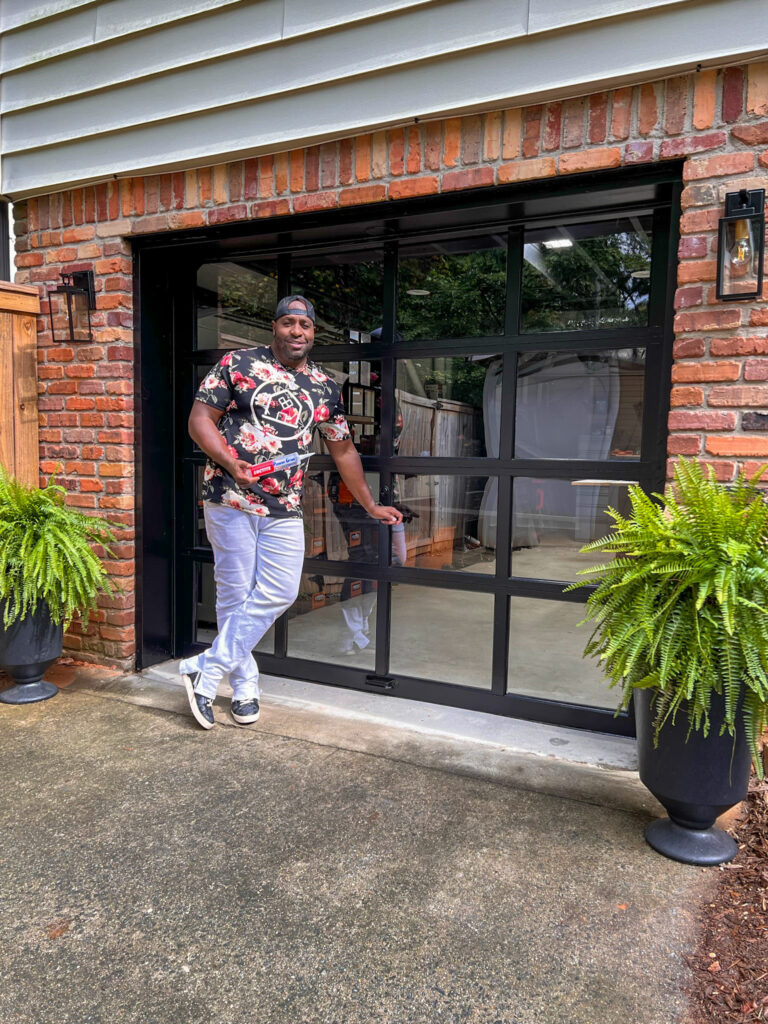
With the help of Loctite, I was able to transform this door into my dream full view garage door for a fraction of the price, saving the door from becoming trash in our local landfill.

The retail price of a full view garage door can get very expensive. I’m talking $4,000 to $8,000+++…just for the door! That’s not even including installation! So this was a win win for everyone! Keep reading to see how I was able to save thousands $$$$.

Before we get into the steps I took, let’s talk about what material I decided to use to replace my old door panels. Most would think I went with traditional glass, but I didn’t. I used plexiglass.

I decided to replace my panels with this specific plexiglass for two main reasons:

1. Strength and Security: Plexiglass is significantly more impact resistant than glass. With this door being my workshop door, I was concerned about debris hitting it. I also had security concerns. Glass can easily be broken into, but with plexiglass’s shatter resistant qualities, it felt like a better option to protect all of my workshop goodies.

2. Transparency: Plexiglass is said to have a higher transparency than glass which would allow more natural light into my workshop for better visibility and filming. Also, the plexiglass I chose has a 10 year non-yellowing warranty.

With that said…here are 7 simple steps to transform your existing garage door to a new full view door for under $1000.

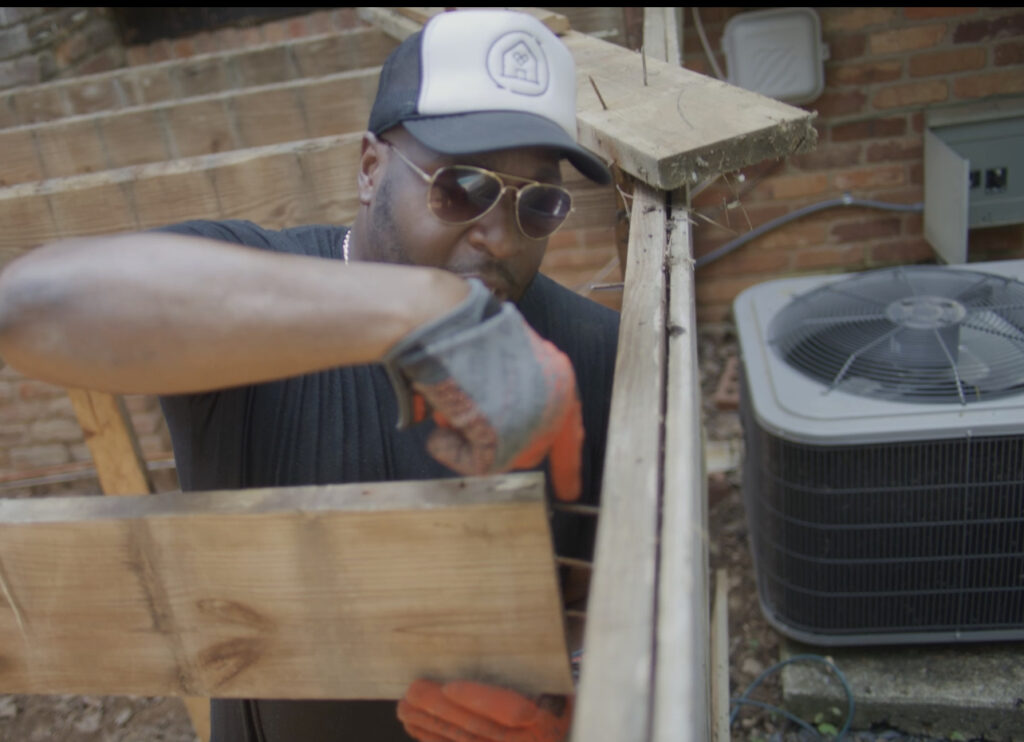
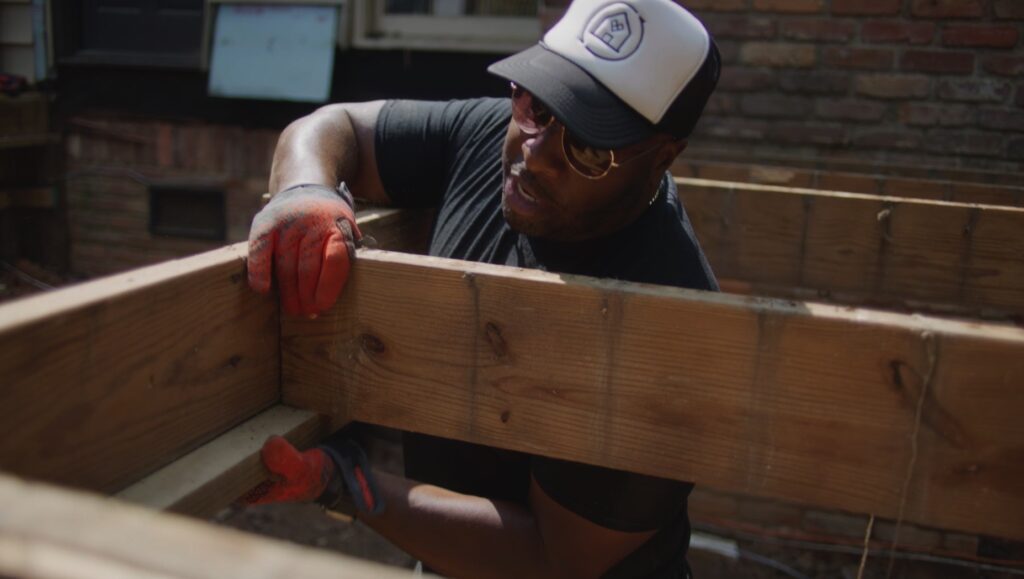
Step 1 Remove Existing Door Panels:

I started removing the old door panels by popping off the existing trim from the inside attached to the rails and styles. I left the exterior trim intact so that the new plexiglass panel had something to rest on.

The first row was really easy to remove because the trim was attached to the rails and styles in separate pieces only by nails.

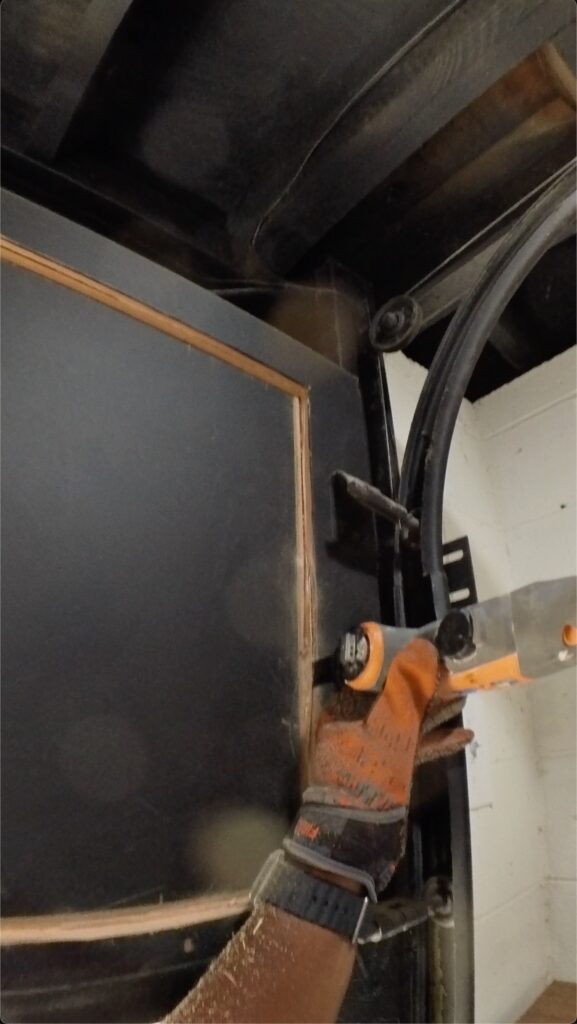
When I moved on to the next row of panels, I found that the trim was attached in one long piece through the mortise and tenon joinery of the door, so I reached for my Rigid osculating tool and got to work cutting each panel out.

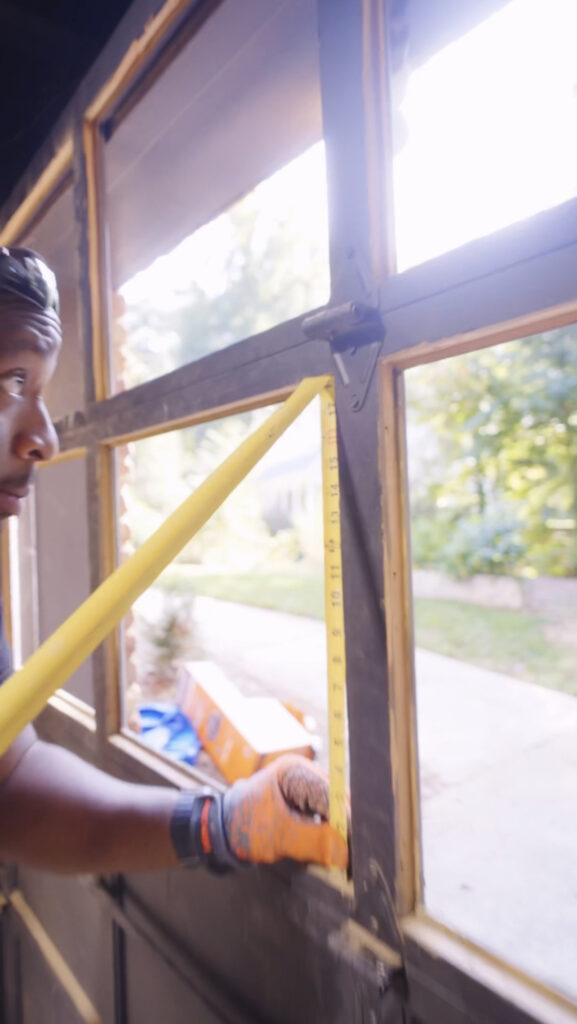
Step 2 Measure twice to cut once:

Once all of the panels were removed, I measured the interior opening of each square (Do not skip this step. Each square may be a different measurement.) to make sure my plexiglass pieces were cut to fit perfectly.

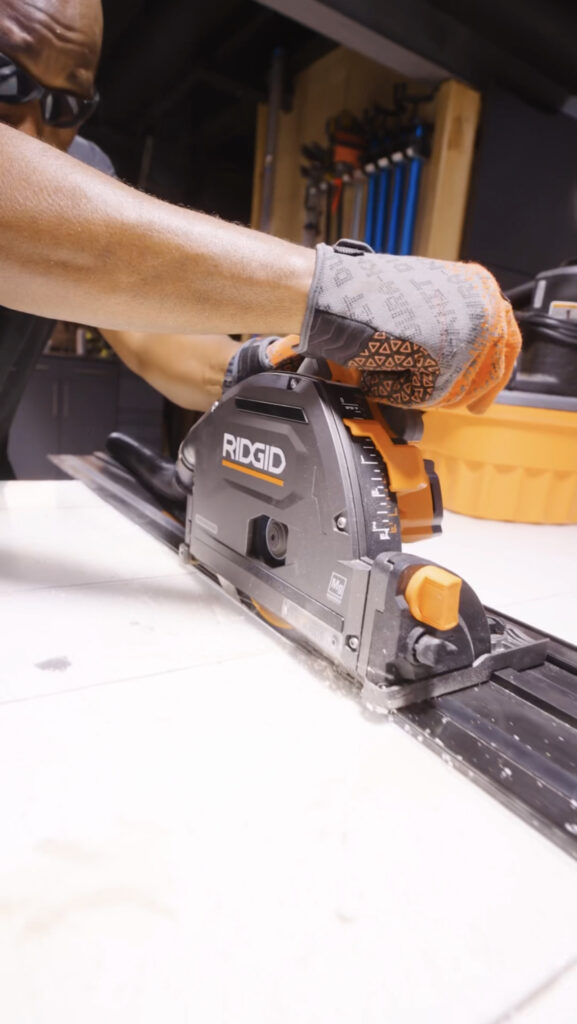
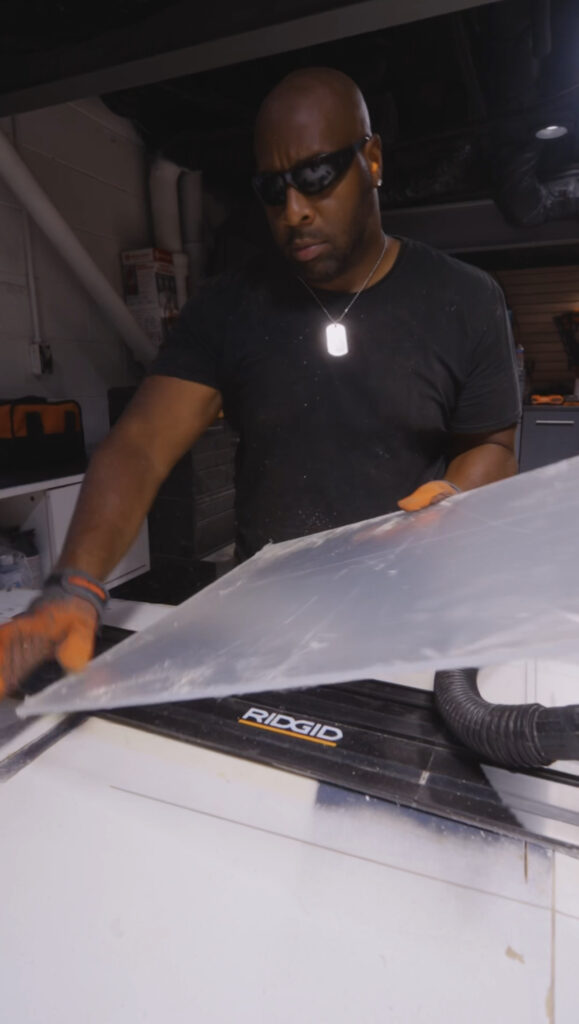
Step 3 Cut new door panels and new trim pieces to size: 

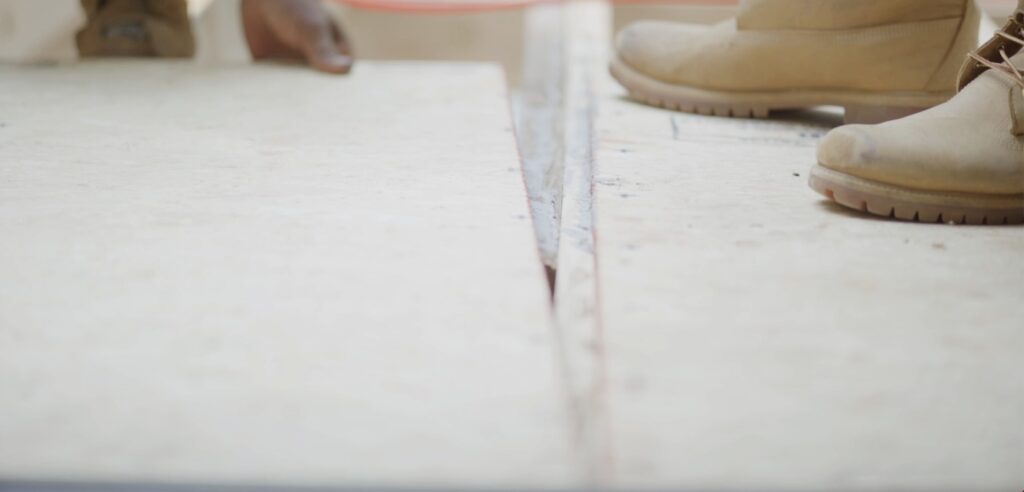
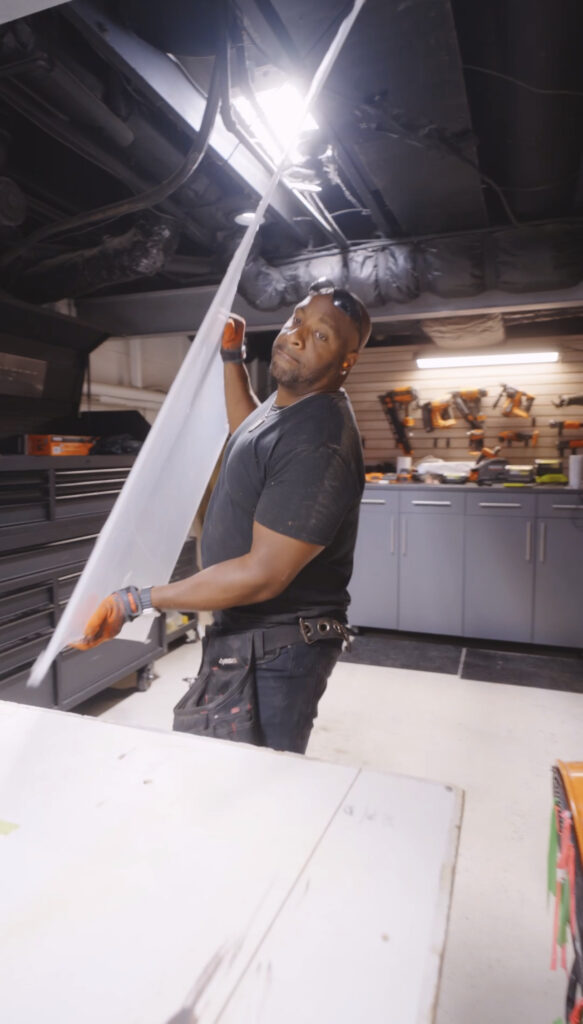
I used my Ridgid Track Saw to guarantee perfectly straight cuts for my plexiglass panels.

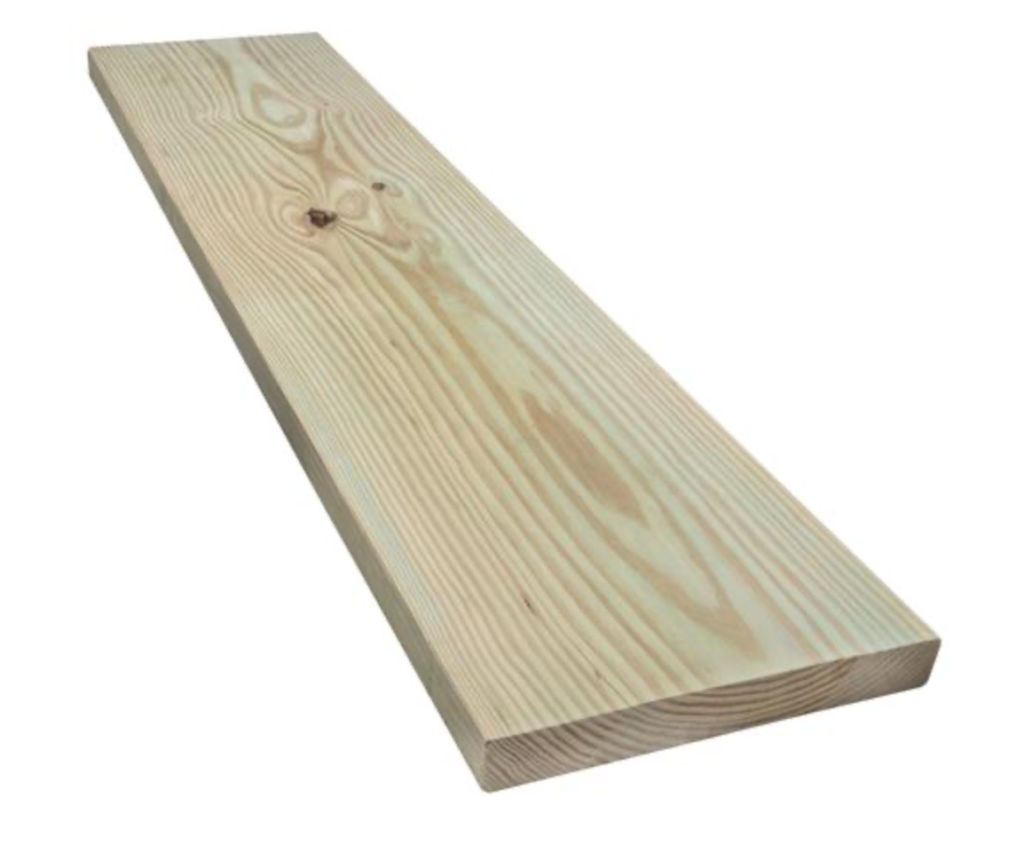
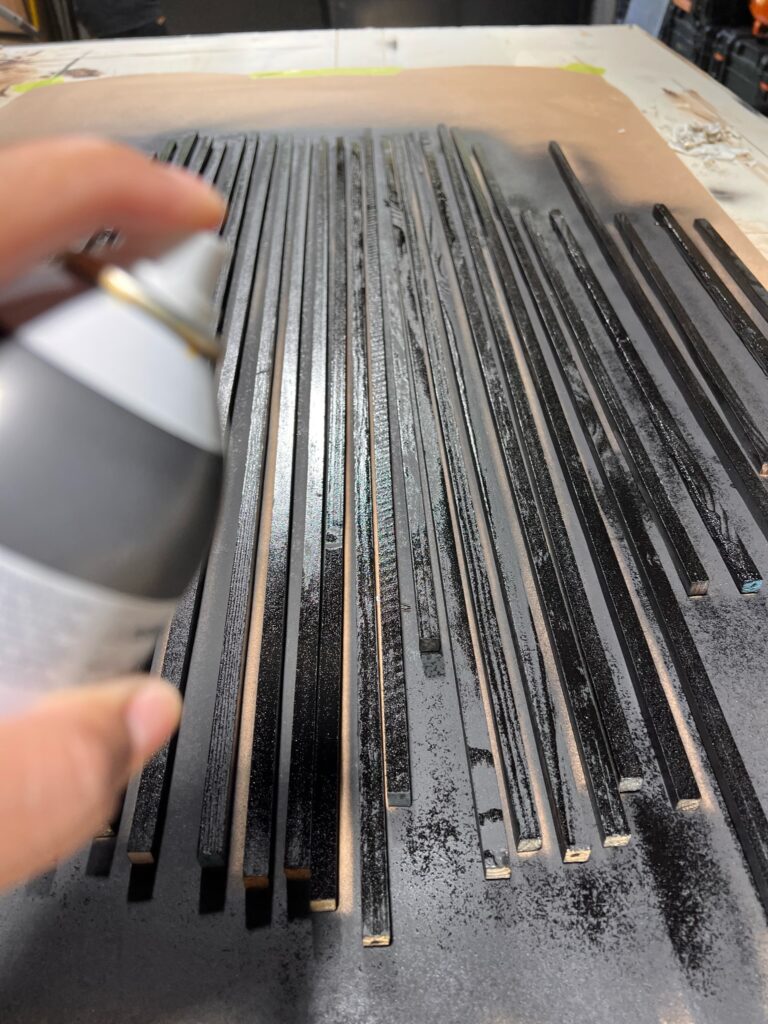
I grabbed 1/4 inch square dowels from my local hardware store to use as new trim for a more modern look and pre-painted them before install.

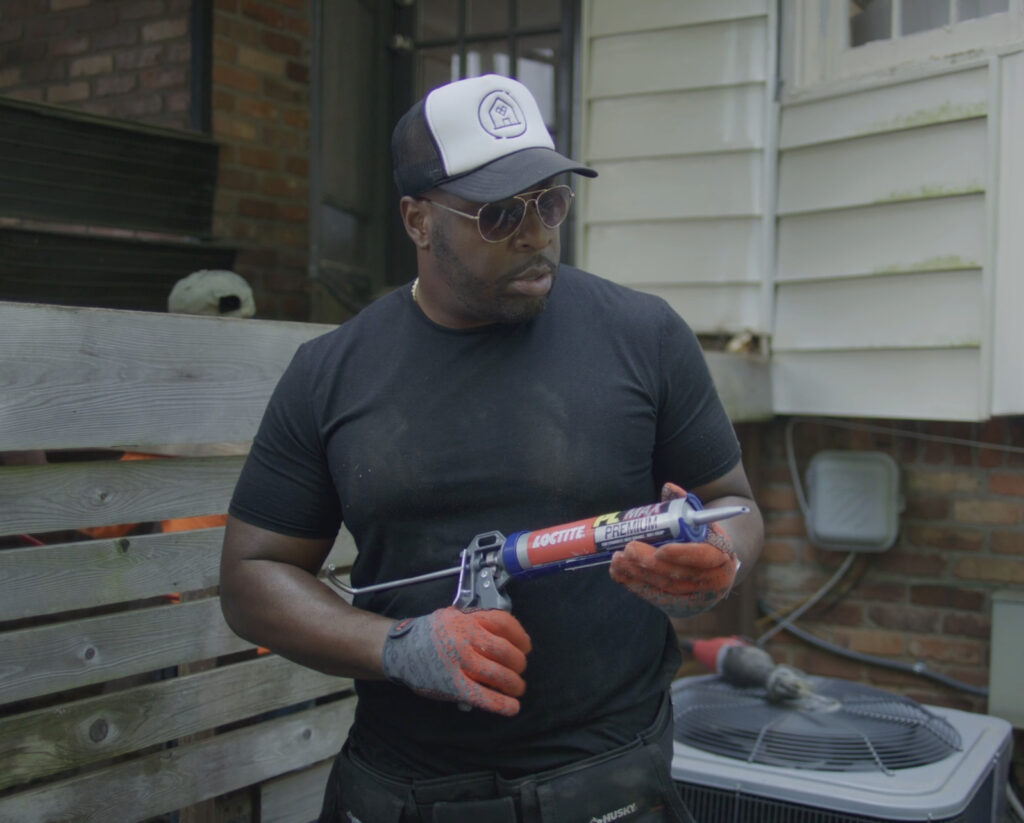
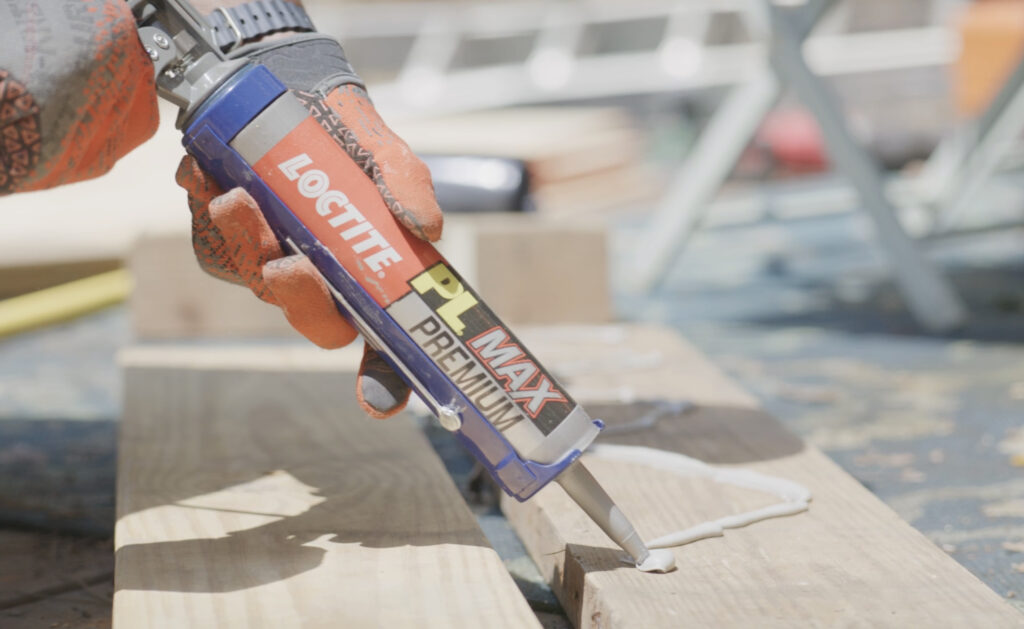
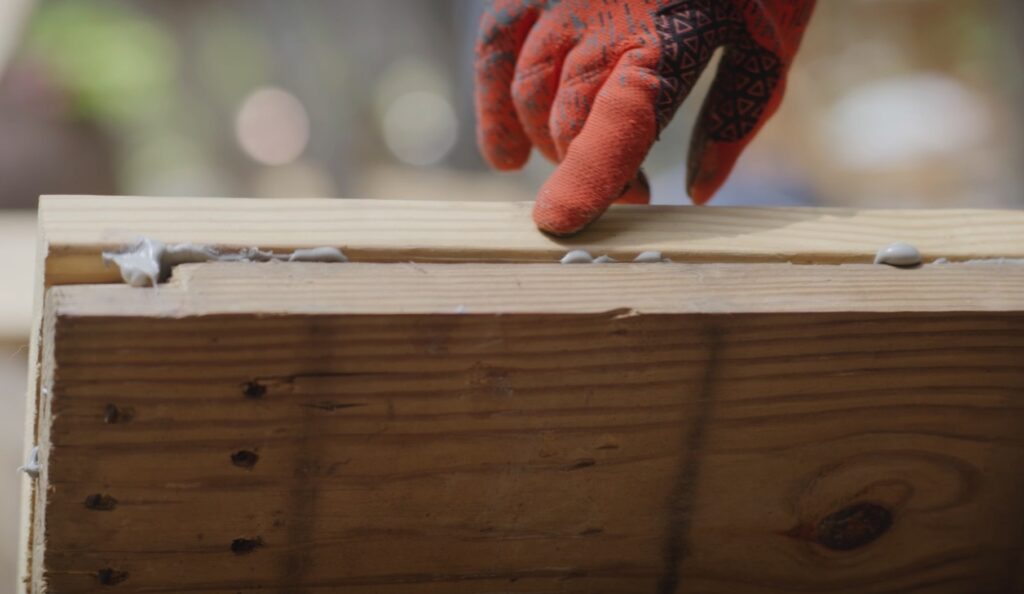
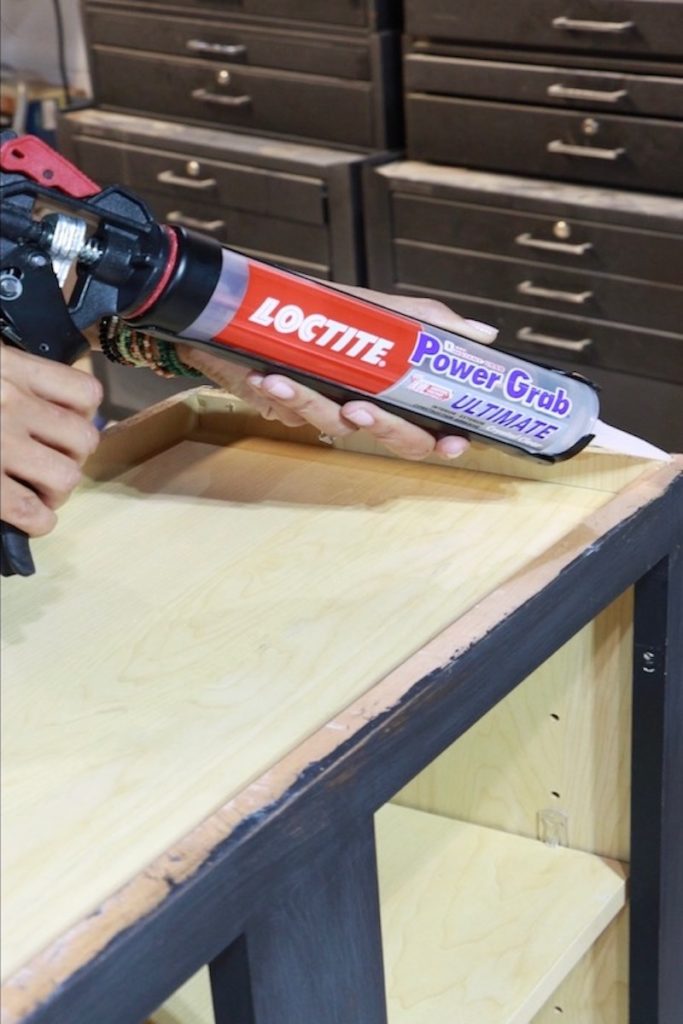
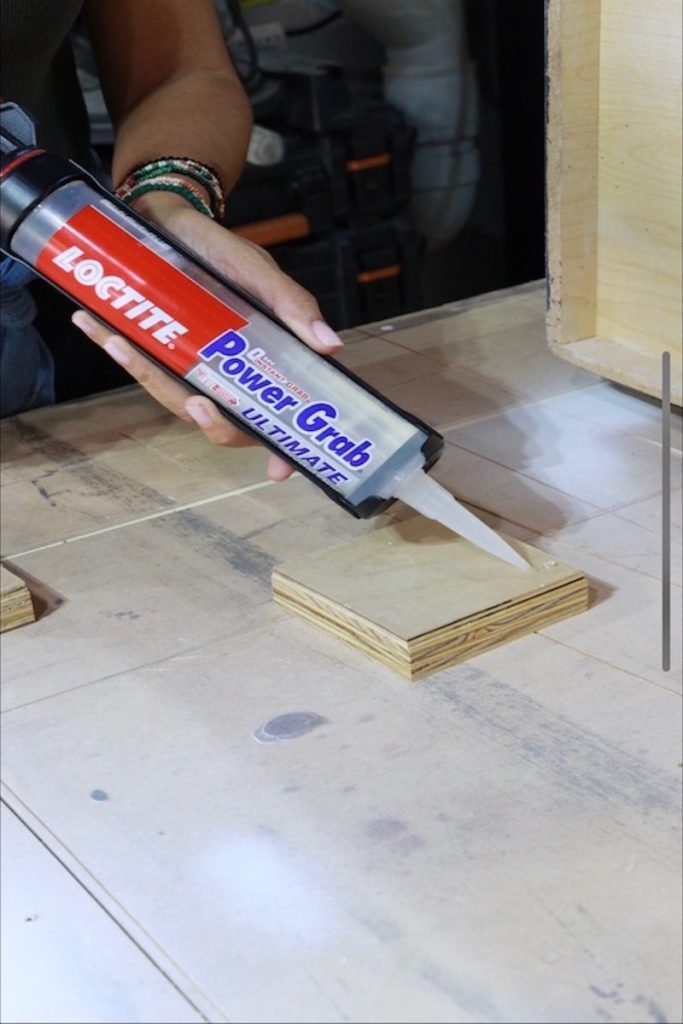
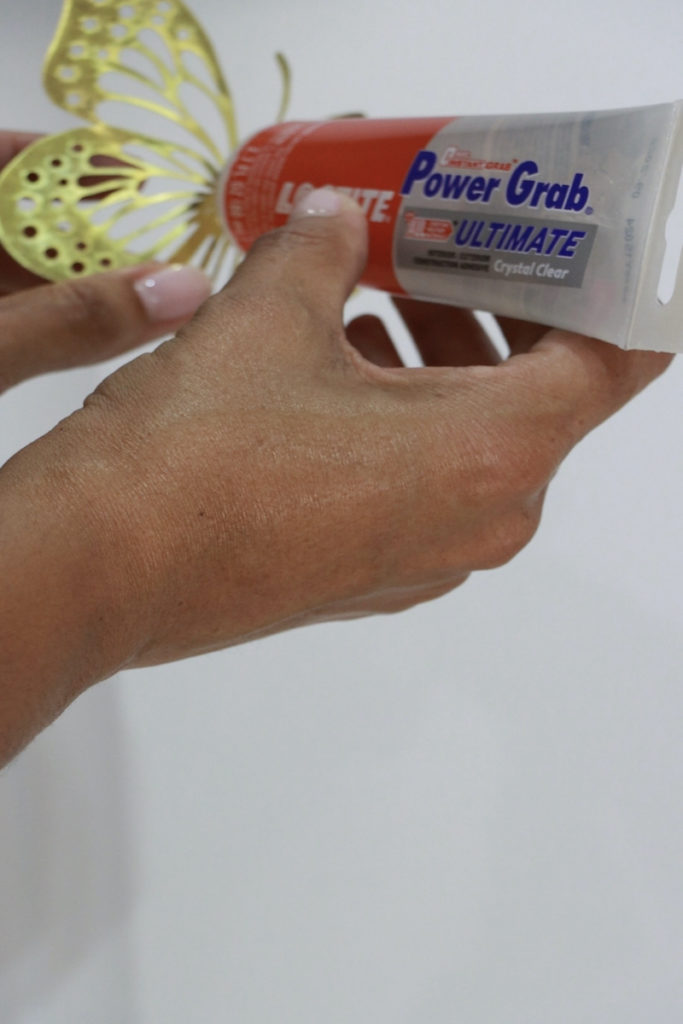
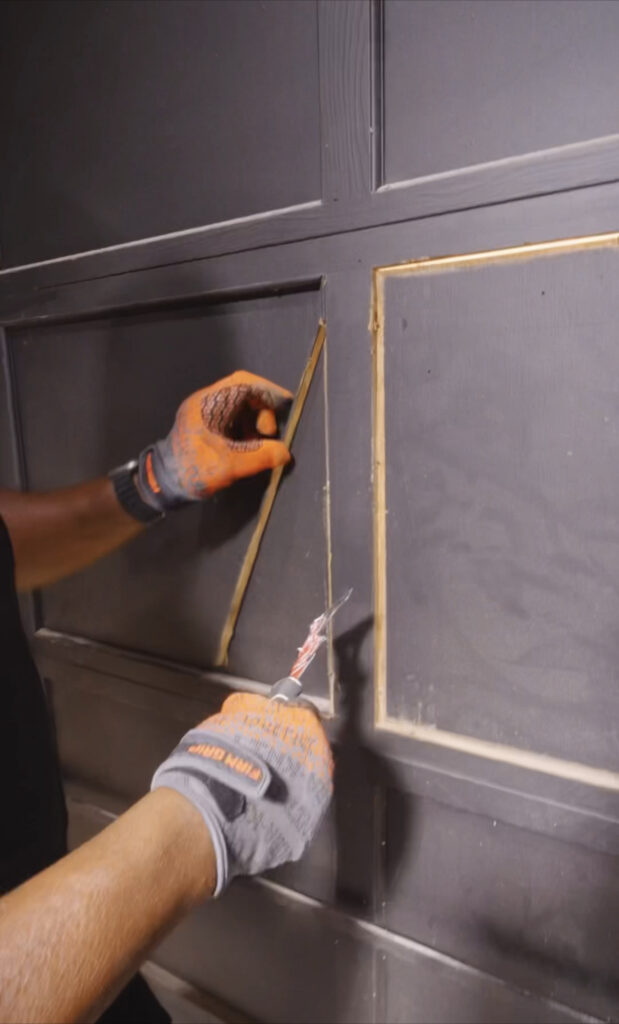
Step 4 Secure new panels to trim with Loctite:

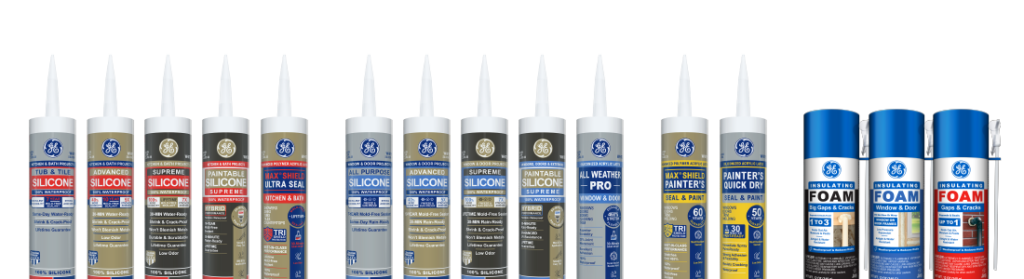
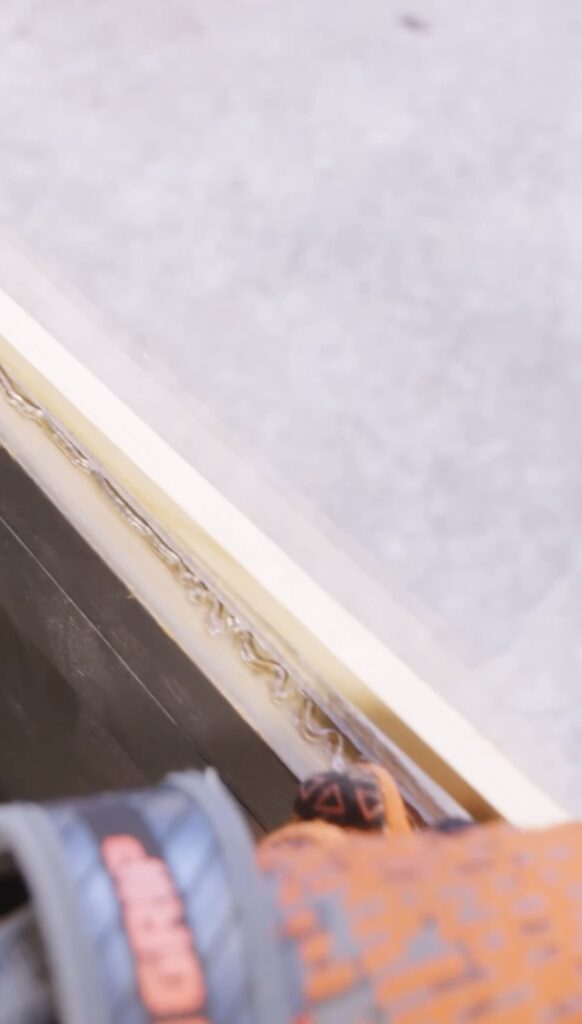
First I installed the plexiglass, and then secured it by adding a bead of Loctite Power Grab Ultimate Crystal Clear Construction Adhesive around the panel.

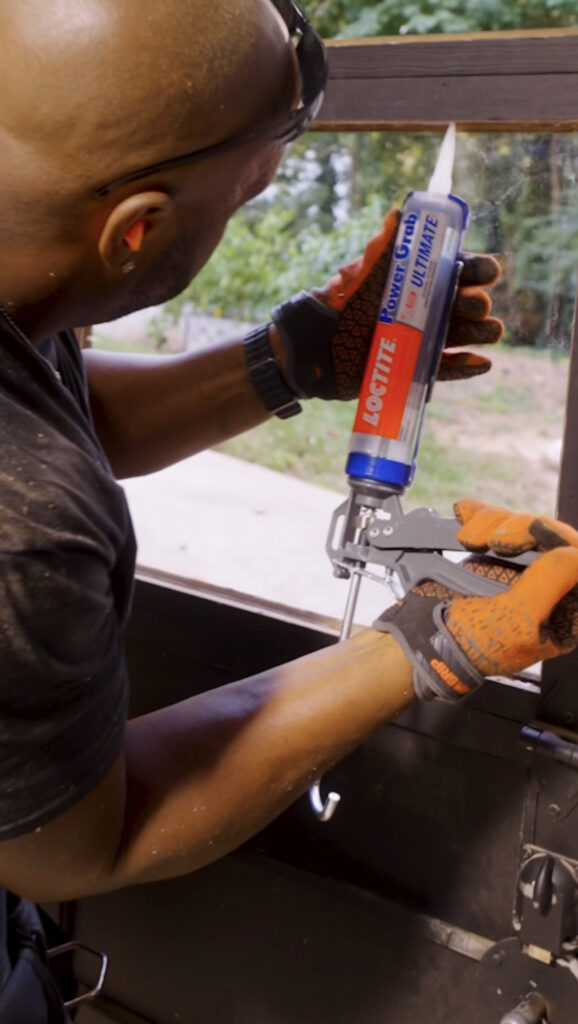
I made sure to not only hit the glass, but also the wood framing around the glass so that the wood dowel trim could bond strongly to both the wood and the plexiglass.

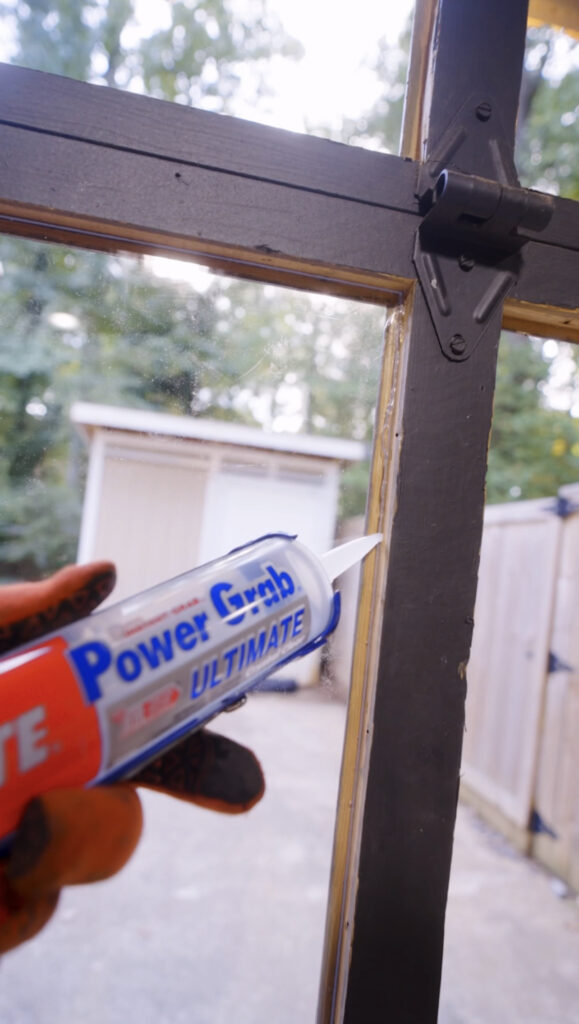
This is one of the main reasons why I knew to use Loctite’s Power Grab Ultimate Crystal Clear Construction Adhesive. It bonds to both nonporous (plexiglass) and porous (wood) materials and it dries crystal clear.

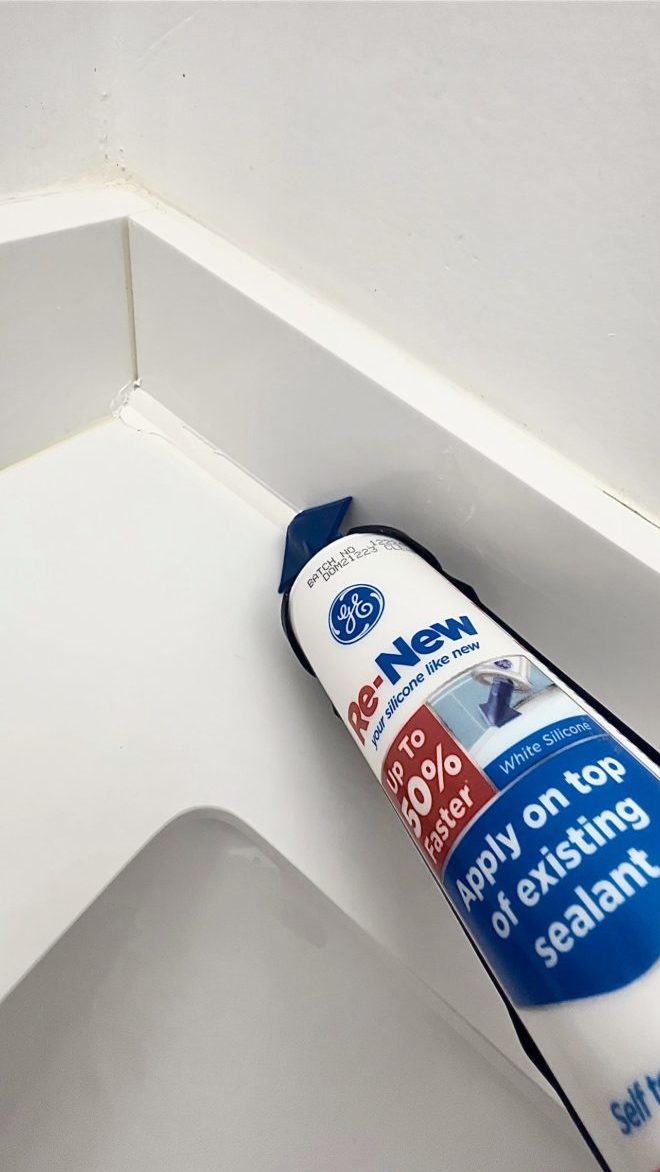
Step 5 Weatherproofing:

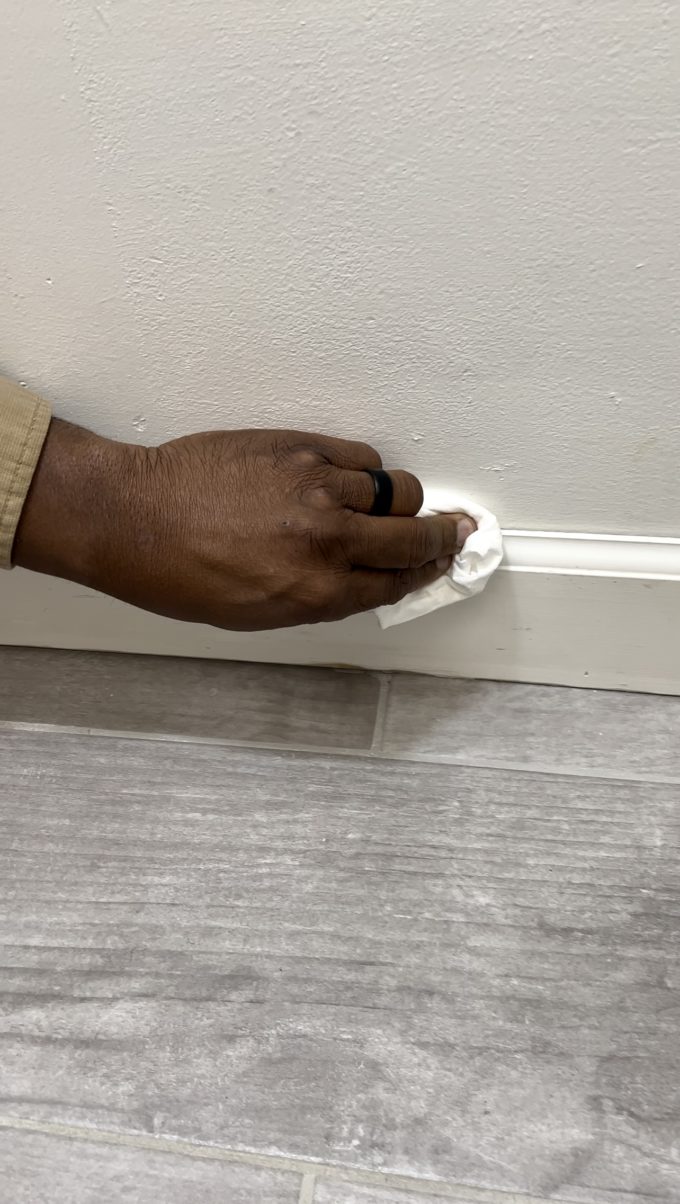
When installing new window panels, it’s a good idea to seal between the trim and the glass for weatherproofing. It’s no different when it comes to installing a plexiglass/glass garage door panel.

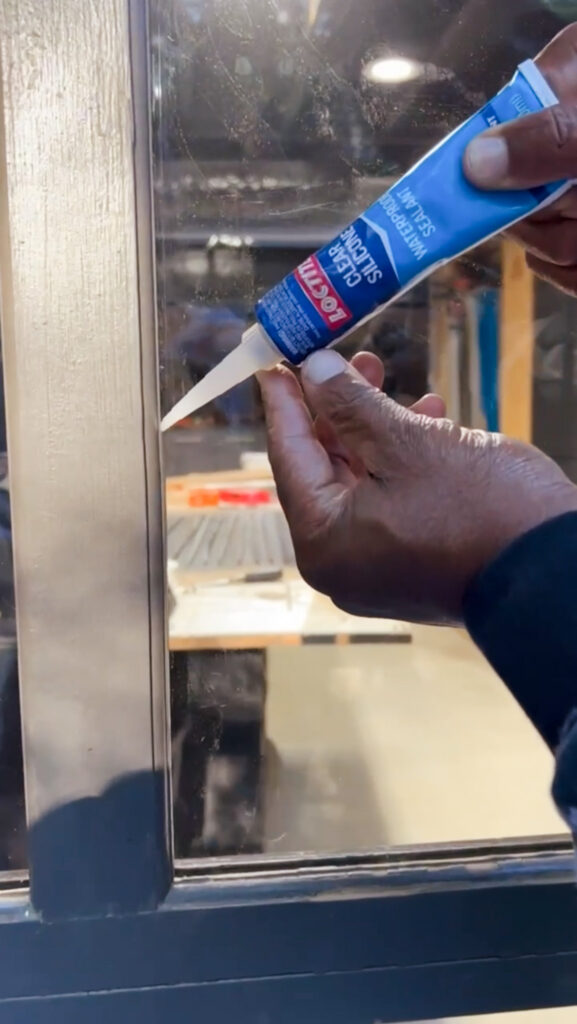
This keeps water from seeping through creating wood rot and potential premature fading of the panel due to condensation buildup. Lastly, it acts as an additional adhesive to keep the panel locked in place.

Step 6 Prep for Paint:

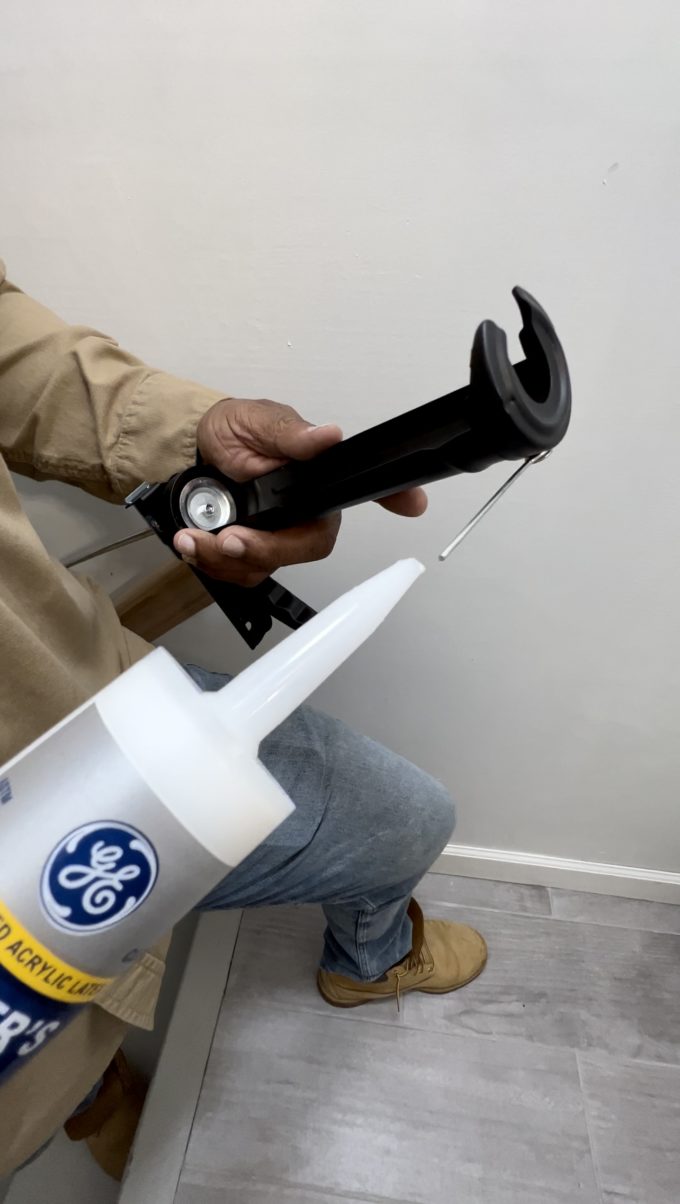
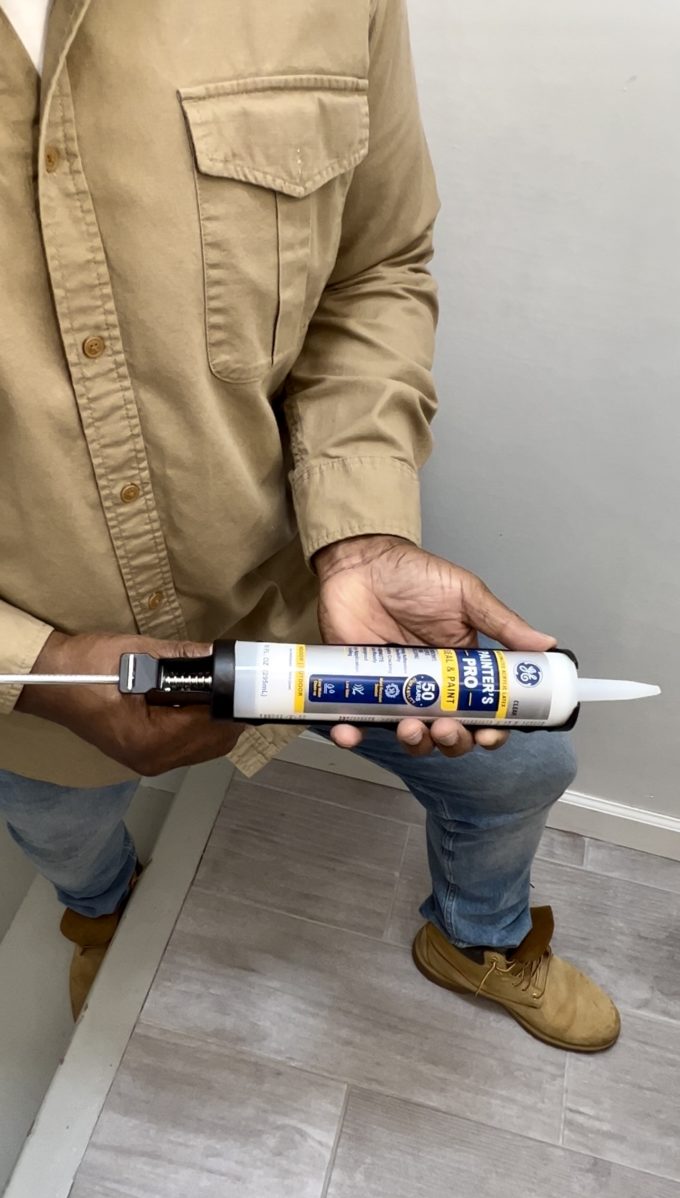
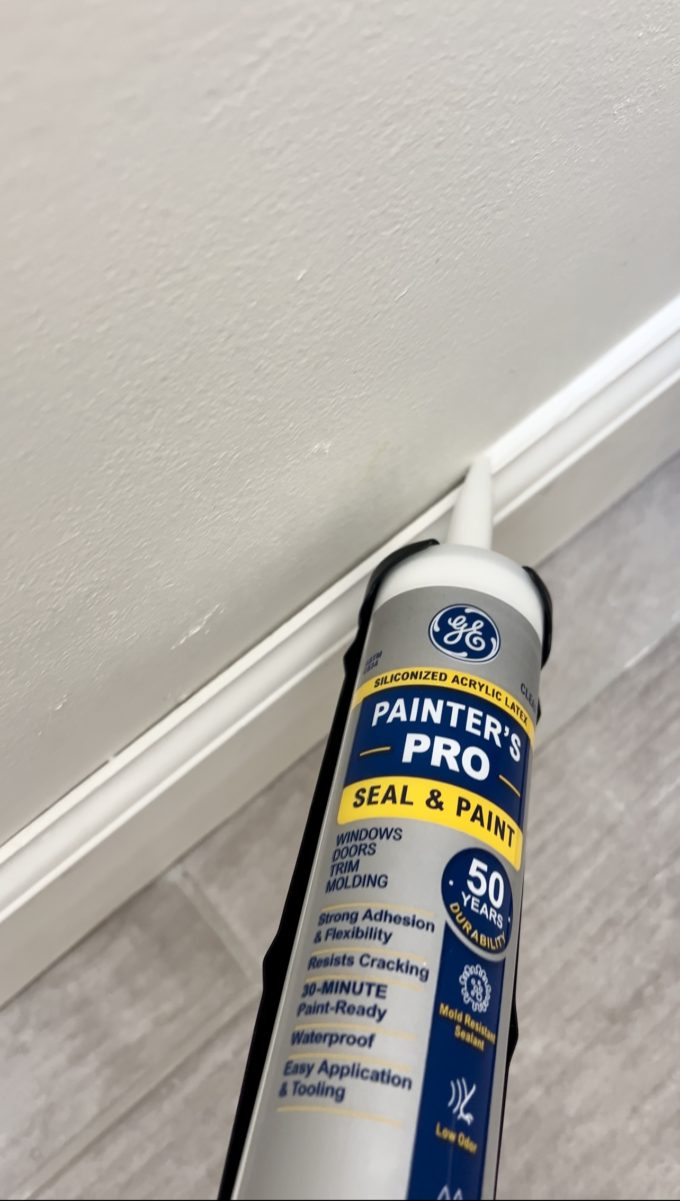
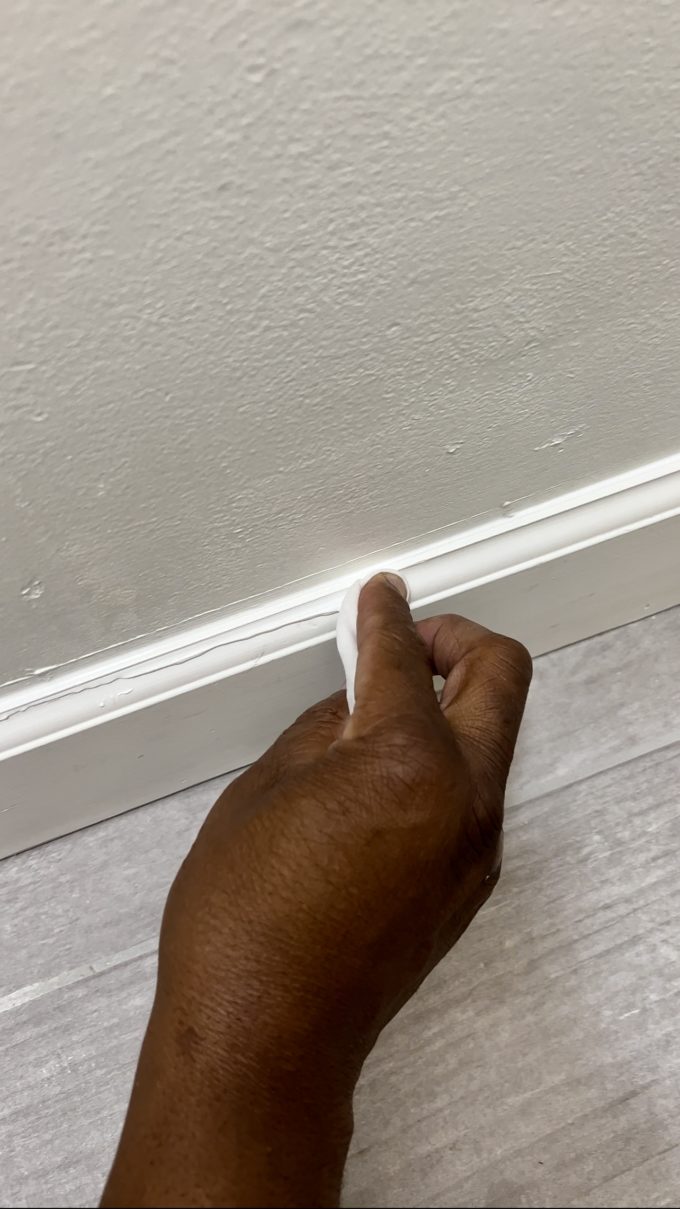
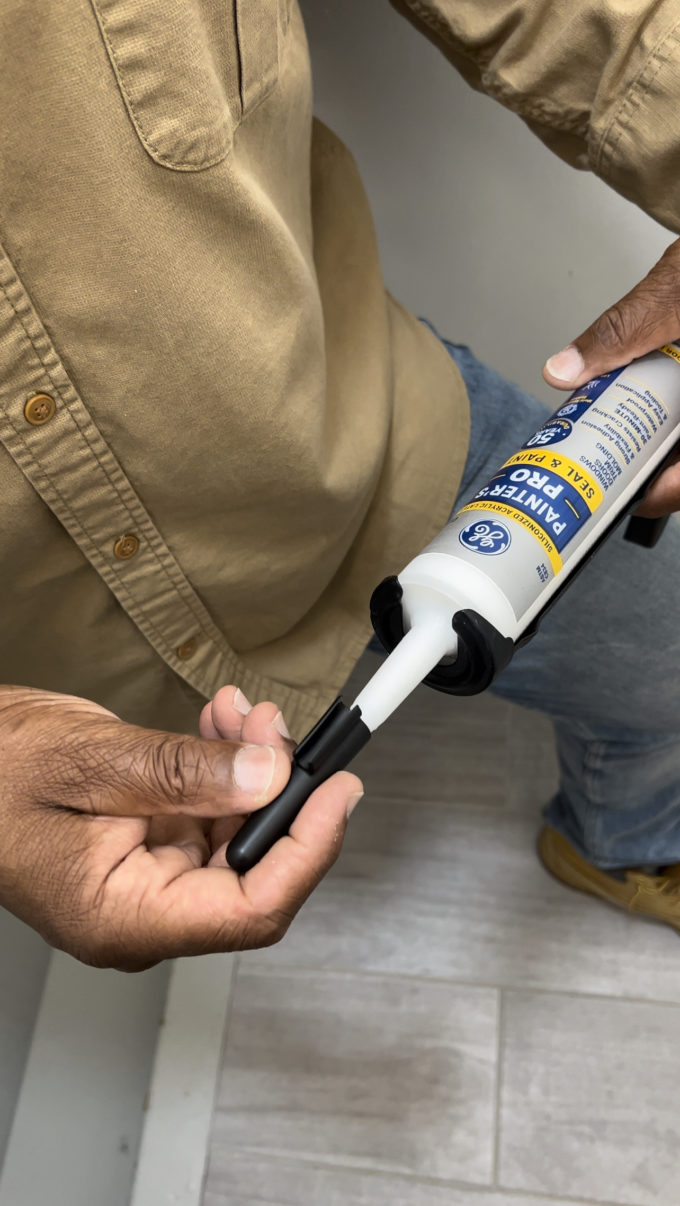
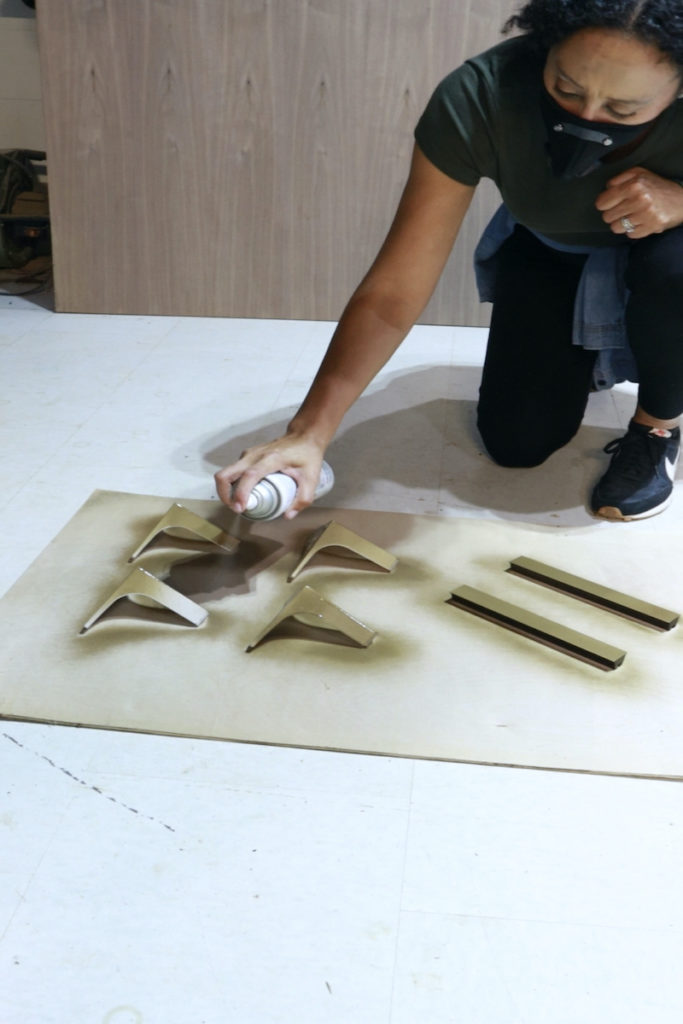
Before painting, I caulked around the newly installed interior trim, used wood filler to fill in all gaps and cracks, and sanded down any imperfections. Because I planned on spraying the door to eliminate possible brush strokes, I then taped off each of my plexiglass panels (Yep…this took a while)…

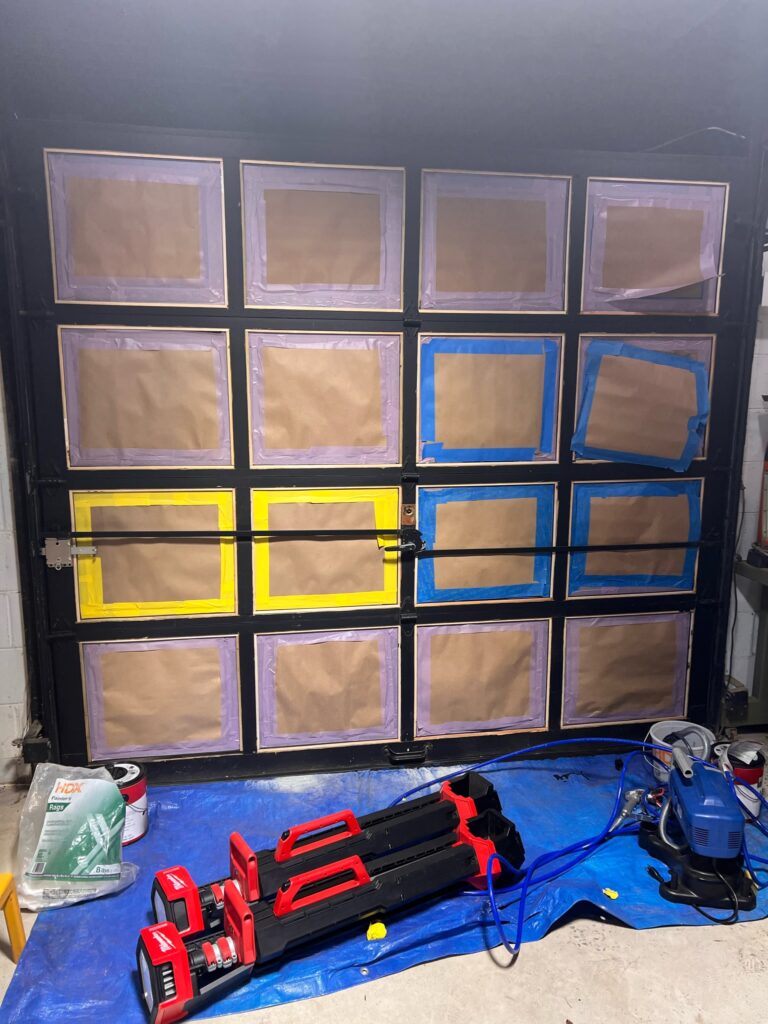
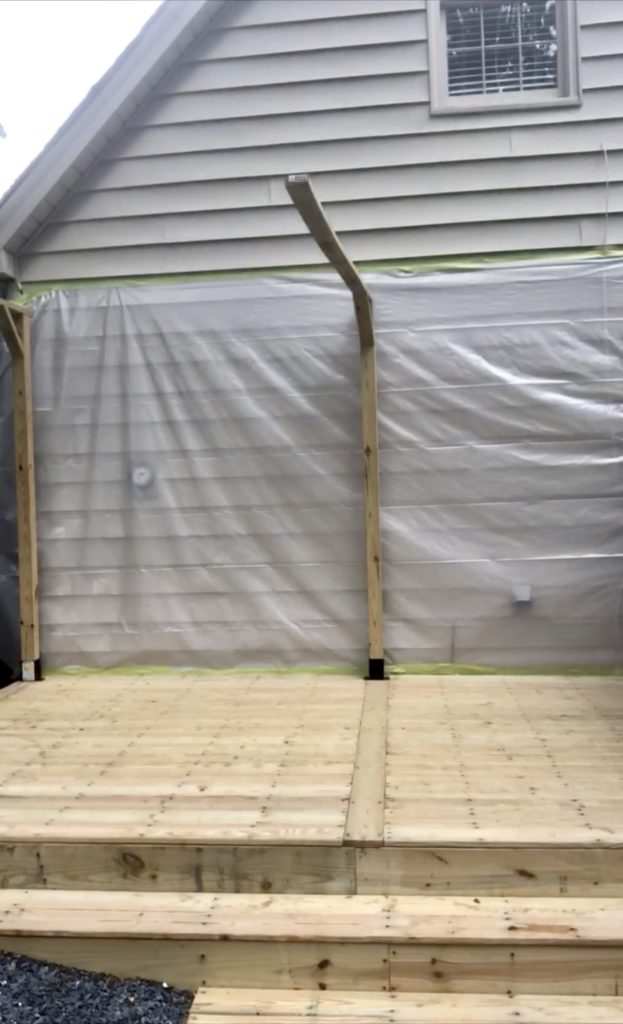
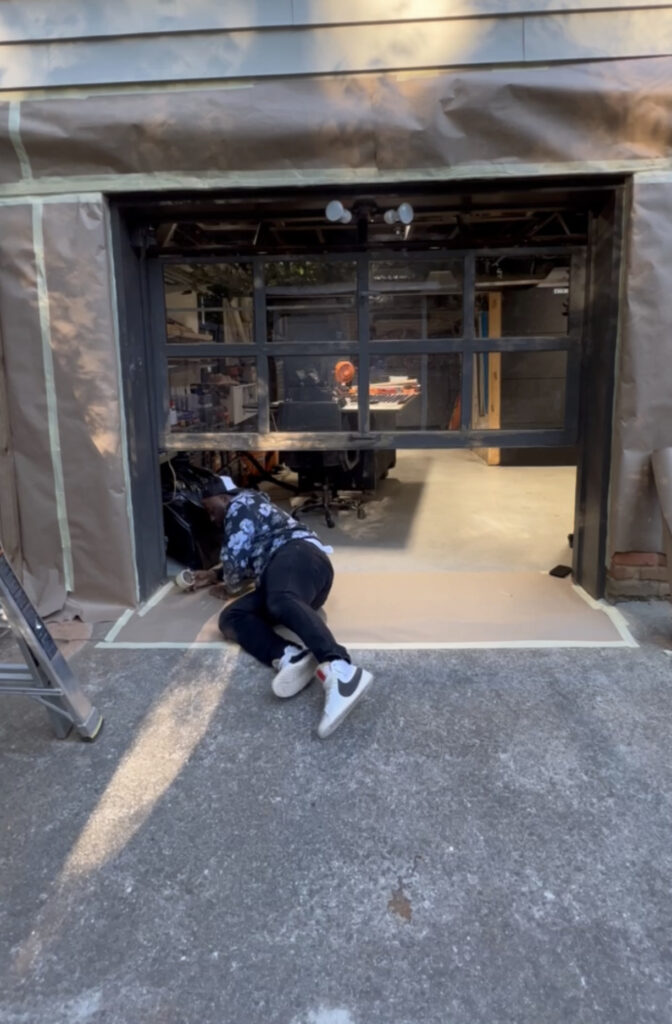
and I also prepped the area around the door to avoid any paint overspray.
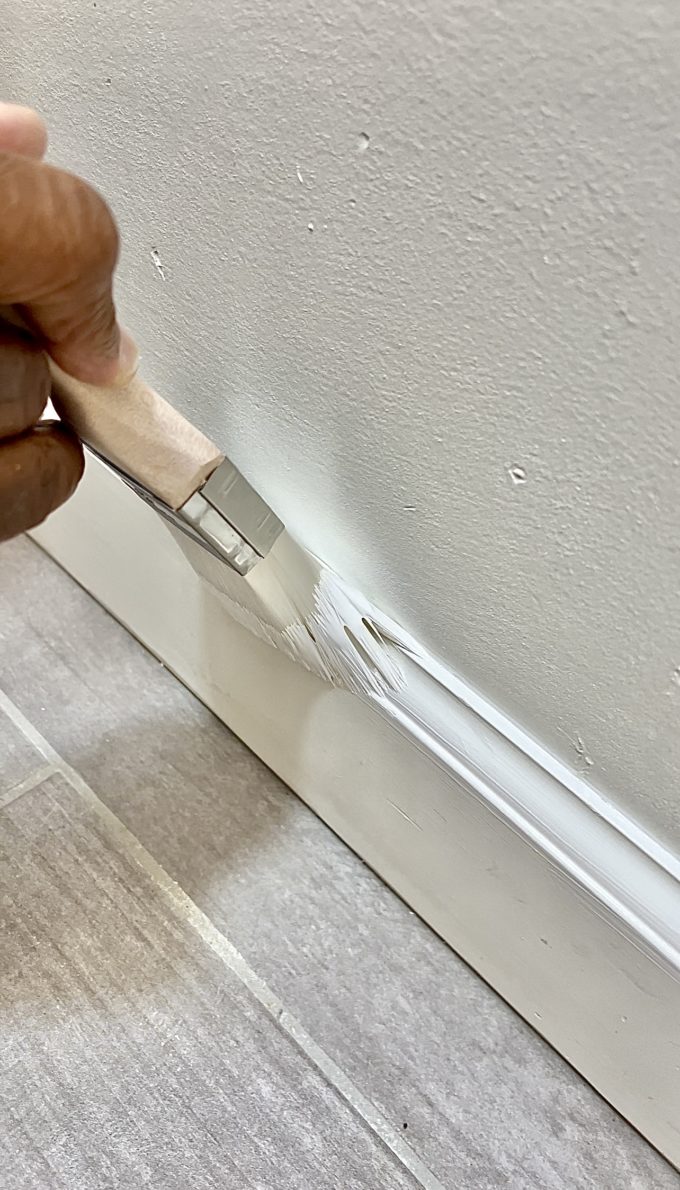
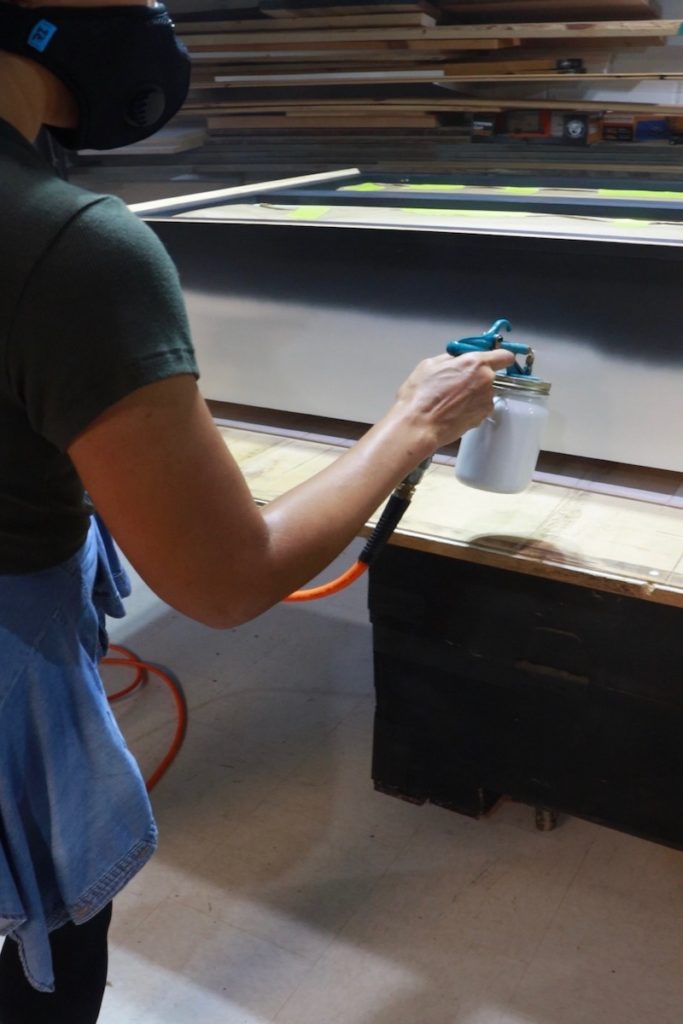
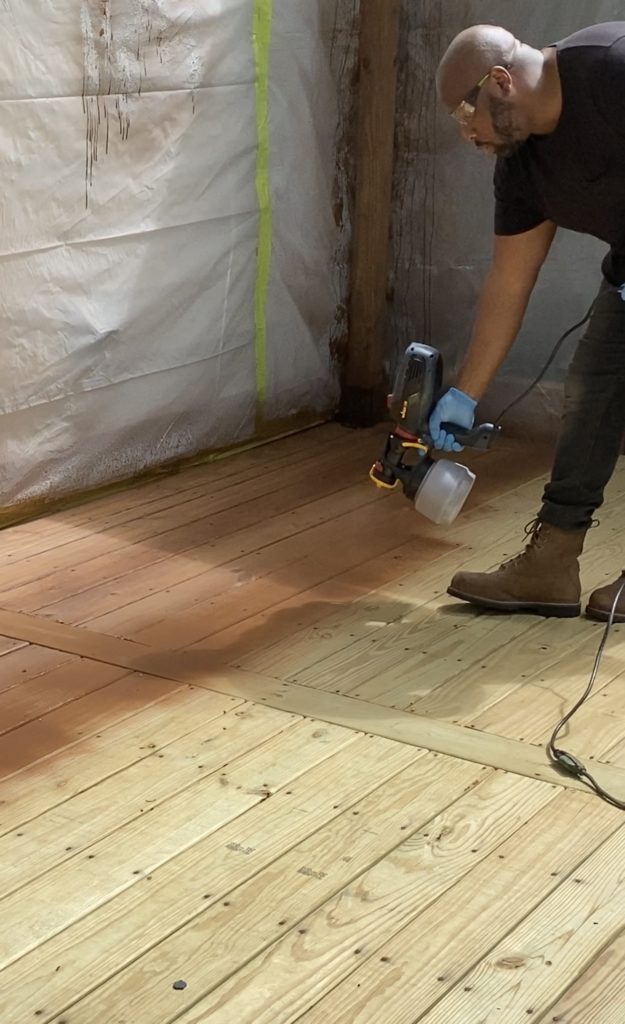
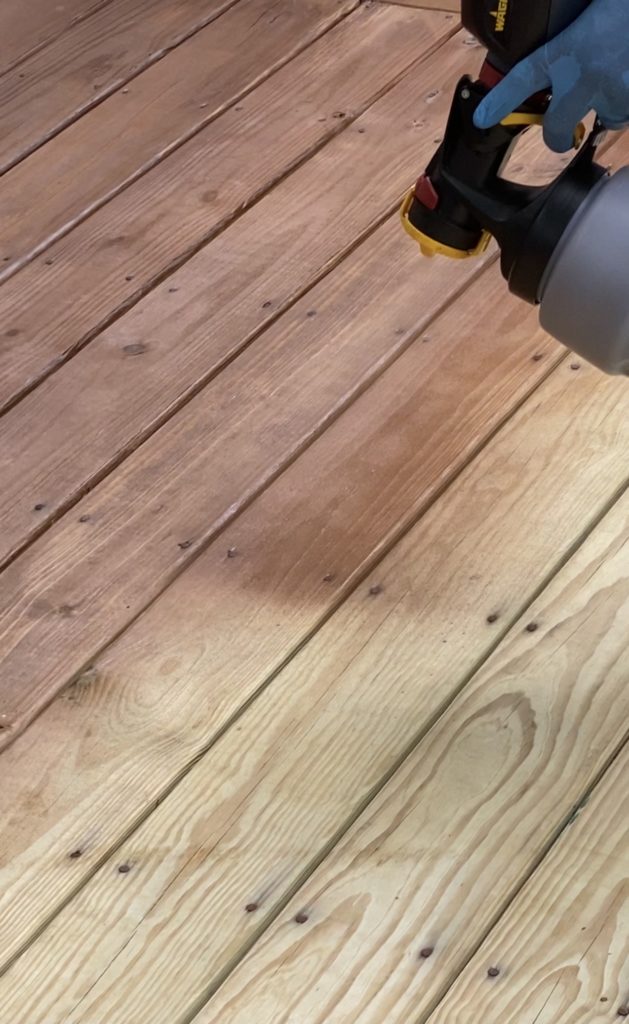
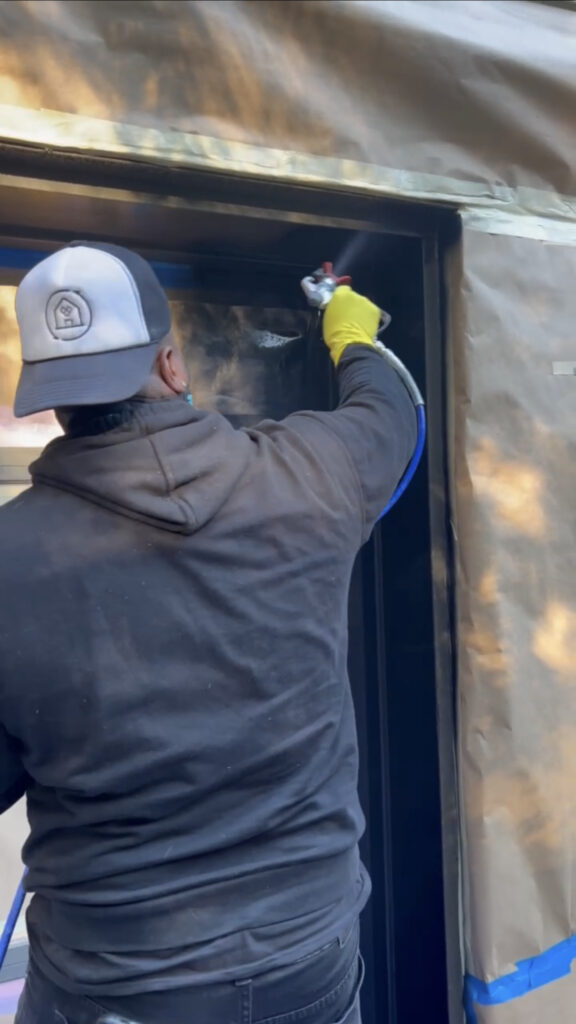
Step 7 Paint Door:

I went with a semi-gloss exterior acrylic paint for durability. And used my Graco Magnum X5 airless paint sprayer to get the job done right.

And just like that for under $1000 I had leveled up the entire look of my workshop.

Now onto our next project…

How To Build A Sunroom Home Addition on an Existing Deck

August 2, 2023

This post is sponsored by Loctite

As the owners of a design and build firm one place that we see more than the average person is the landfill. It’s always a sobering moment when you see how much waste we generate as humans. 

When we realized that almost 30% of worldwide waste comes from construction debris, we started making a conscious effort to minimize the amount of waste we create within our projects. 

One of our latest home additions served as the perfect opportunity to be intentional and give old building materials a second chance on life. 

With the help of Loctite’s strongest construction adhesive, PL Premium Max, we were able to do just that!

The home addition was designed to be built in the same location as an existing deck.

Given that the house was built in 1970, the foundation and floor joist system of this deck was 53 years old!

No shade to the contractors of the past because houses built in those days were built to last, but let’s be honest, building codes have changed a lot since then. Let’s just say this structure was not all the way up to code. 

Traditionally we would have approached this project with a strategy of completely demolishing the deck and building a brand new structure from the foundation up. 

However, this time we thought what if we could use what’s already there and give the existing wood a second chance at life. 

Upon inspection of the foundation and floor joists, we saw that all posts were structurally good and set in concrete, and all floor joists were in good condition and free of rot.

What we did notice was that the floor joists were separated from the band joists (boards that run around the perimeter).

Some were only toe nailed… 

and others were only secured by a bottom plate. 

Additionally, all band joists were only single wood members. In building methods today, band joists are double members and floor joists are joined to band joists using joist hangers and structural screws.

This is where Loctite’s PL Premium Max comes in! 

We devised a strategy that allowed us to reinforce the band joists and floor joists with new wood members and incorporate joist hangers for the newly reinforced joists to sit upon. That way we’re bringing this structure up to code and in fact two times stronger than it was before. 

We did this by using a technique called sistering. This is the action of joining old boards with new boards to increase the strength of the old wood members making a floor joist system stronger. 

It’s industry best practice to not just fasten wood members together with nails but to add a construction adhesive between the two boards. Doing this ensures the boards don’t separate from each other over time, and that they expand and contract together. 

Loctite’s PL Premium Max is perfect for this application for many reasons. PL Premium Max bonds to multiple materials like laminates, drywall, concrete, brick, masonry, stone, marble, fiberglass, stainless steel, metal and wood. It can be used in both interior and exterior applications and you have roughly 20 minutes to reposition your project to make sure you get the right fit. 

This adhesive is awesome because it bonds in all weather. It’s waterproof allowing you to apply it directly to wet and frozen surfaces and in temperatures as low as 10 degrees and up to 120 degrees. 

So we added a generous amount of adhesive between the joist members as advised, and also added a bead on the joist hangers to ensure they always stay in position. 

After reinforcing the floor joist, we locked everything together by applying PL Premium Max to the top of the floor joist before laying down the subfloor. 

Doing this ensures the subfloor stays locked in place as well as helps prevent spongy and squeaky floors in the future. 

Deciding to go this route created two major benefits: 

Cost savings: By not demolish the entire structure, we saved on landfill fees and eliminated the cost and time of buying and setting new posts for a new foundation. This meant time efficiency increased and our labor and material cost was reduced. 

Reduced waste: As stated earlier, we could have just tore the old structure down. Instead we choose to give the old foundation and floor joist a second chance at life.

Did you know that it takes anywhere from 50 – 100 years for wood to decompose?

It feels good to know that we did our part to help the environment!

And just like we have a home addition framed, and we’re ready to move into next phases of mechanical roughing, installing windows, roofing and adding the finishes.

Lucky for us…Loctite has products that can help us do the job right in each phase to come! 

Image 6-26-23 at 11.14 AM.jpeg

Make sure to check out our Instagram tutorial on how we brought this project to life!

Take a look at our other Loctite projects on the blog here.


On to our next project….


Let’s Talk Caulk

December 13, 2022

Let’s Talk…Caulk! 

Chris and I had the pleasure of teaming up with GE Sealants to tackle some of the most common and not-so-common caulk/sealant questions out there.

This post is sponsored by GE Sealants [AD]

Caulk, which is a form of a sealant, is used to seal gaps and fill in cracks to help form a strong bond between different building materials. Caulking helps to prevent fluid, air, and even unwanted pests from getting through.  Chris and I also often apply sealants like caulk to add a clean finish to our renovation projects. 

Here are some frequently asked questions about GE-Branded Caulks and Sealants

ARE THERE DIFFERENT TYPES OF CAULK FOR DIFFERENT JOBS?

Absolutely! Choosing the best sealant for your job matters! Some caulk/sealants are more flexible and durable than others and adhere better to different materials. Some are waterproof and even paintable, and some simply are not.

Here are 5 different types of GE Caulks/Sealants: 

  1. 100% Silicone Sealant– These sealants are flexible and waterproof. They are best used in areas exposed to water and humidity like kitchens, bathrooms, windows, doors, and exterior jobs. GE Sealant has many silicone caulk options that are 100% waterproof.
  2. Latex Caulk-These caulks are best used for indoor drywall, wood, and masonry projects. They are often paintable and can come in many different colors.
  3. Siliconized Acrylic Caulk-This is a hybrid silicone. It kinda gives you the best of both worlds. They are paintable like a latex caulk, but they are also mold and mildew-resistant, waterproof, and flexible like a silicone sealant.
  4. Insulating Foam Sealant -Best for window jambs, exterior pipes, and wiring or plumbing penetrations. They can be used to fill cracks in foundations and are great for sound dampening as well.
  5. Specialty Silicone Sealant– GE Sealants offers Advanced Metal Silicone 2 Sealant and Advanced Concrete Silicone 2 Sealant which are the perfect go-to 100% waterproof 100% silicone products when you are looking for a sealant to tackle your gutter, metal, or concrete sealing projects.

HOW DO YOU APPLY CAULK?

Here are 6 simple steps to follow:

1. Choose your caulk wisely!

First things first, start by choosing the right sealant product for your job.  As explained above, there are many different types of GE Sealants to choose from.

For example, if your project is in a wet area like a kitchen or bath, you’ll want to grab a GE-Branded Kitchen and Bath Silicone for the job, as the objective here is to prevent water getting into unwanted areas like the seam between your sink and countertop.

If you are trying to insulate an area like a window or door, caulk won’t work here. Instead, you’ll need to grab a GE-Branded Insulating Foam Sealant. Whether you are looking for 100% Silicone, a Hybrid Silicone, an Acrylic paintable caulk or a Speciality item GE Sealants has it all!

2. Clean and prep your surface.

Make sure to remove any existing old sealants and take a clean lint-free cloth to remove all dirt from the area you intend to caulk.

Pro Tip: If you don’t have a steady hand, you may also want to apply painter’s tape on either side of the area to make sure the caulk is applied in a clean line. Just make sure to remove the painter’s tape before the caulk starts to dry.

3. Prep your caulk cartridge.

Make sure to prep your cartridge by first cutting the tip.

Then poke a hole in the inner seal of the cartridge to enable the flow of the product.

All before loading the cartridge into your caulk gun.

Pro Tip: Did you know that caulk guns come equipped with their own tip cutter and puncture tool attached right to the gun?

4. Apply caulk at a 45-degree angle. 

Hold the caulk gun at a 45-degree angle and push the top of the tube along the crack you are filling. This allows the product to fill the gap while eliminating air bubbles.

5. Smooth out the finish.

Make sure to wipe away any excess caulk with a caulk finishing tool (Chris likes to use his finger or a lint-free rag) to create a smooth clean bead. If you used painter’s tape, remove it immediately after tooling the bead.

6. Cap the caulk.

Don’t forget to cap off your caulk so it doesn’t dry out while stored away for future use. You can use a caulk saver cap as we do, or simply insert a nail in the opening and wrap the tip in electrical tape.

IS CAULK PAINTABLE?

The answer to this question is really quite simple…YES…and no. It all depends on which caulk/sealant you are working with. 100% silicone sealant is not paintable, however, GE-branded Supreme Silicone Window and Door comes in six popular colors you can choose from to match your window trim. Also, their Supreme Silicone Kitchen and Bath is offered in almond, clear and white.

Here are some of the GE-branded paintable caulks to choose from:

Painters Quick Dry Seal and Paint link:

Painters Pro Seal and Paint

Siliconized Advanced Acrylic Sealant


Pro-Tip: Make sure the caulk is fully cured before applying paint. Check the product label for specific cure times for each product. 

CAN YOU APPLY NEW SILICONE CAULK OVER EXISTING SILICONE SEALS?

Yes! With the help of Re-New by GE Sealants, you can now refresh areas like your kitchen and bath without removing and replacing the existing silicone.

Re-New is a specialty silicone formula that can be applied over any existing 100% silicone sealant to help you save time on your sealing jobs instead of scraping away the old sealant. It is also 100% waterproof and mold-resistant!

CAN SILICONE CAULK BE USED BELOW WATER LEVEL?

No. Even 100% waterproof silicone sealants should not be applied under water and are not intended for constant under the waterline use.

But I had a whole lot of fun making Chris test this one out in our (unheated) pool in the middle of winter!


Thanks for tuning in to this edition of “Caulk Talk”! Make sure to drop us a comment below with any other caulk questions you may have!


5 Easy DIY Upgrades to Prep for Entertaining Your Holiday Guests

November 10, 2022

The holidays can be stressful as it is, but once you add in entertaining guests at your home it can become down right overwhelming.

With family visiting from out of town this year, I asked Chris to knock out a few easy DIY upgrades in our home to get an early jump start on preparing for our holiday guests.

To make sure he had no excuses to get to work, I headed over to the Home Depot to pick up all of the items needed for each project.

This post is sponsored by The Home Depot

I even grabbed Chris an early Christmas present as a little extra motivation. The Home Depot always has the best tool deals during the holidays!

He’s been talking about upgrading all of his tools to the Milwaukee line for years! I even upgraded his small old tool boxes to this huge Husky Heavy Duty 15 Drawer Rolling Tool Chest!

Chris is definitely a happy man!!!

Now let’s put these new tools to work!

Here are 5 easy DIY upgrades you can knock out this weekend to help prep your home for your holiday entertaining: 

1. UPGRADE YOUR THERMOSTATS TO SMART THERMOSTATS

A smart thermostat is one great upgrade you can do in your home leading into the holidays. 

After researching numerous different smart thermostats’ features, we decided the Nest Learning Thermostat was the way to go for us.

We love its sleek design and that it really is “smart” enough to help track our daily energy usage while learning how we live in our home helping us to save on our energy bill all while still keeping our home feeling comfortable.

It makes controlling the temperature in your home super easy for everyone and it conveniently allows you to adjust the temperature for your guests remotely via your cell phone.

If you’re the one traveling out of town for the holidays this year, a smart thermostat like the Nest is the perfect way to conserve on energy while you are away. And again, it can all be set up and monitored via the app on your smart phone.

2. UPGRADE YOUR OUTLETS TO USB PORT OUTLETS

USB outlets are an easy upgrade that can be installed in your home in just a matter of minutes.

I can’t tell you how many times we’ve taken a trip out of town and forgotten our phone charger adaptor, but had an extra charging cord plugged into the car or thrown in our bag.

With this simple upgrade your guests can easily charge their phones with just their cords while freeing up the 3 prong outlets for other devices.

It’s actually been said that the charge is up to 40% faster this way! I’m loving this simple upgrade so much that I’ve already convinced Chris to convert all of the outlets in our bedroom, living room, and kitchen over to USB’s as well!

3. UPGRADE YOUR LOCKS TO SMART LOCKS

Another quick upgrade on our list was switching out our front door lock to a smart lock system. While at the Home Depot, I purchased the Lockly Vision Smart Lock + Video Doorbell because it is a three-in-one solution.  A doorbell, a smart keypad door lock and a camera all in one!

Adding a smart lock system to your home makes it super easy to lock and unlock your doors from afar with the convenience of your smart phone.

You can also give your visitors a temporary keypad code which gives guests the freedom to come and go as they please without having to worry about needing a key.

Not only does Lockly’s smart keypad make things more convenient for you and your guests, but the HD Video doorbell also adds another level of security to your home, which during the holiday season is a must! 

4. UPGRADE GARAGE DOORS TO SMART GARAGE DOOR OPENERS

Next up let’s talk about garage doors openers.  I know you’re probably thinking “Why upgrade my garage door openers for the holidays?” That’s a great question and I think I have a few great reasons why. 

While shopping at the Home Depot I picked up two of the Chamberlain LED Smart Garage Door Openers for Chris to install before the holiday season in hopes of adding Security, Convenience and Comfort to our home and for our guests. 


The Chamberlain Smart Garage Opener is a decently inexpensive option for those looking to add smart technology to their home. 

With many homes having a guest bedroom above or near the garage, installing an ultra quiet system like the Chamberlain is a great way to add additional comfort to your guests stay.

And with the convenience of the MyQ mobile app, you can easily give your guests access to your home while you are away.

You can even link this system to Key by Amazon for convenient and secure gift and grocery deliveries to your home during the holiday season.

Now do you see why it’s on our holiday prep list?!!!

5. TACKLE THOSE PESKY PAINT TOUCH UPS 

It never fails that when the holiday season approaches we are always doing last minute paint touch-ups around the house just hours before our guests arrive.

But not this year! This year I made sure to grab one of our favorite paints, Behr Ultra Scuff Defense, to help get our (well Chris’) paint party started early!

A smudge here…a chip there…or in our case a whole wall, Behr Ultra Scuff Defense is a paint and primer in one with advanced scuff resistance and outstanding durability for all your high traffic areas.


It totally lives up to all of the hype!

The great thing about these 5 easy DIY upgrades is that you can knock them all out in a weekend! Prepping to entertain this holiday season doesn’t have to be stressful if you just make a point to plan ahead.

Check out our latest Youtube Short of Chris in action knocking out all of these easy upgrades!

Holiday Prep-Part 1

Holiday Prep-Part 2

On to our next project…

This post contains affiliate links for your convenience.

Pin the images below to your DIY boards on Pinterest (just click the Pin button in the top left corner). You can also follow along with us on Pinterest!

Pinterest PIn 5 Easy DIY Upgrades to Prep for your Holiday Guests

Pinterest Pin 5 DIY Upgrades to Prep Your Home for Entertaining Your Holiday Guest

Follow our journey one day at a time on Instagram @ReclaimedKarma


Reduce Reuse and Restore with Loctite

October 13, 2022

So what do you do when you’re finishing up a project and need that one special piece but there’s no money in the budget!?!

Reduce, Reuse and Restore with Loctite!!! 

This post is sponsored by Loctite

As we finished up the renovation of our clients new retail shop in one of the cutest areas of Marietta, Georgia, I knew we needed the perfect storage piece for her new moody and bold bathroom. With no money left in the budget, I convinced Chris to do a little dumpster diving in search for that perfect piece.


By salvaging this old beat up kitchen cabinet from our client’s dumpster, not only were we able to save on our strained budget, but we felt great knowing we were also reducing the waste going into our landfills.  


I then set out to reuse that same kitchen wall cabinet by restoring it as a new chic and cute bathroom storage piece.

First I made sure to clean the cabinet of the 30 years of grease and grime and build up it acquired in its previous life. 


Next I added a countertop by cutting some plywood and trim molding and attaching it to the top of the cabinet with Loctite Power Grab Ultimate Crystal Clear construction adhesive. By using Loctite Power Grab Ultimate Crystal Clear, I eliminated having to fill or sand any nail holes.


Loctite Power Grab is an interior/exterior construction adhesive that is super easy to use and works in all conditions, all weather and on most all materials.

I then painted the piece a bright crisp clean white to add a pop to our client’s otherwise dark and moody space.  


While I was at it, I grabbed some old legs and hardware pulls out of our garage and spruced them up with a touch of champagne gold spray paint. 


Since the piece was originally an upper wall cabinet, it was not originally meant to have legs attached to it.  I reached for the Loctite Power Grab Ultimate Crystal Clear construction adhesive once again and attached some simple blocking pieces I made from scrap wood to the bottom of the cabinet for the legs to screw into. Loctite has a zero second instant grab so I was immediately able to attach the legs. 


Last but not least…with Loctite’s help I added one more pop of fun to this piece with these adorable gold 3d butterflies.


I love that this Loctite product dries crystal clear so it actually looks like the butterflies are fluttering up the piece. 


All that was left to do was deliver this cutie to its new home. 


Shout out to Loctite for this product! It really helped us bring this salvaged piece to life! Loctite makes an array of products perfect for big construction jobs and specialty DIY projects like this cute little cabinet here!!!


On to our next project…

My-Signature-300x160.png

This post contains affiliate links for your convenience.

Follow our journey one day at a time on Instagram @ReclaimedKarma

Two Birds TapHouse Restaurant

July 29, 2021

The Two Birds Taphouse in downtown Marietta has just expanded their restaurant…

DIY Network-Pilot Episode for ‘Reclaimed Reno’

July 28, 2021

When we first met Brett, Fallon and their three adorable kids to discuss renovating their home…

Our Backyard Renovation

July 11, 2021
We loved working with the The Home Depot  on this project. This is a sponsored post. We also use affiliate links in our posts.


When we were asked to partner with The Home Depot on their Garden to Grill campaign there was absolutely no hesitation. We were all in!  With how crazy this past year has been, traveling coming to a complete halt and the entire family having cabin fever, this Spring was the perfect time to concentrate our DIY imaginations on taking our mess of a backyard and upgrading it into a Garden to Grill oasis! 

Our first step in bringing our backyard oasis to life was to actually plan out the plan.  My vision included a safer environment for our friends and family to visit during the pandemic.  I’ve also been super excited about having our own fire pit to roast a marshmallow or two. For years Chris has been talking about how cool it would be to grow our own fruits, veggies and herbs and have a designated grilling area to bring his hot summer dishes to life for our friends and family. Keeping all of this in mind, we eventually narrowed our projects down to a BBQ and outdoor dining space, a lounge area, and a fire pit.  

As you can see from how our backyard was looking….

We had a lot of work to do before we could even begin to think about incorporating The Home Depot’s amazing outdoor plants, grills and accessories or furniture ideas!

It was important to us that we planned our new backyard space out perfectly.  Making sure we had enough room to build a deck that would house our new Traeger Grill, Bonnie Herbs and Vegetables and our outdoor dining space. A pergola that could be used for shade over our new Home Depot lounge furniture, and that there was enough space left over to enjoy nights around our fire pit.

If you are interested in learning step by step how we transformed our backyard from the before picture above to looking like this below in just a few weekends:


Check out our Highlight Video documenting our entire backyard landscape renovation to catch every step along the way!

Next it was time to focus on the fun part…the SHOPPING!!! The Home Depot has always been one of Chris and my favorite stores!  We are probably at our local Home Depot at least once a day.  Even with that being said, I honestly don’t think Chris or I really understood how much The Home Depot had to offer in their Home and Garden space until taking on this project. Seriously!!! The Home Depot is a one stop shop!  

We started off by spending some time on The Home Depot website making a project “LIST” and picking out gorgeous pieces we loved that could be shipped directly to us or picked up curbside.  

Not only does The Home Depot offer great project ideas and attachments so you can entertain outdoors, but they also carry an array of top quality products that can help take your outdoor project to the next level!  From all of the different outdoor furniture lines they offer, to outdoor dining accessories for the perfect tablescapes, they even have the best grills and grilling tools and supplies.

Here is the Home Depot List we developed for this Garden to Grill space. Click the image for link:

BBQ/OUTDOOR DINING:


FIRE-PIT:

LOUNGE AREA:


We decided we’d start off by taking a trip to our local Home Depot store to check out what they had in stock.


Almost everything we purchased that was not in stock we were able to order conveniently online and have shipped directly to our home or scheduled for pick up curbside at our local Home Depot store.  This just added to our overall shopping experience making it super simple and convenient! 

I was also pleasantly surprised with the selection of Bonnie Plants at The Home Depot’s!  They had everything I needed to start my garden and was very organized!  It really made it super easy and fun for a novist like me to find the exact herbs and vegetables I was looking for to add to some of Chris’ grilling recipes.   

The Home Depot makes it super simple for even a novice like me to gather the best plants and gardening materials to grow your own fruits, veggies and herbs to help bring your garden to your grill to your plate! Here was my herb and veggie garden shopping list:


Chris has been eyeing the Traeger Grill for quite a while now.  So when it came time to pick out his new grill, he decided to go with the Traeger Timberline 1300 Wifi Pellet Grill and Smoker.

Chris had the best time picking out his new Traeger Grill!  Check out his Home Depot shopping trip below!

“This is the dance you do when you buy a grill like this!”~Chris Johnson


I have to admit I’m not the cook of the family (Chris is) nor am I an avid gardener.  However, I actually found the entire process of planting our own food very therapeutic and kind of fun. 

I’ll have to keep you updated on how everything is growing. I am fully dedicated to being a great plant mom!  If you have any tips for me definitely leave them in our comment section below!

Having our own vegetables and herbs right next to the grill has definitely been a huge plus!  Chris loves that he can simply lean over and pick directly from his new garden and place it right on the grill.  You can’t get much better than that!

With his crazy busy schedule, he loved the fact that it came equipped with smart WiFIRE technology that allows him to control the wifi pellet grill from anywhere as long as he has the Traeger App.

This has been one of our largest and most fun home DIY projects Chris and I have done together thus far. We are loving how it turned out and couldn’t have done it without The Home Depot! They had all of the top quality outdoor furniture pieces and accessories we needed to help us take our outdoor space to the next level.


Remember this before?

Check out these Afters!

We hope our Garden to Grill project has inspired you to tackle your outdoor space this Spring too!  Now all we have left to do is fire up our Grill, grab one of our favorite recipes and a cold drink and get ready for our friends and family to arrive!  


On to our next project…


Shop our backyard…

How We Stained Our Outdoor Living Space In Just One Weekend

July 3, 2021
This post is sponsored by The Home Depot. We really loved working with them! We also use affiliate links in our posts.


This summer Chris and I are concentrating our DIY creative minds on exterior projects around our home.  We just finished partnering with The Home Depot on a really fun outdoor entertainment space in our backyard.  Check out our latest blog with all of the renovation details here. It was such a great partnership that when we were asked to work with them again we jumped at the chance!  We are now partnering up with The Home Depot and Olympic’s Wood and Deck stains to add a pop of color to our newly built deck and our new DIY outdoor dining table.  

Check out our YouTube video of the entire process:


First things first, we headed on over to the Olympic website to plan out what type of stain and what colors we would be using for our deck and dining table.  What we loved about Olympic’s website is that they have a tool called the “Olympic ProjectPro” that helps you to plan your staining project from start to finish.   

After answering a series of questions about our two projects, Olympic offered suggestions on what type of stain to use and they even have a “Visualizer” program where you can see all of the stain colors you are interested in displayed on the type of wood project you are planning. This really helped us to make a decision on the color and finish we wanted to go with for our deck and dining table.


There are many options to choose from when it comes to the best deck and exterior furniture stain. It’s been said that the more opaque or solid the stain is the better weather and wear resistant it is, but if you are looking to see more of the wood’s natural beauty and grains, you’ll want to go with a more transparent to semi-transparent stain.

We decided to go with Olympic’s Maximum Stain+Sealant which we picked up from The Home Depot.

We knew the Olympic Maximum Stain + Sealant was the right choice mainly because of the crazy weather we have down here in Atlanta, Georgia.  Olympic Maximum has some pretty great benefits when it comes to application and durability:

  • Weather-ready application allows you to clean and stain on the same day in temperatures down to 35°F, application is ready for rain in 8 hours
  • Penetrating, durable Wood Stain + Sealant in One protects and beautifies in one step
  • Durable wood stain formula features advanced SunBlock UV defense, exclusive SCUFF GUARD technology and enhanced waterproofing protection
  • Mildew and mold-resistant wood stain coating protects the surface from moisture and water damage
  • Cleans easily with soap and water, eliminating the need for harsh chemicals
  • Low VOC, water based wood stain formula gives off less odor and harmful fumes as wood dries
  • 6-year warranty on decks and 8-year on fences and siding to give you peace of mind that your wood surface stays protected and beautiful

Our stain colors of choice for our projects were the Semi-Transparent stain in “Teak” for our deck…

And for a little extra pop we went with the Olympic Maximum Stain+Sealant Solid in “Ebony” for our dining table.

When staining, prep is so key!  If you don’t take the time out to prep your project surface, you can expect to be re-staining that project sooner than later.  Even though we had just recently built our deck, after some research we discovered that new pressure treated pine wood also needs to be cleaned prior to staining for the most optimal results.  We made sure to grab the Olympic Premium Deck Cleaner from The Home Depot to clean our deck prior to staining.


Time to get to work!  After blowing and sweeping off our deck, we sprayed it down with the Olympic Premium Deck Cleaner and let the cleaner sit and do its work for approximately 30 minutes. 

We then sprayed the deck down again, but this time with our high pressure hose t0 add a good dose of water.

We grabbed some heavy duty Husky Plastic Sheeting and 3M Rough Surface Extra Strength Scotch Tape from our local Home Depot and got to prepping.

After prepping our deck area, in true Atlanta fashion it started to rain…HARD!  We had to wait close to a week for the continuous heavy rain to stop before we could get back to work.  We found ourselves really impressed that the 3M Rough Surface tape held the heavy duty plastic up to our siding even through our hot and humid crazy rainy Atlanta weather.  It was a pleasant surprise that we didn’t have to re-prep!

On a positive note, we also didn’t have to wait long for our deck to dry out.  One of the great benefits of the Olympic Maximum Stain + Sealant is that this product can be applied to damp wood.  It also has a weather-ready technology that allows you to clean the wood and stain it on the same day even in these crazy hot temperatures down here in “Hotlanta”. When using the Olympic Maximum product you can stain in 35 degree weather up to 120 degree weather. And to top it all off, the stain coating is mildew and mold-resistant protecting the deck from moisture and water damage. Our deck was rain ready in just eight hours! You can’t beat that!

There are many different options when it comes to applying stain to your deck. You can apply it with a roller, a sprayer, a brush or even a rag. We decided to use our handy dandy Wagner Flexio 2000 HVLP Paint Sprayer.  

It’s fast and efficient and it gave us the ability to gage how much stain we wanted to apply to our wood.  

Once we started applying the stain, we realized pretty quickly that we probably should have grabbed the Olympic Maximum Stain+Sealant in Transparent instead of Semi-Transparent.  We really love the look of natural wood grain and even the semi-transparent finish was a little to “painted” on for us.  Instead of heading out to buy more stain, we decided to keep using the semi-transparent, but to follow our sprayer with a rag wiping down the boards to the exact finish we were looking for. By wiping them down, we also helped the stain to soak into our deck boards, allowing better, long-lasting stain results.

It literally took us longer to prep our deck than it did to stain it! With the help of our Wagner, we were done staining in less than an hour.  I’m absolutely loving this Olympic Maximum Teak stain color!

Next up was our DIY dining table.  This was a super easy build!  We picked up three pieces of 2x12x8 pressure treated boards from The Home Depot and attached them with screws to old rustic steal table legs we had sitting on the side of our house for the past couple of years.

Yep they were pretty gross…but a little Dawn soap and water went a long way!

Chris was happy because this was one of the easiest table builds he’s ever built and I was ecstatic to get one more thing out of our storage area. It didn’t hurt that the table legs looked really cool too! It was seriously a win win for both of us!

Prior to staining our table, I did a light sand with our orbital sander to take off any residue on the new wood and to give it a smoother finish.

Next I applied the Olympic Maximum solid Ebony stain with a brush.  I made sure to hit the sides of the table as well before I attached the boards so that the entire table was stained.

Lastly, I used a painters rag to back wipe the stain into the wood.  This helped the stain penetrate the wood as well as get rid of any excess brush strokes.

And just like that…we were both finished with our weekend staining projects!

BEFORE:

AFTER:

This staining project was a super quick and easy added finishing pop to our outdoor entertainment space! Now all we have left to do is to fire up the grill, set the table and invite our friends and family over for dinner!

On to our next project…