


This post is sponsored by The Home Depot. We really loved working with them! We also use affiliate links in our posts.
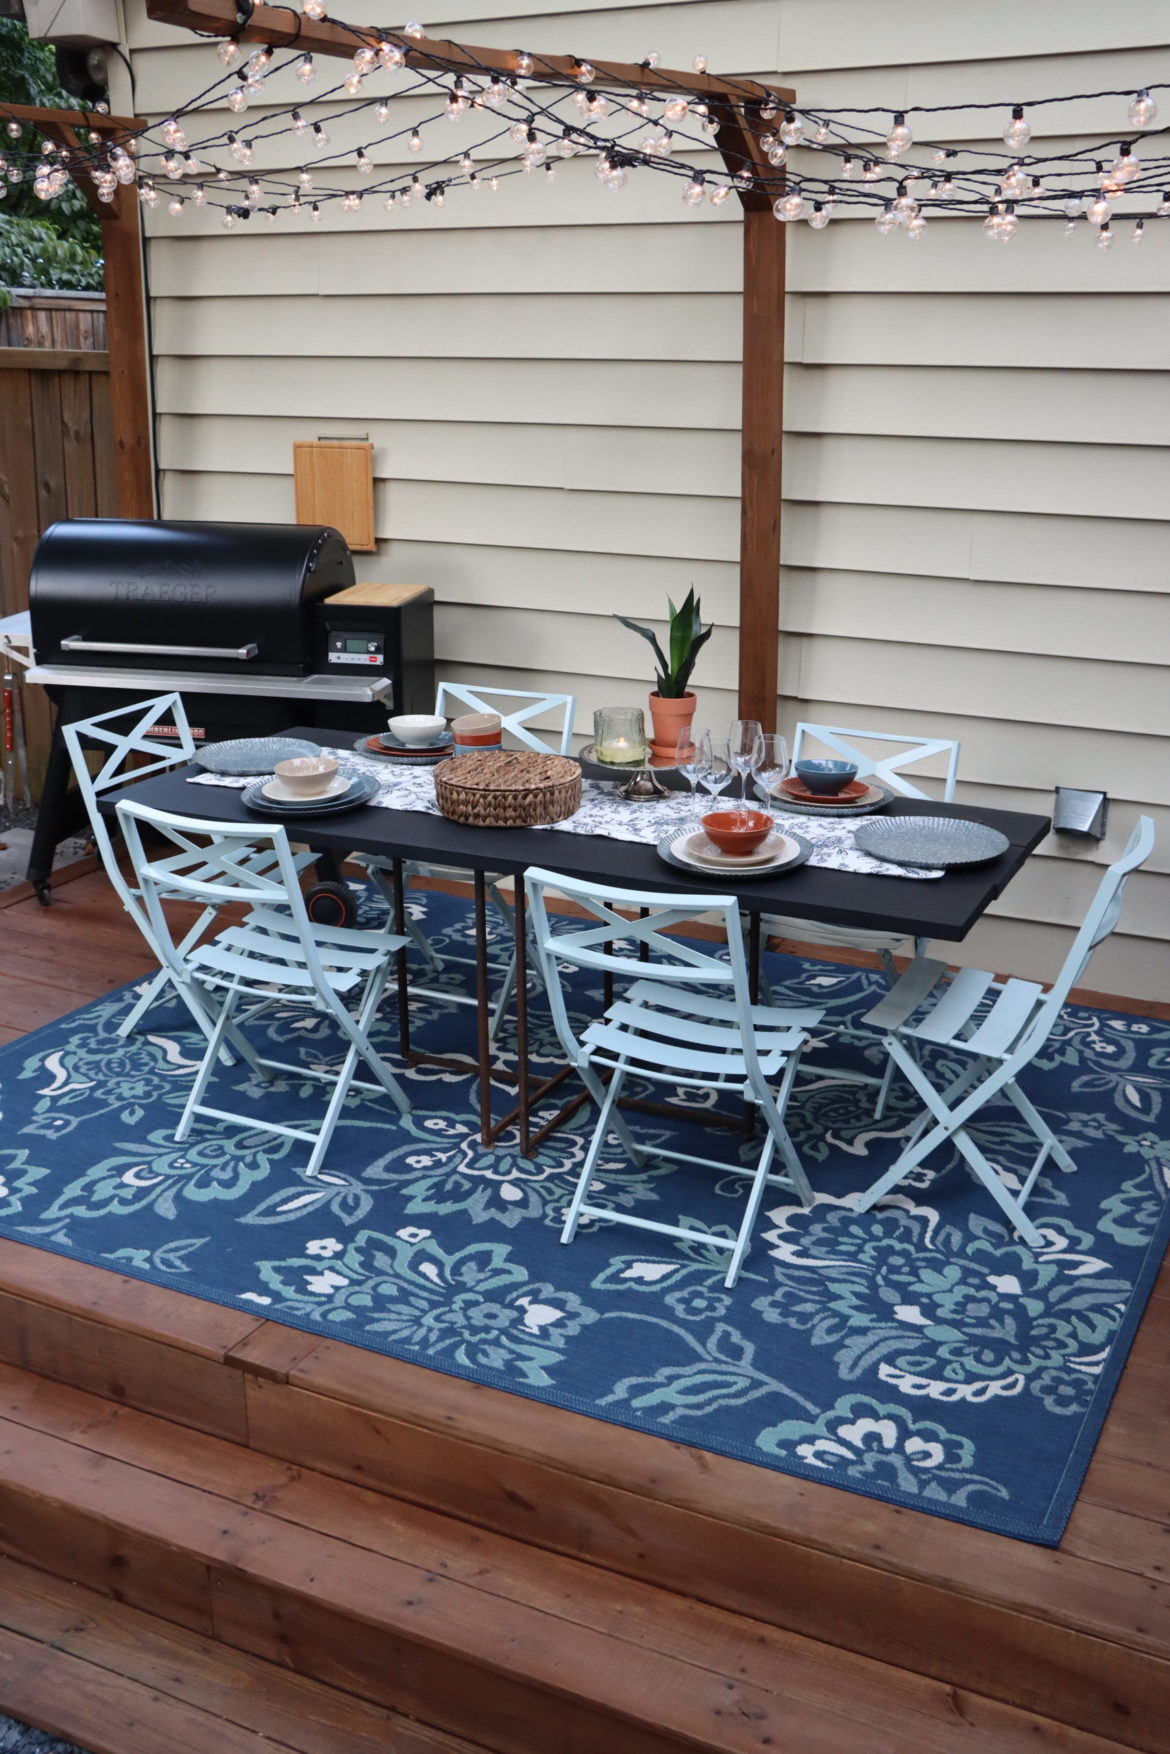
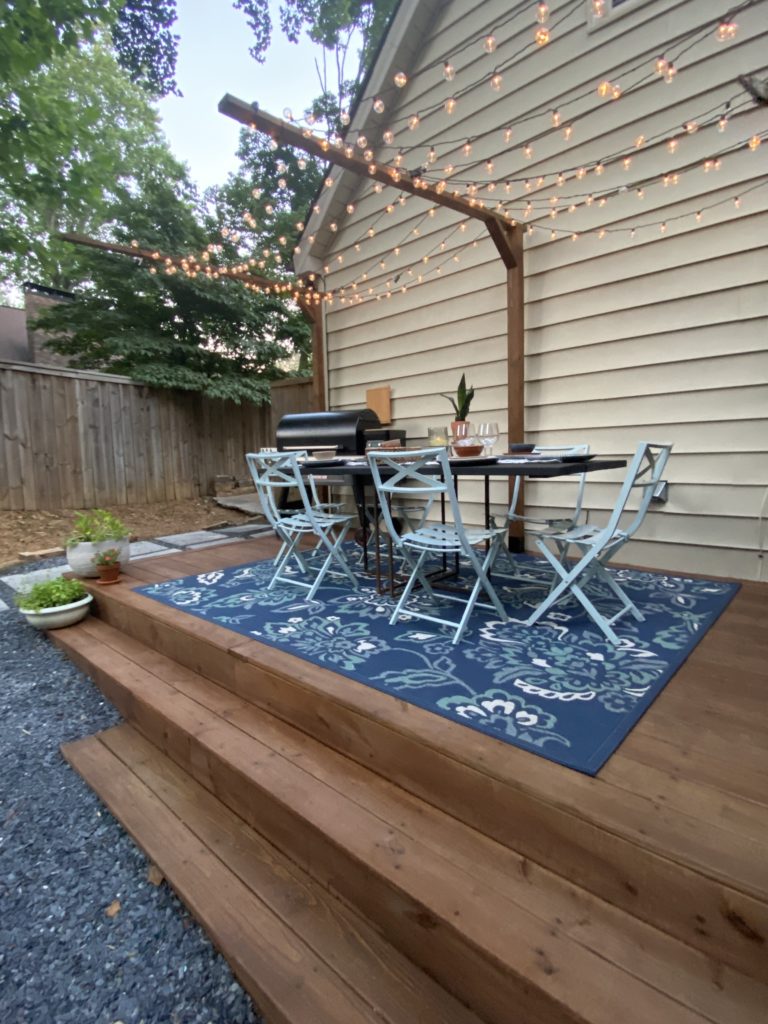
This summer Chris and I are concentrating our DIY creative minds on exterior projects around our home. We just finished partnering with The Home Depot on a really fun outdoor entertainment space in our backyard. Check out our latest blog with all of the renovation details here. It was such a great partnership that when we were asked to work with them again we jumped at the chance! We are now partnering up with The Home Depot and Olympic’s Wood and Deck stains to add a pop of color to our newly built deck and our new DIY outdoor dining table.
Check out our YouTube video of the entire process:
First things first, we headed on over to the Olympic website to plan out what type of stain and what colors we would be using for our deck and dining table. What we loved about Olympic’s website is that they have a tool called the “Olympic ProjectPro” that helps you to plan your staining project from start to finish.

After answering a series of questions about our two projects, Olympic offered suggestions on what type of stain to use and they even have a “Visualizer” program where you can see all of the stain colors you are interested in displayed on the type of wood project you are planning. This really helped us to make a decision on the color and finish we wanted to go with for our deck and dining table.
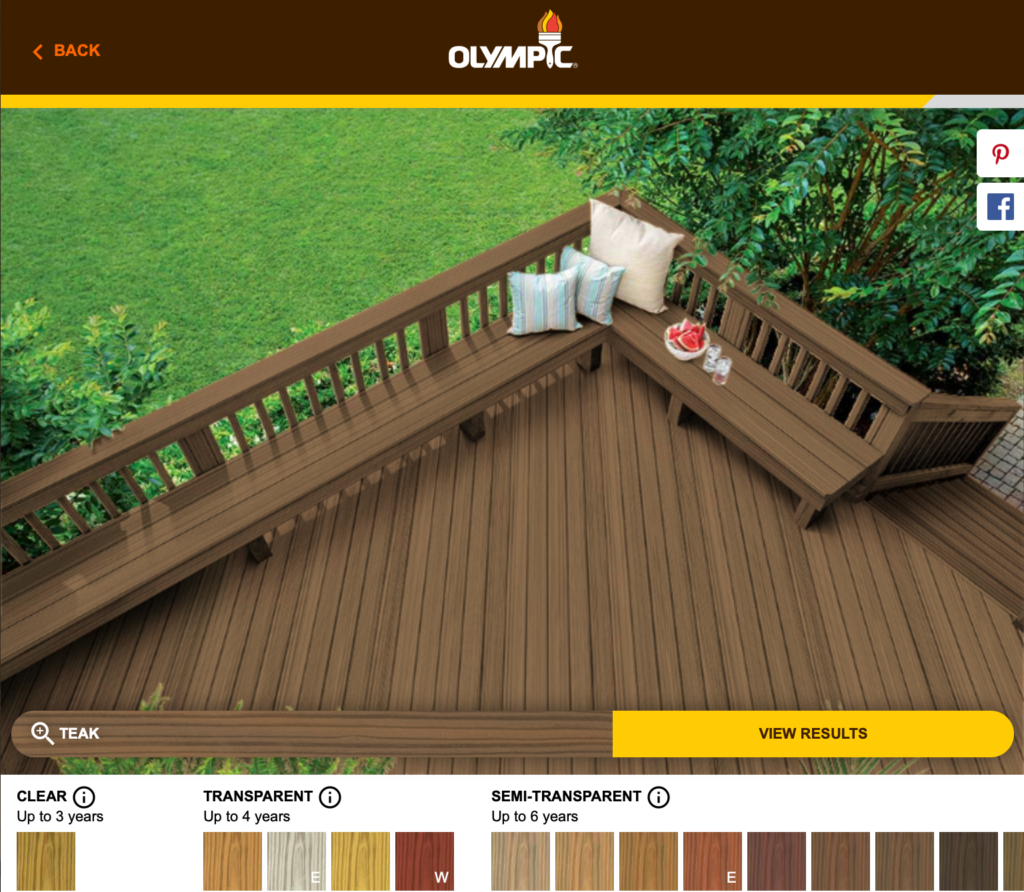
There are many options to choose from when it comes to the best deck and exterior furniture stain. It’s been said that the more opaque or solid the stain is the better weather and wear resistant it is, but if you are looking to see more of the wood’s natural beauty and grains, you’ll want to go with a more transparent to semi-transparent stain.
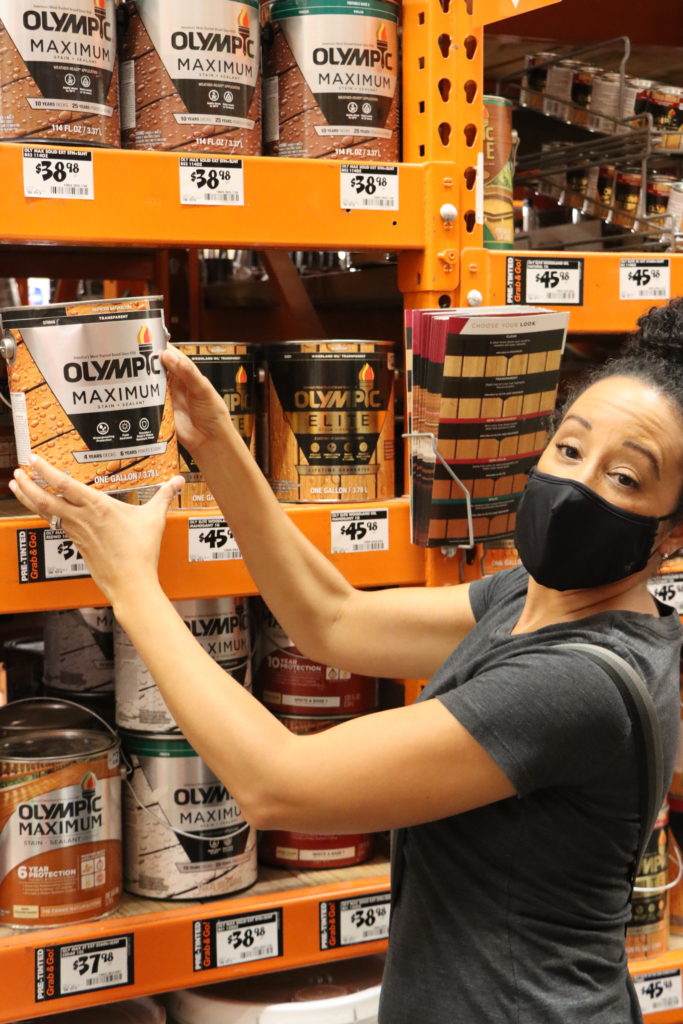
We decided to go with Olympic’s Maximum Stain+Sealant which we picked up from The Home Depot.
We knew the Olympic Maximum Stain + Sealant was the right choice mainly because of the crazy weather we have down here in Atlanta, Georgia. Olympic Maximum has some pretty great benefits when it comes to application and durability:
- Weather-ready application allows you to clean and stain on the same day in temperatures down to 35°F, application is ready for rain in 8 hours
- Penetrating, durable Wood Stain + Sealant in One protects and beautifies in one step
- Durable wood stain formula features advanced SunBlock UV defense, exclusive SCUFF GUARD technology and enhanced waterproofing protection
- Mildew and mold-resistant wood stain coating protects the surface from moisture and water damage
- Cleans easily with soap and water, eliminating the need for harsh chemicals
- Low VOC, water based wood stain formula gives off less odor and harmful fumes as wood dries
- 6-year warranty on decks and 8-year on fences and siding to give you peace of mind that your wood surface stays protected and beautiful
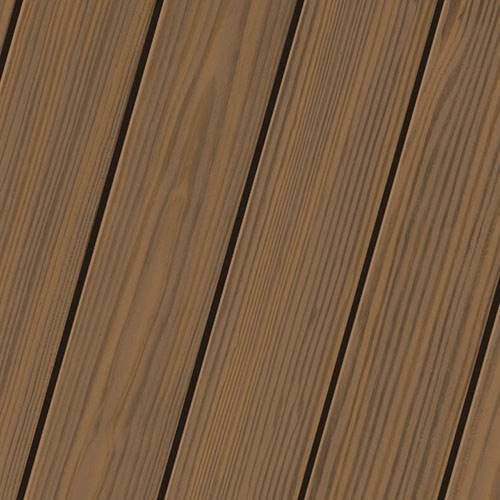
Our stain colors of choice for our projects were the Semi-Transparent stain in “Teak” for our deck…
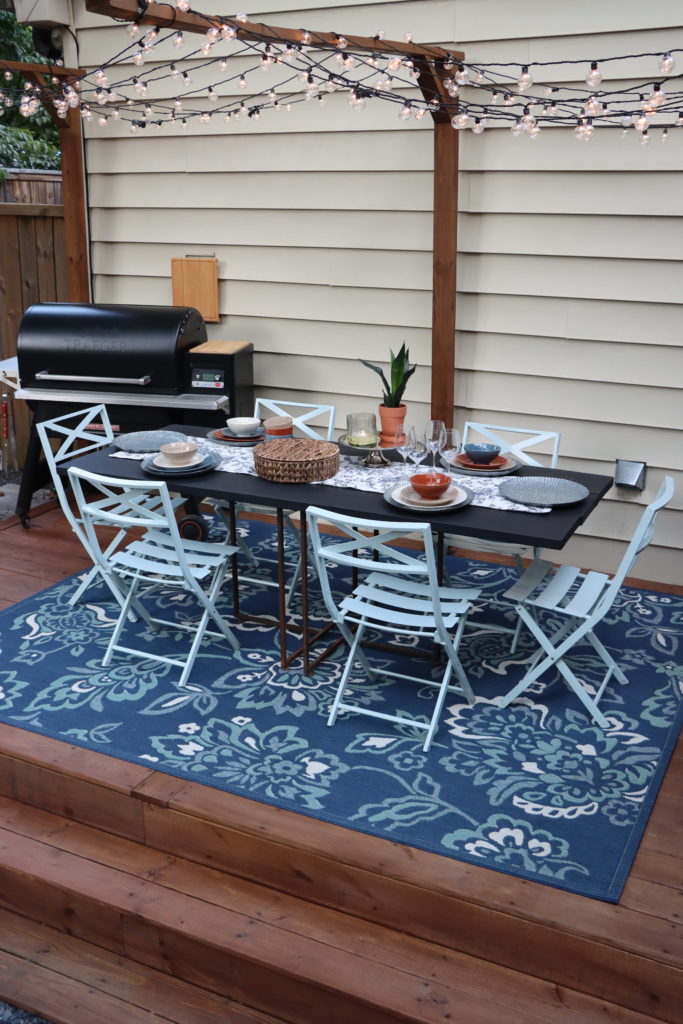
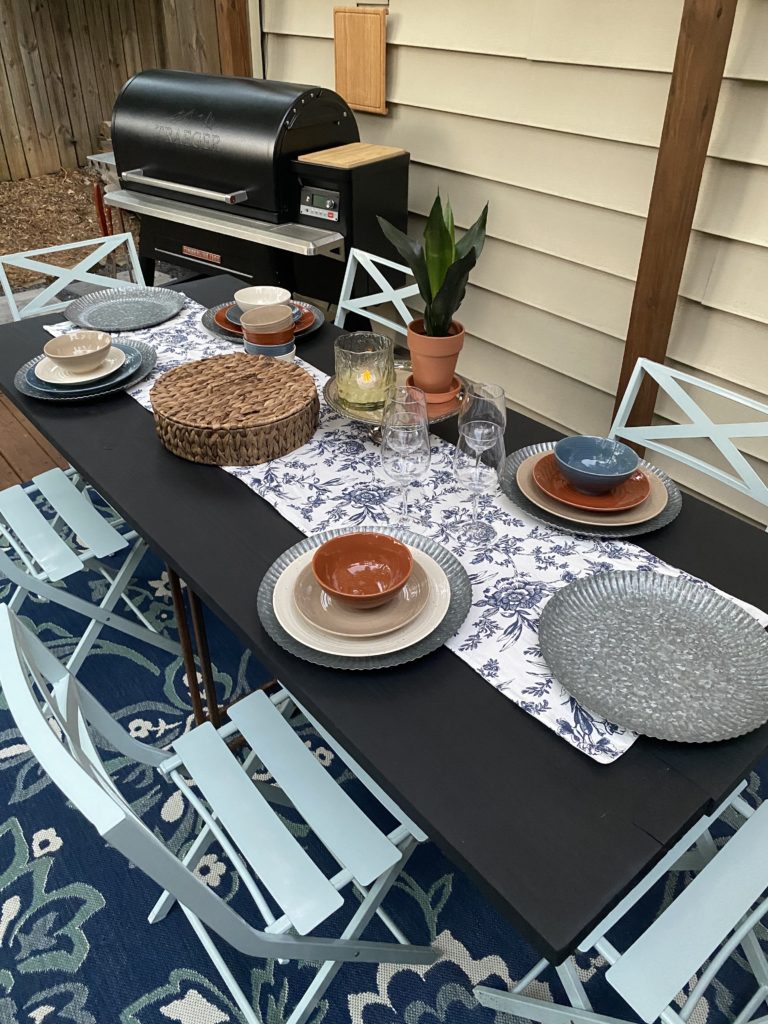
And for a little extra pop we went with the Olympic Maximum Stain+Sealant Solid in “Ebony” for our dining table.

When staining, prep is so key! If you don’t take the time out to prep your project surface, you can expect to be re-staining that project sooner than later. Even though we had just recently built our deck, after some research we discovered that new pressure treated pine wood also needs to be cleaned prior to staining for the most optimal results. We made sure to grab the Olympic Premium Deck Cleaner from The Home Depot to clean our deck prior to staining.
. 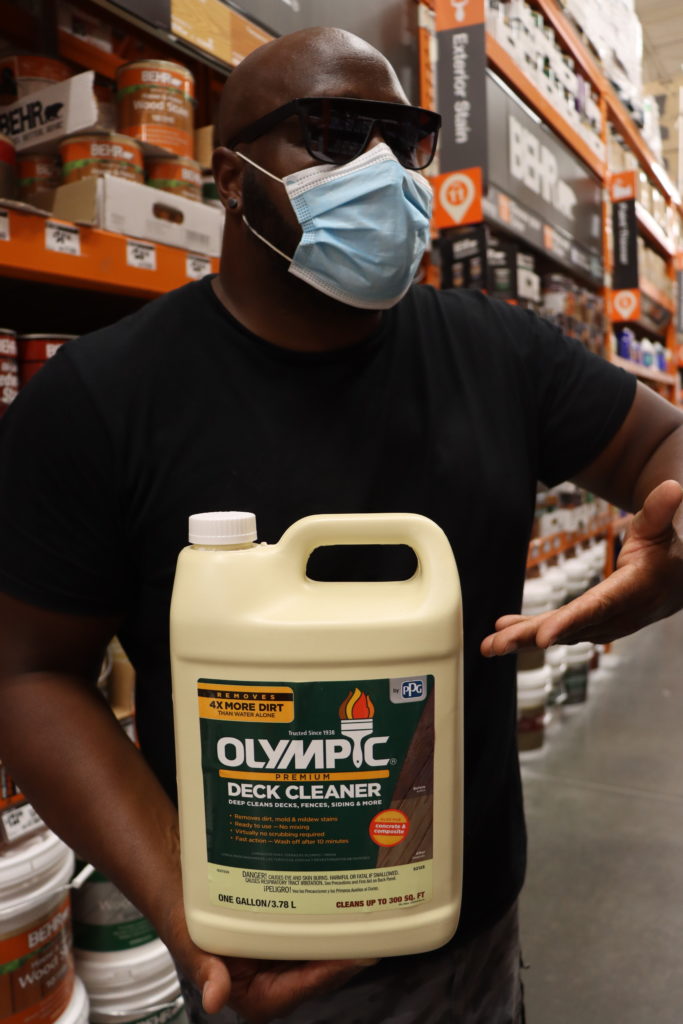
Time to get to work! After blowing and sweeping off our deck, we sprayed it down with the Olympic Premium Deck Cleaner and let the cleaner sit and do its work for approximately 30 minutes.
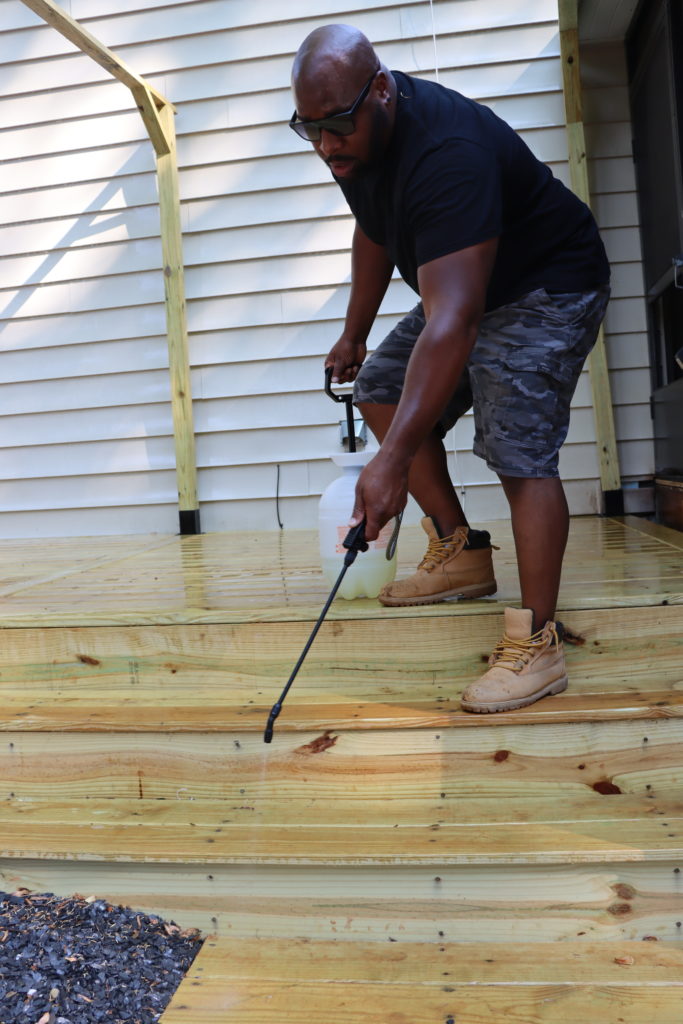
We then sprayed the deck down again, but this time with our high pressure hose t0 add a good dose of water.
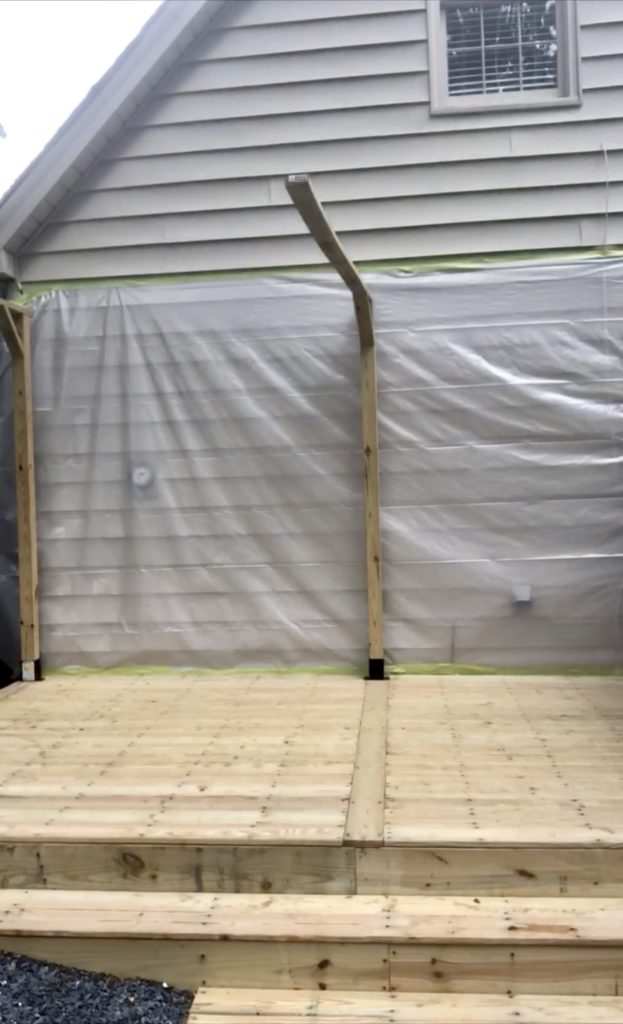
We grabbed some heavy duty Husky Plastic Sheeting and 3M Rough Surface Extra Strength Scotch Tape from our local Home Depot and got to prepping.
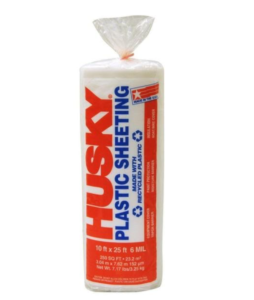
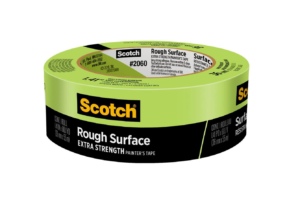
After prepping our deck area, in true Atlanta fashion it started to rain…HARD! We had to wait close to a week for the continuous heavy rain to stop before we could get back to work. We found ourselves really impressed that the 3M Rough Surface tape held the heavy duty plastic up to our siding even through our hot and humid crazy rainy Atlanta weather. It was a pleasant surprise that we didn’t have to re-prep!
On a positive note, we also didn’t have to wait long for our deck to dry out. One of the great benefits of the Olympic Maximum Stain + Sealant is that this product can be applied to damp wood. It also has a weather-ready technology that allows you to clean the wood and stain it on the same day even in these crazy hot temperatures down here in “Hotlanta”. When using the Olympic Maximum product you can stain in 35 degree weather up to 120 degree weather. And to top it all off, the stain coating is mildew and mold-resistant protecting the deck from moisture and water damage. Our deck was rain ready in just eight hours! You can’t beat that!
There are many different options when it comes to applying stain to your deck. You can apply it with a roller, a sprayer, a brush or even a rag. We decided to use our handy dandy Wagner Flexio 2000 HVLP Paint Sprayer. 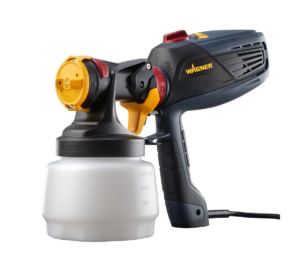
It’s fast and efficient and it gave us the ability to gage how much stain we wanted to apply to our wood. 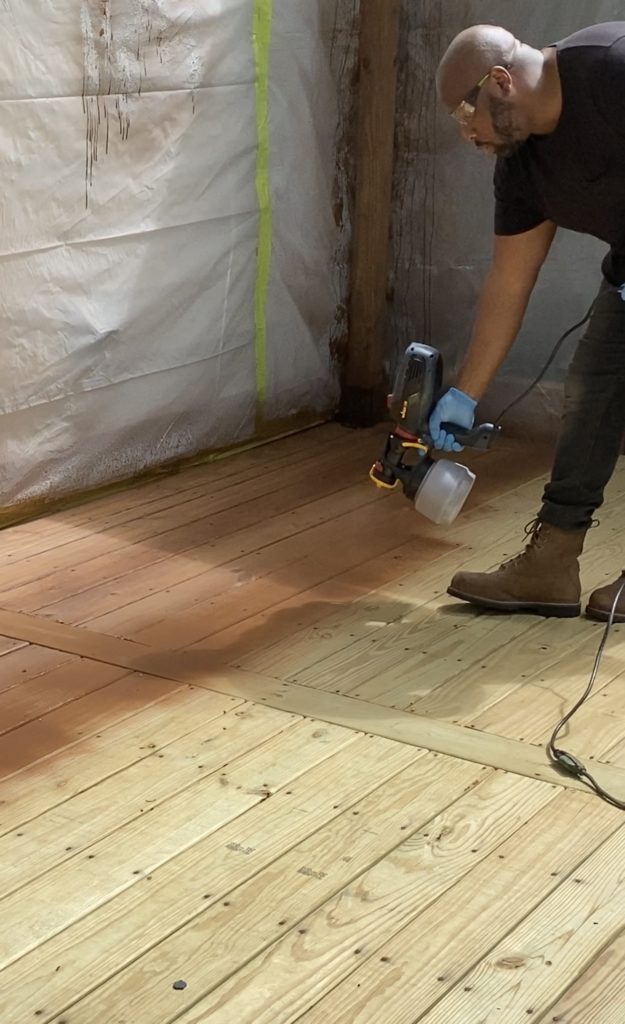
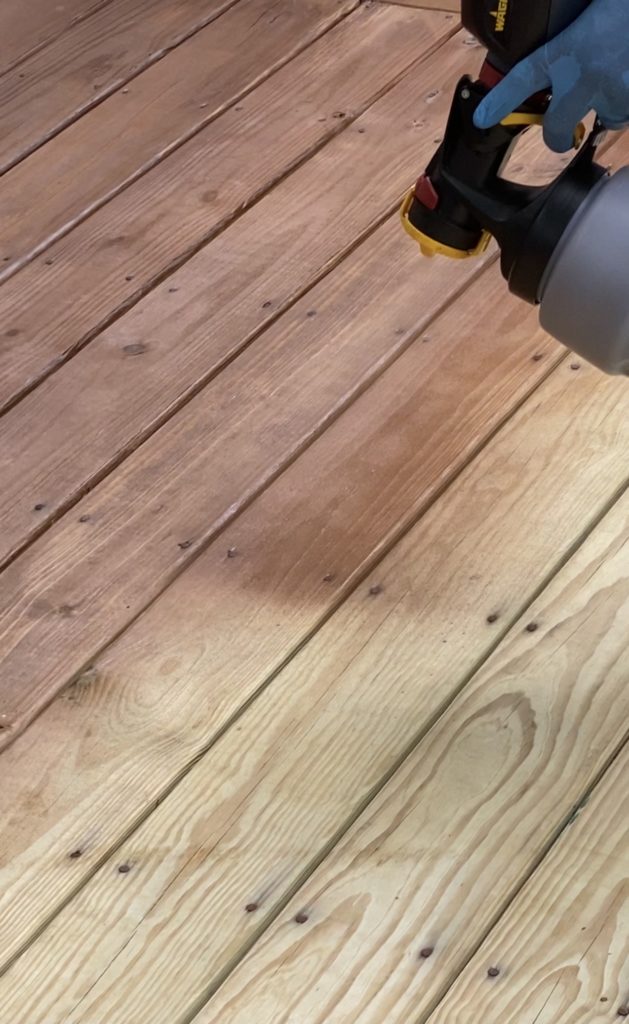
Once we started applying the stain, we realized pretty quickly that we probably should have grabbed the Olympic Maximum Stain+Sealant in Transparent instead of Semi-Transparent. We really love the look of natural wood grain and even the semi-transparent finish was a little to “painted” on for us. Instead of heading out to buy more stain, we decided to keep using the semi-transparent, but to follow our sprayer with a rag wiping down the boards to the exact finish we were looking for. By wiping them down, we also helped the stain to soak into our deck boards, allowing better, long-lasting stain results.
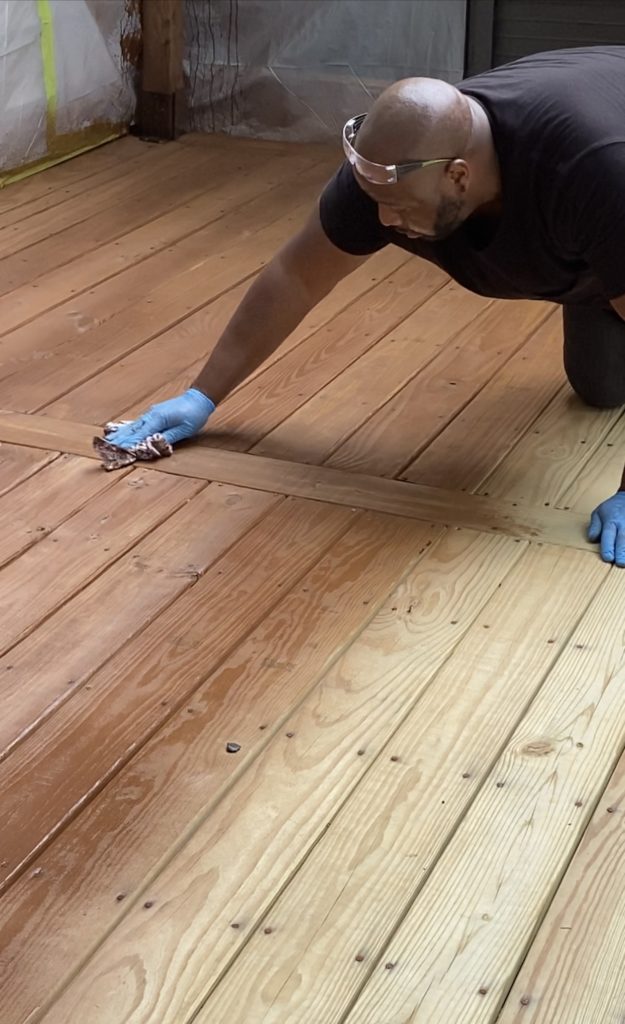
It literally took us longer to prep our deck than it did to stain it! With the help of our Wagner, we were done staining in less than an hour. I’m absolutely loving this Olympic Maximum Teak stain color!
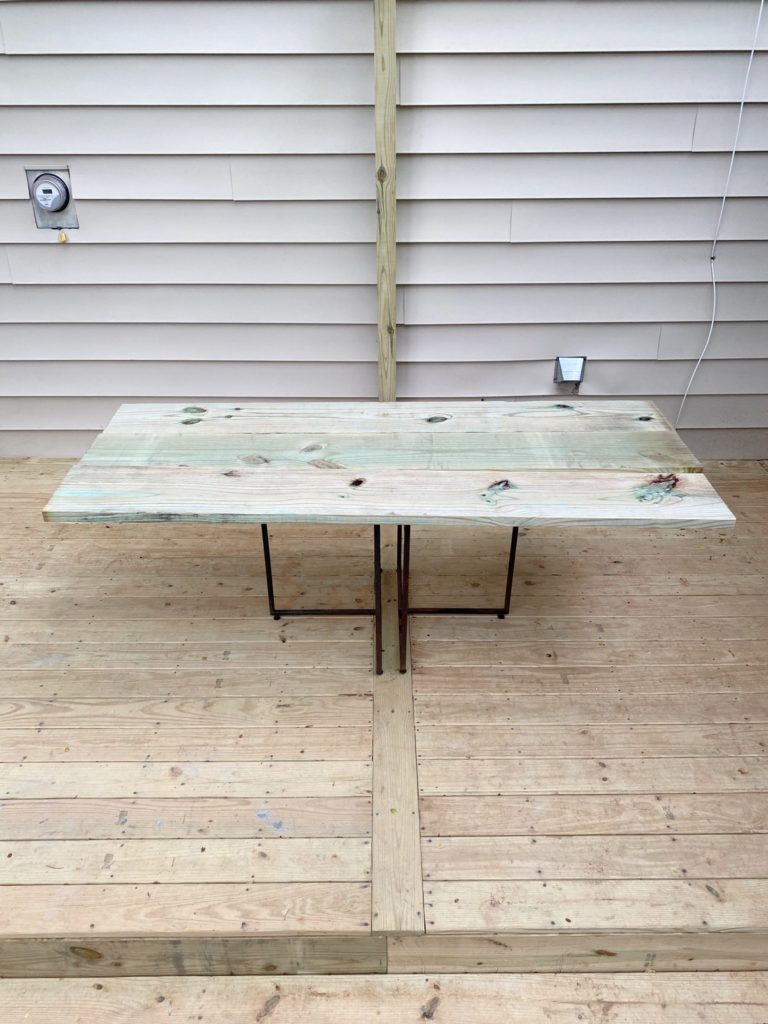
Next up was our DIY dining table. This was a super easy build! We picked up three pieces of 2x12x8 pressure treated boards from The Home Depot and attached them with screws to old rustic steal table legs we had sitting on the side of our house for the past couple of years.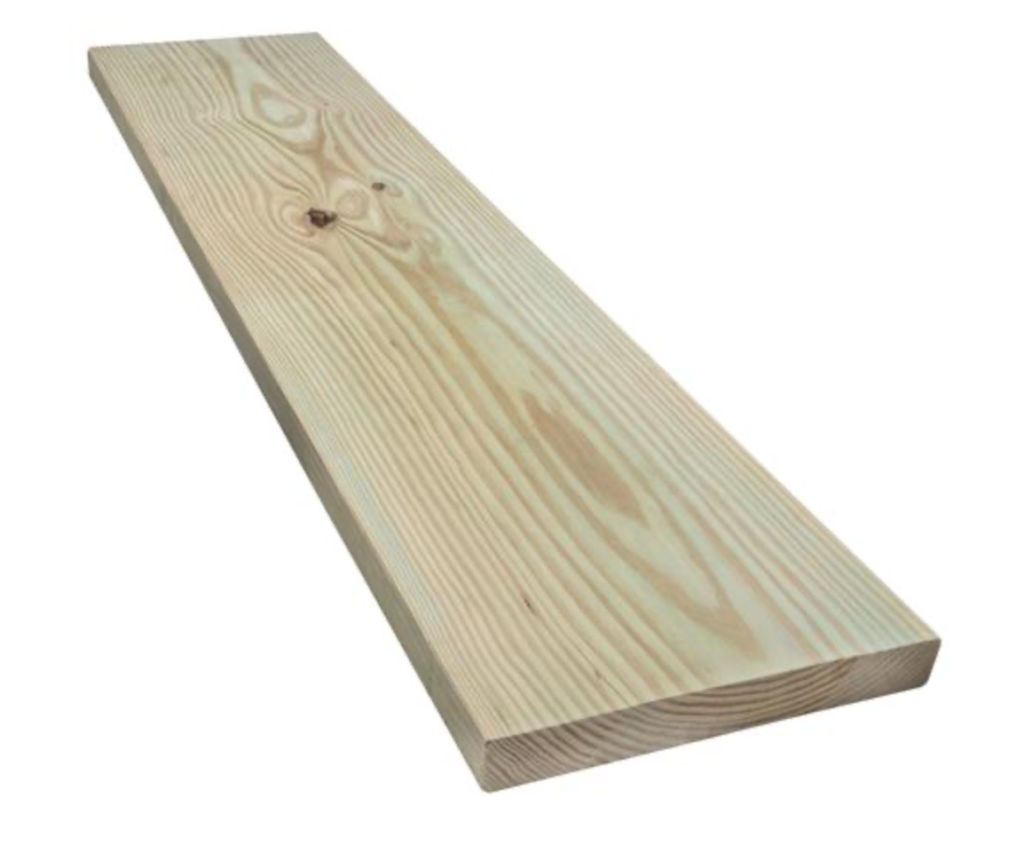
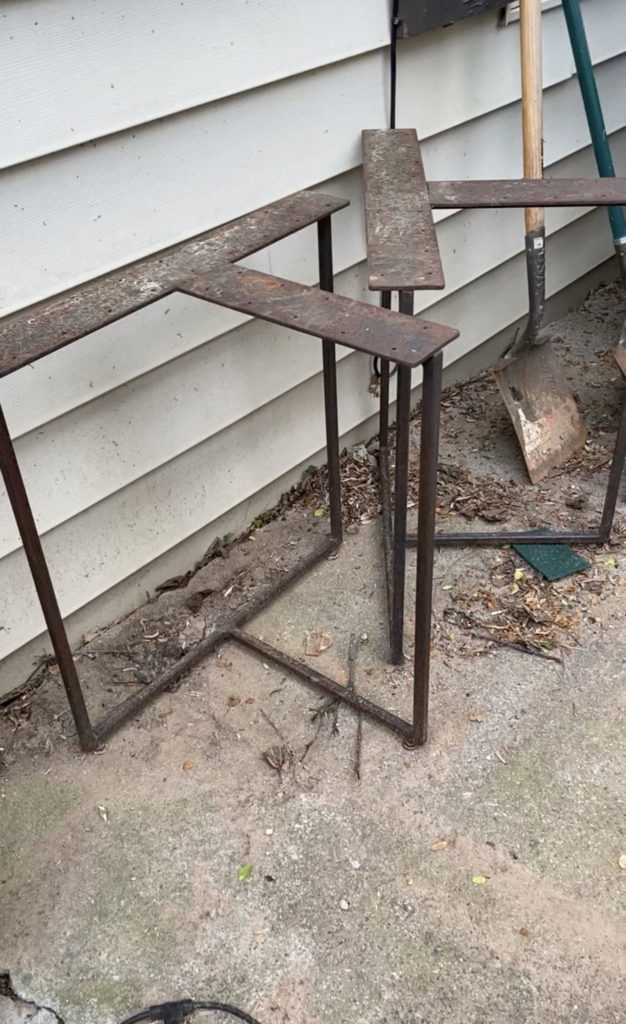
Yep they were pretty gross…but a little Dawn soap and water went a long way!
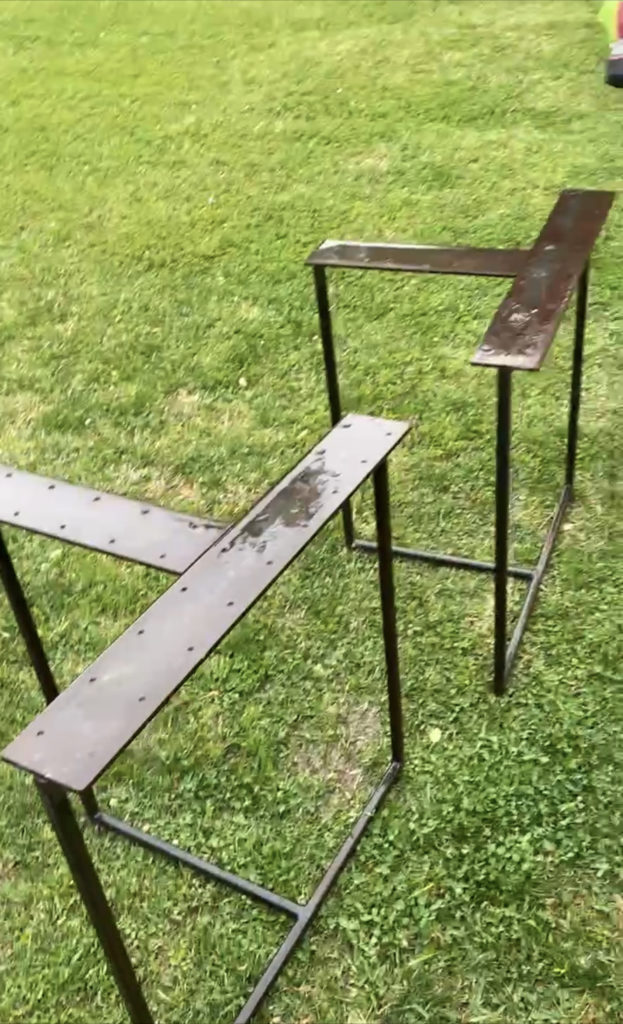
Chris was happy because this was one of the easiest table builds he’s ever built and I was ecstatic to get one more thing out of our storage area. It didn’t hurt that the table legs looked really cool too! It was seriously a win win for both of us!
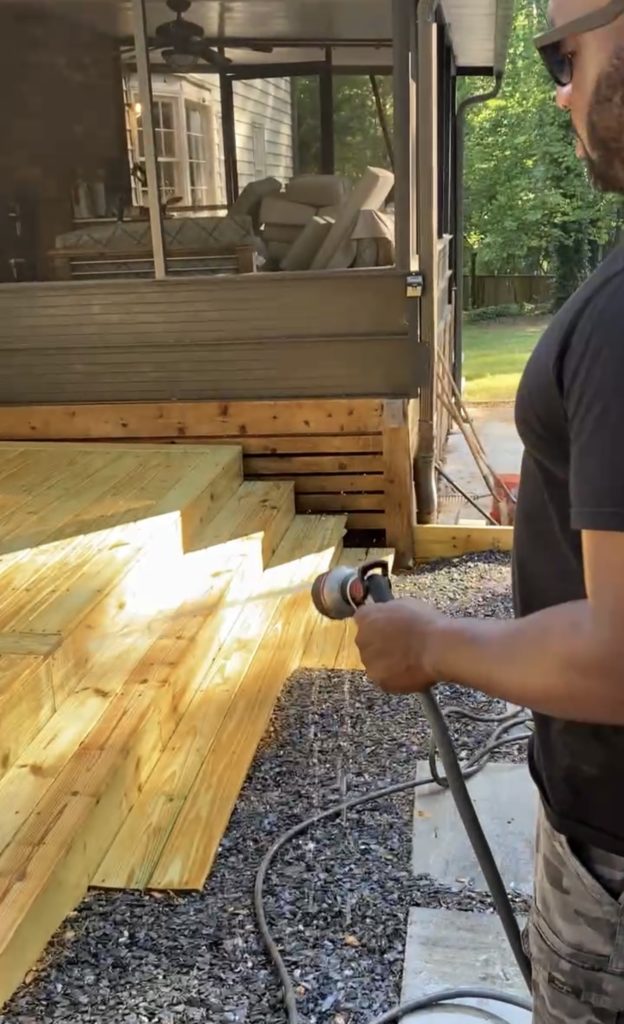
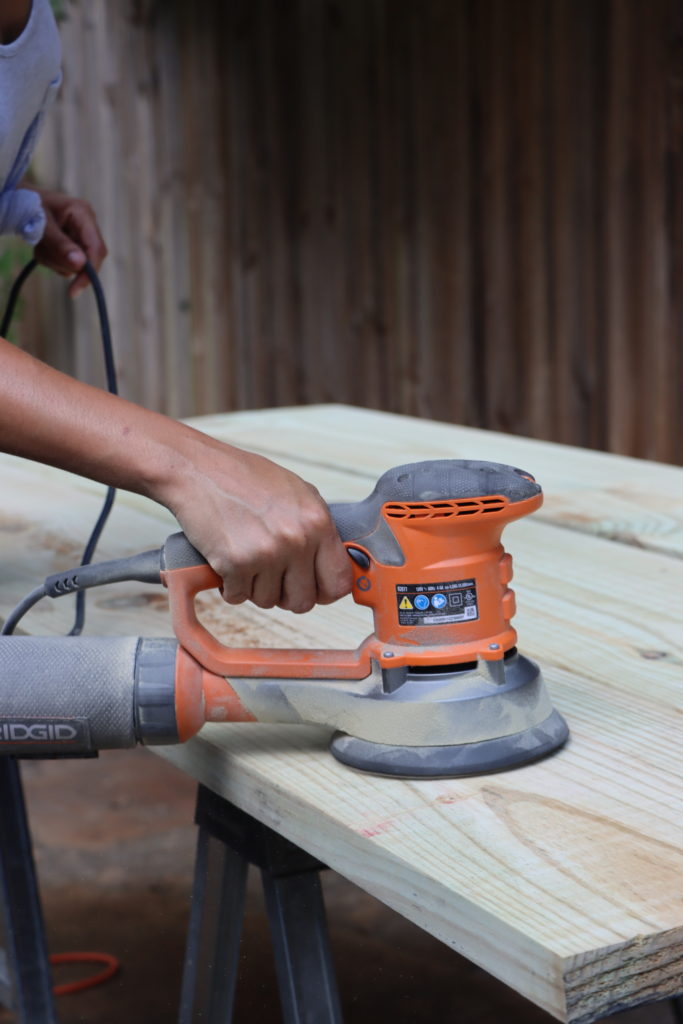
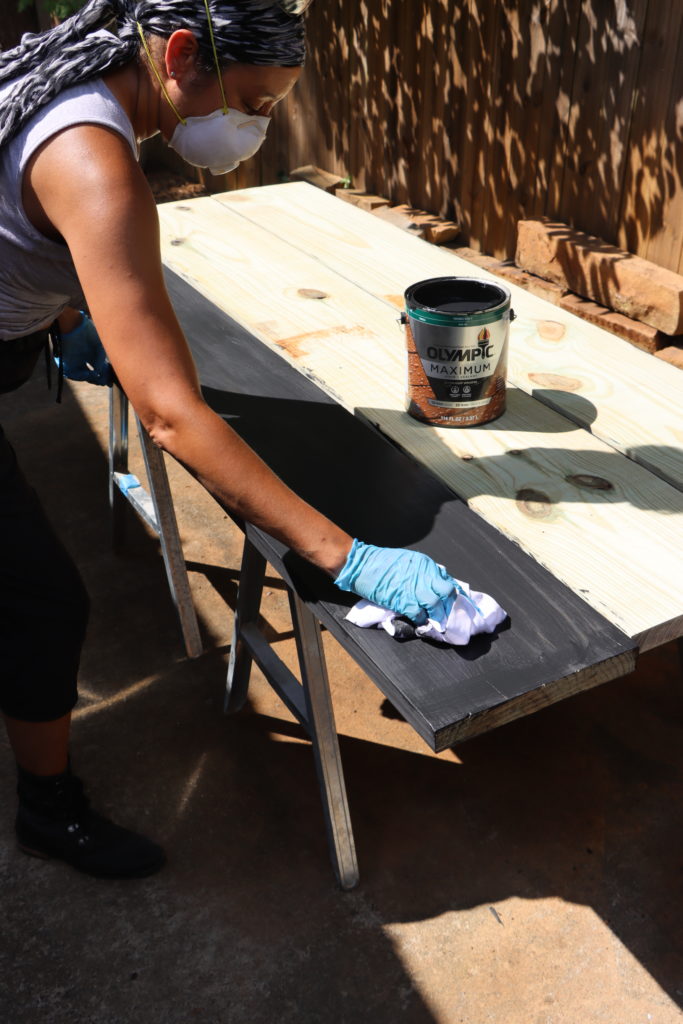
Prior to staining our table, I did a light sand with our orbital sander to take off any residue on the new wood and to give it a smoother finish.
Next I applied the Olympic Maximum solid Ebony stain with a brush. I made sure to hit the sides of the table as well before I attached the boards so that the entire table was stained.
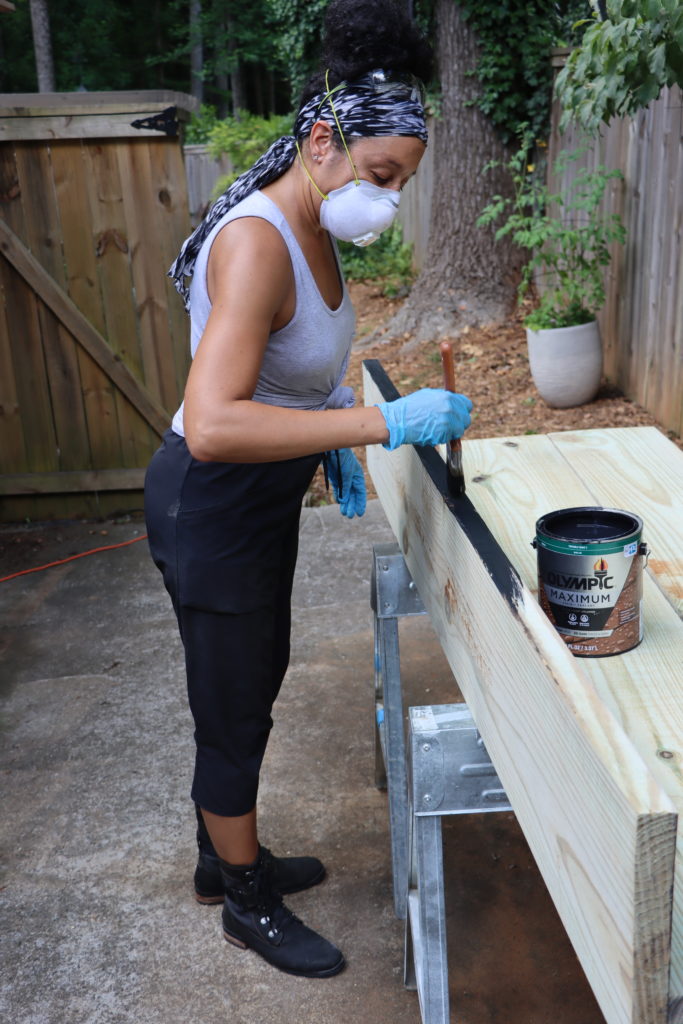
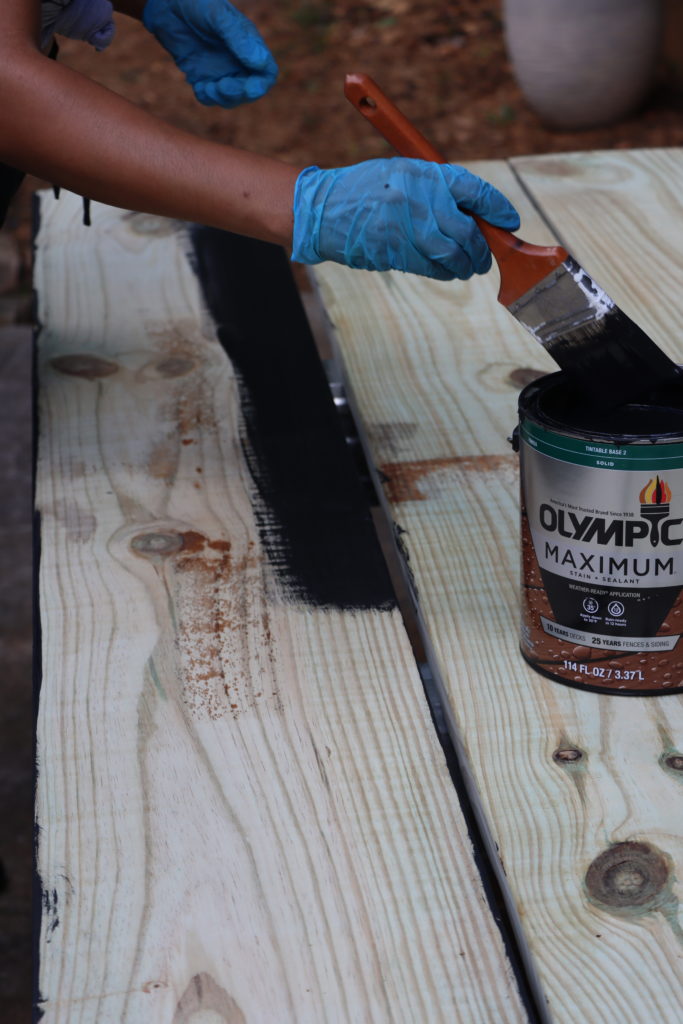
Lastly, I used a painters rag to back wipe the stain into the wood. This helped the stain penetrate the wood as well as get rid of any excess brush strokes.
And just like that…we were both finished with our weekend staining projects!
BEFORE:
AFTER:![]()
![]()
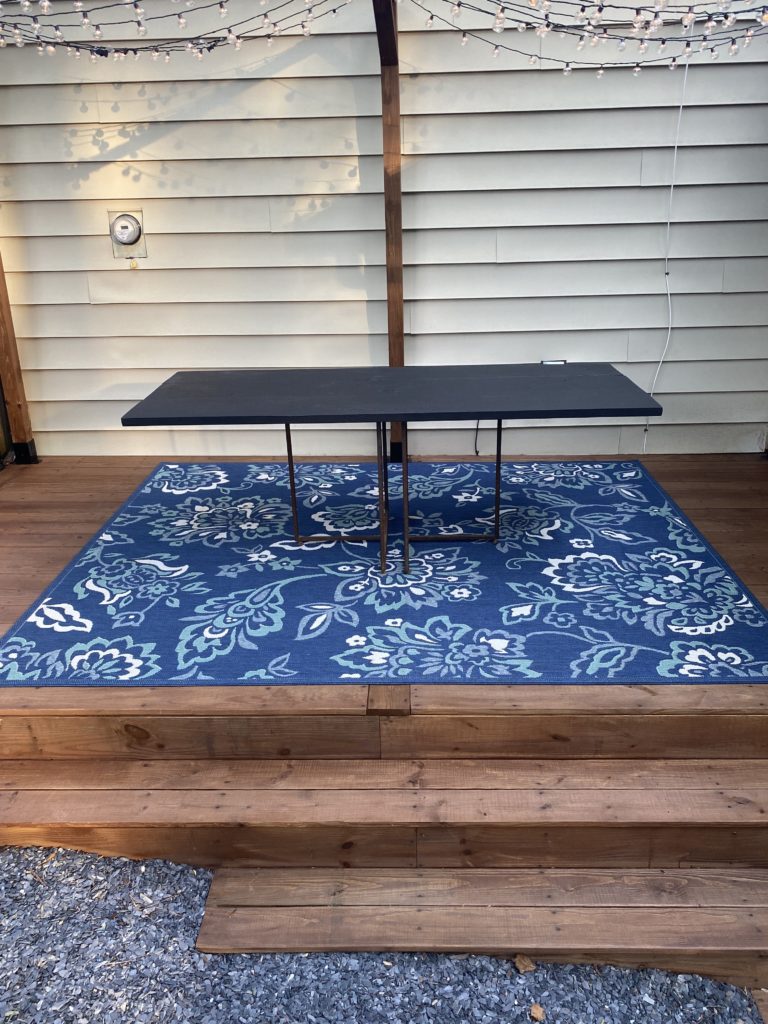
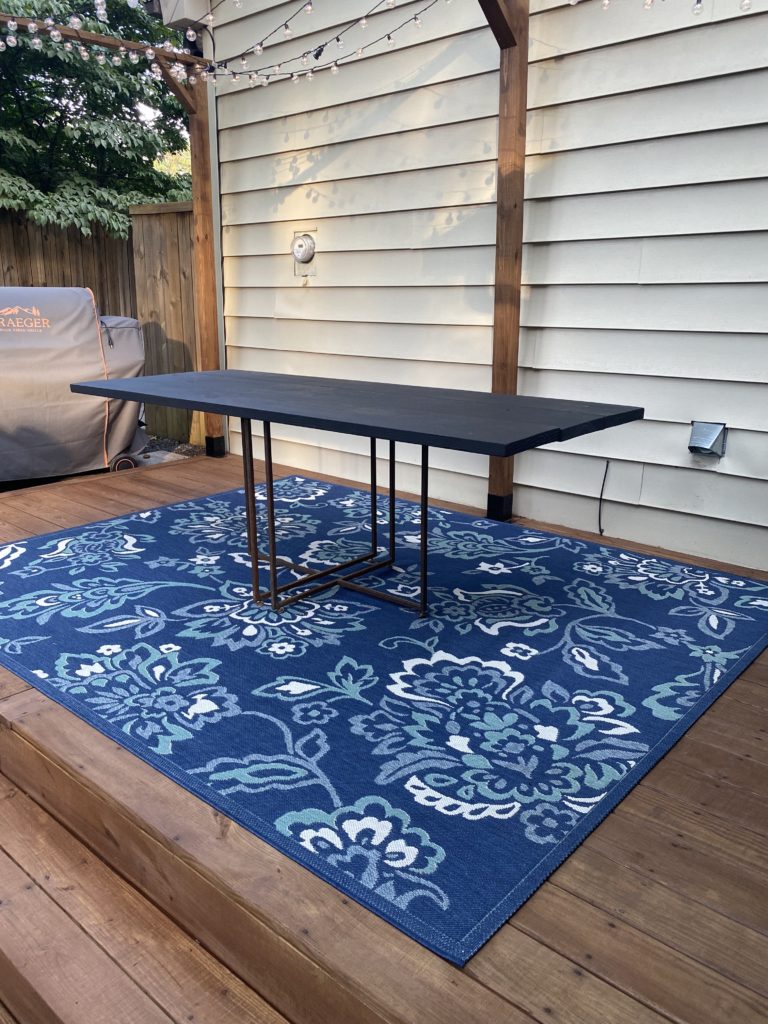
This staining project was a super quick and easy added finishing pop to our outdoor entertainment space! Now all we have left to do is to fire up the grill, set the table and invite our friends and family over for dinner!
![]()
![]() On to our next project…
On to our next project…
![]()


