LOADING...

Category "Uncategorized"

How To Build A Sunroom Home Addition on an Existing Deck

August 2, 2023

This post is sponsored by Loctite

As the owners of a design and build firm one place that we see more than the average person is the landfill. It’s always a sobering moment when you see how much waste we generate as humans. 

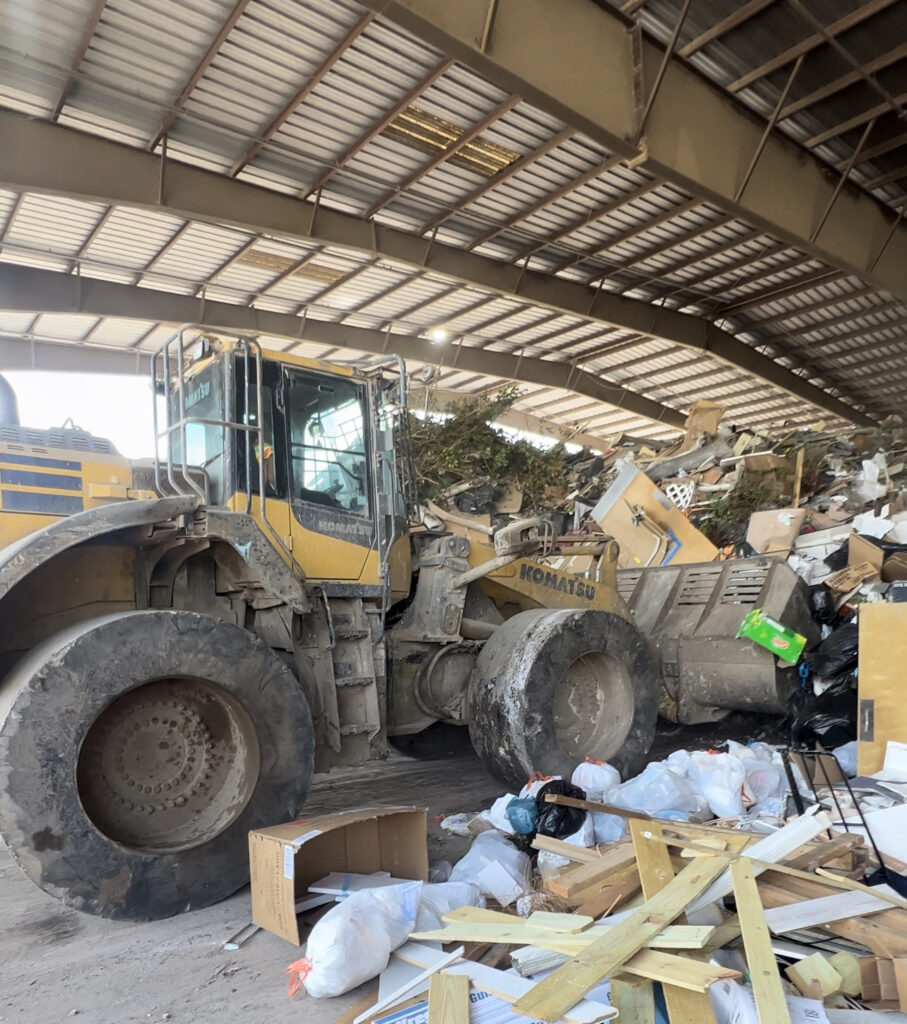
When we realized that almost 30% of worldwide waste comes from construction debris, we started making a conscious effort to minimize the amount of waste we create within our projects. 

One of our latest home additions served as the perfect opportunity to be intentional and give old building materials a second chance on life. 

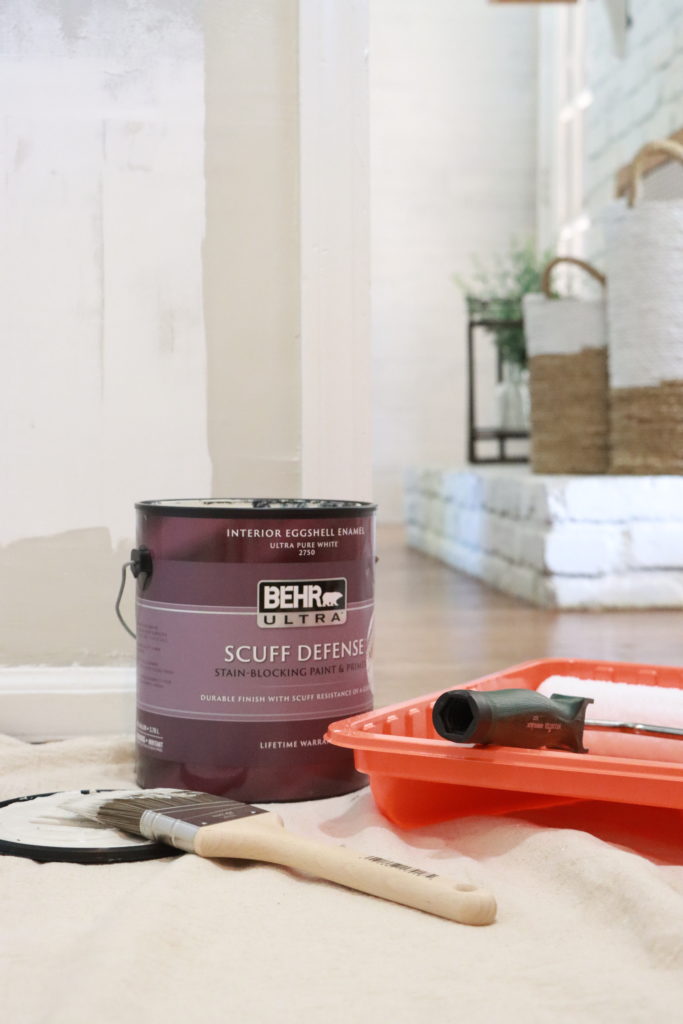
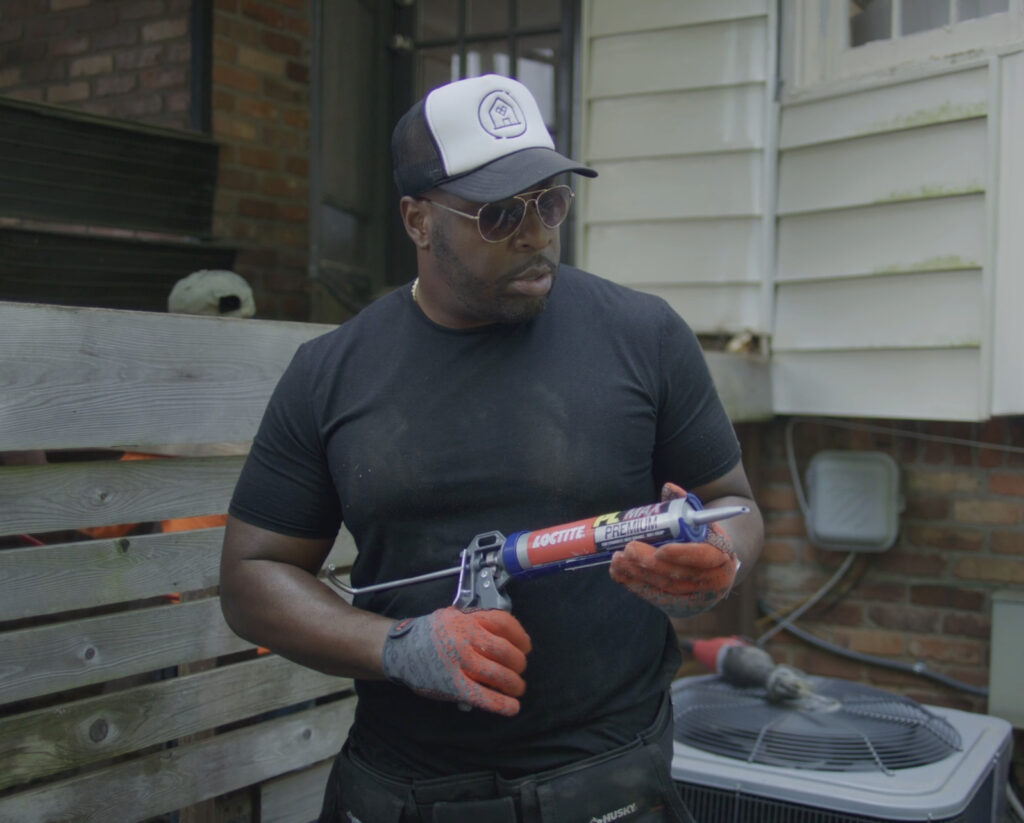
With the help of Loctite’s strongest construction adhesive, PL Premium Max, we were able to do just that!

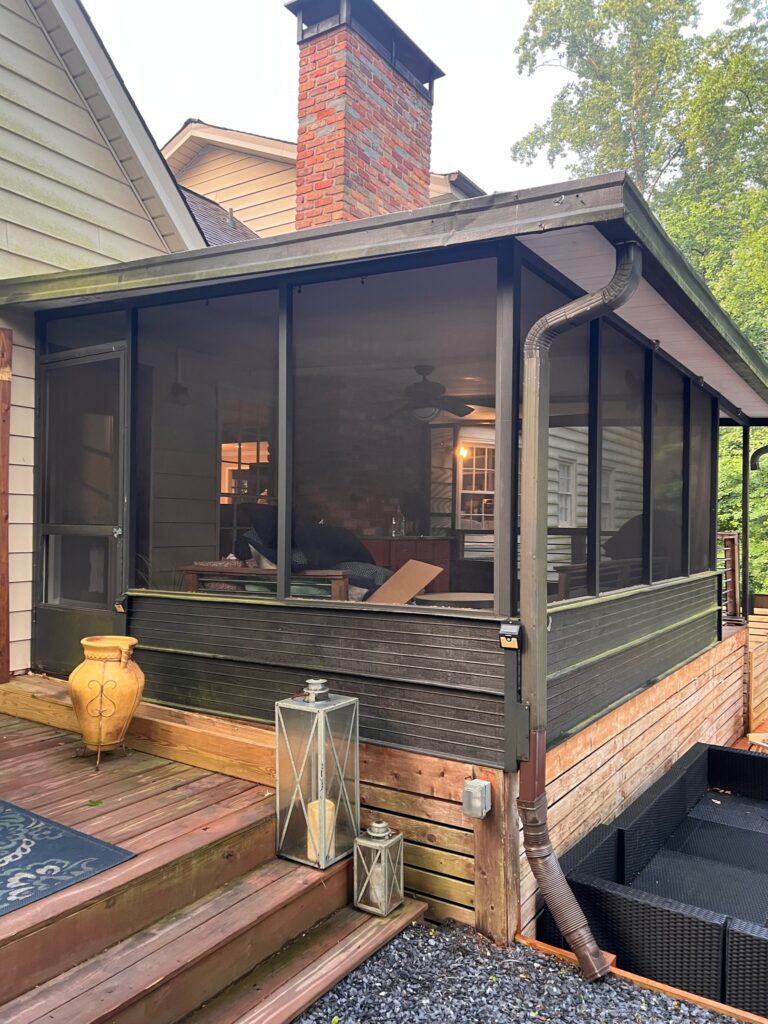
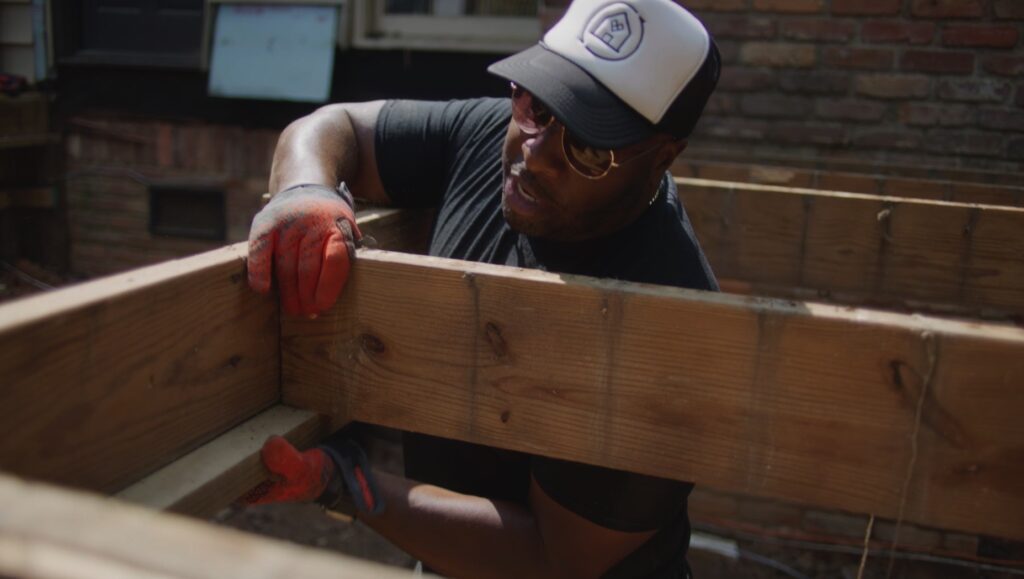
The home addition was designed to be built in the same location as an existing deck.

Given that the house was built in 1970, the foundation and floor joist system of this deck was 53 years old!

No shade to the contractors of the past because houses built in those days were built to last, but let’s be honest, building codes have changed a lot since then. Let’s just say this structure was not all the way up to code. 

Traditionally we would have approached this project with a strategy of completely demolishing the deck and building a brand new structure from the foundation up. 

However, this time we thought what if we could use what’s already there and give the existing wood a second chance at life. 

Upon inspection of the foundation and floor joists, we saw that all posts were structurally good and set in concrete, and all floor joists were in good condition and free of rot.

What we did notice was that the floor joists were separated from the band joists (boards that run around the perimeter).

Some were only toe nailed… 

and others were only secured by a bottom plate. 

Additionally, all band joists were only single wood members. In building methods today, band joists are double members and floor joists are joined to band joists using joist hangers and structural screws.

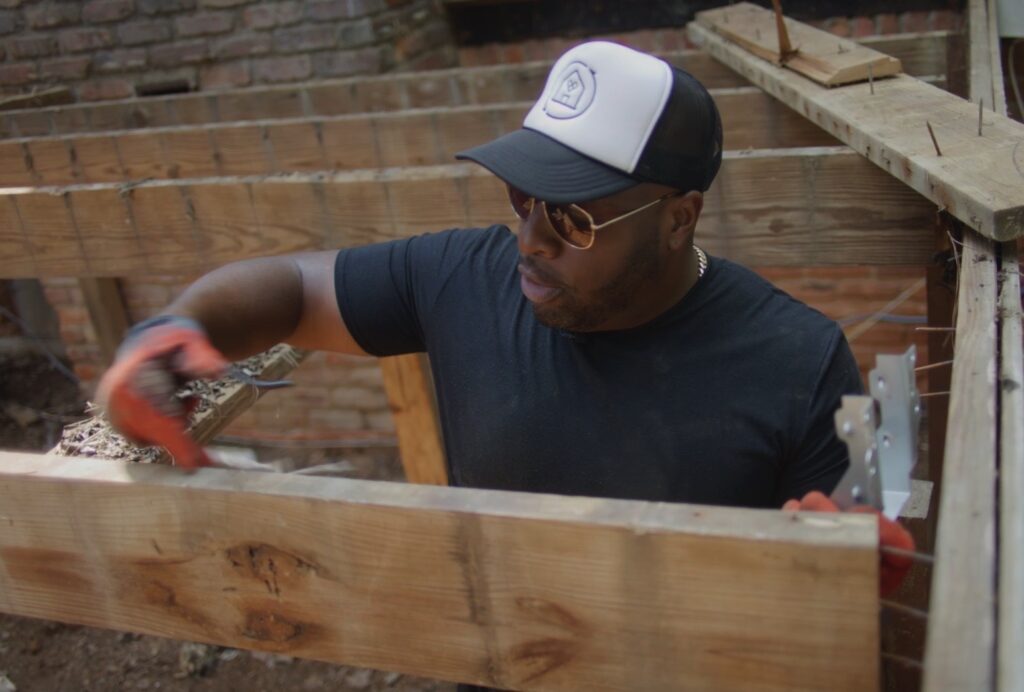
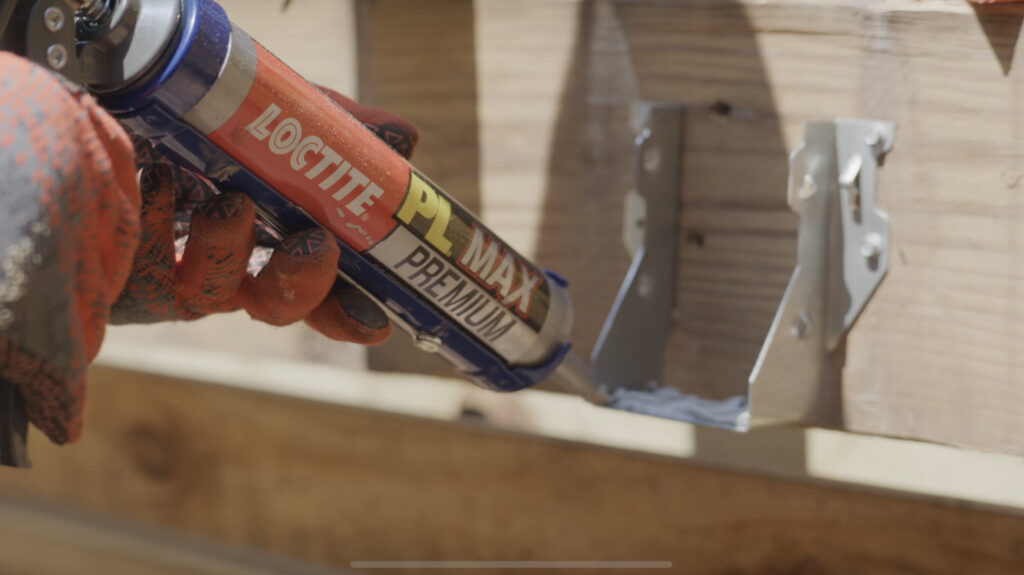
This is where Loctite’s PL Premium Max comes in! 

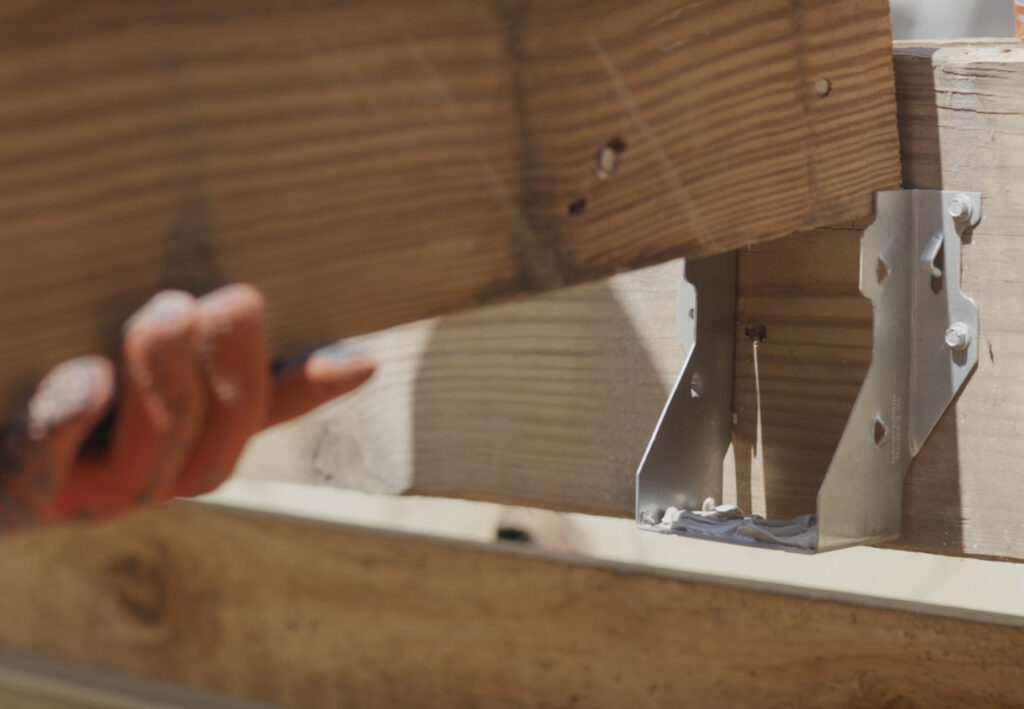
We devised a strategy that allowed us to reinforce the band joists and floor joists with new wood members and incorporate joist hangers for the newly reinforced joists to sit upon. That way we’re bringing this structure up to code and in fact two times stronger than it was before. 

We did this by using a technique called sistering. This is the action of joining old boards with new boards to increase the strength of the old wood members making a floor joist system stronger. 

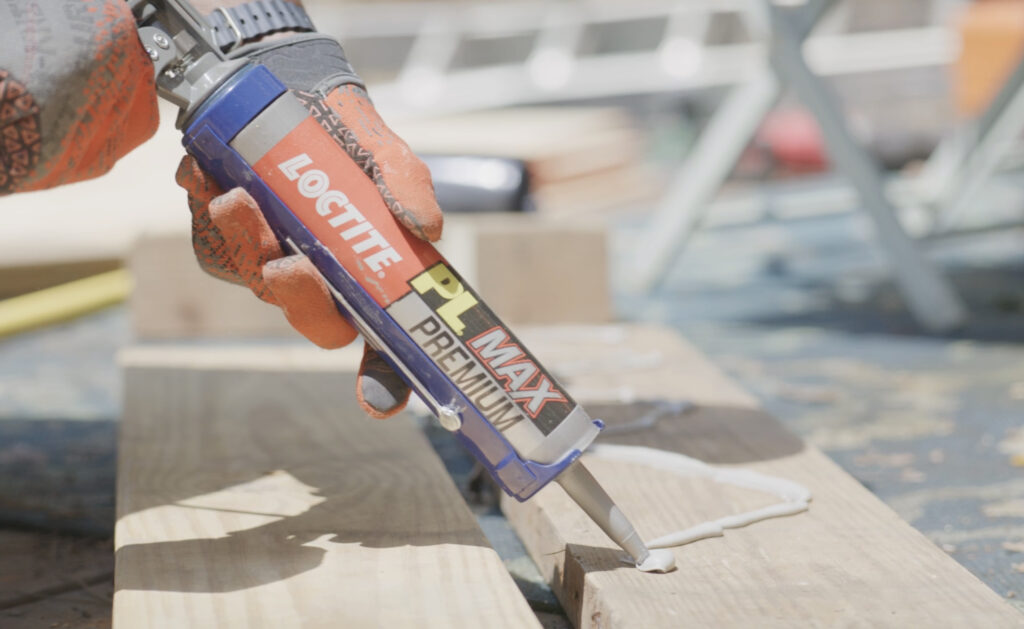
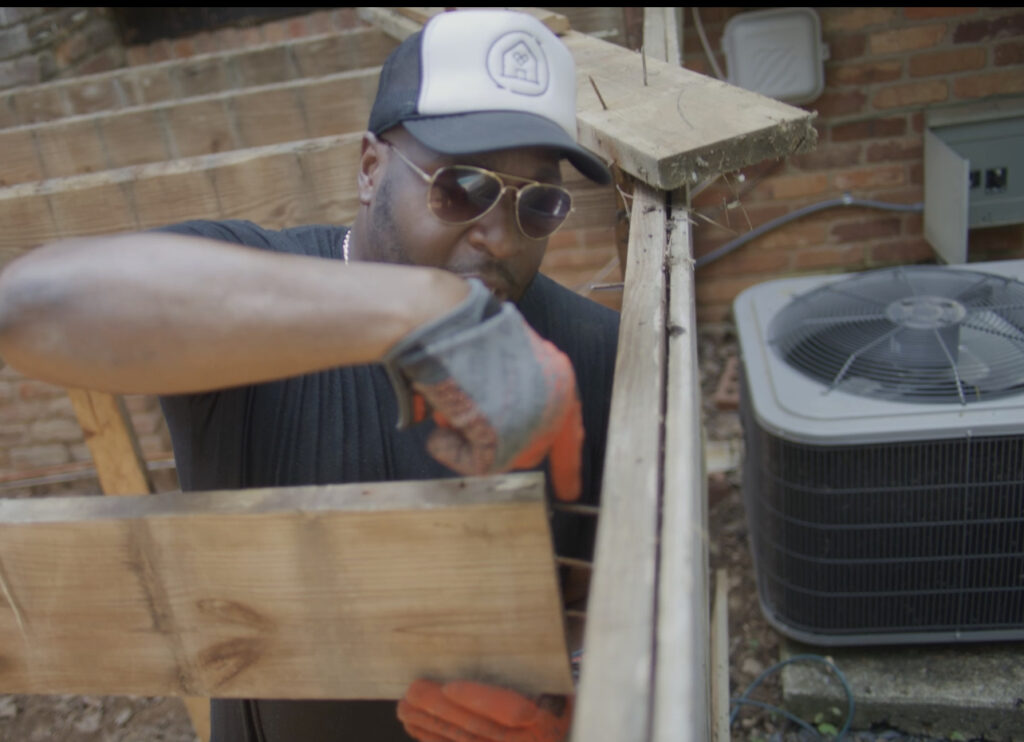
It’s industry best practice to not just fasten wood members together with nails but to add a construction adhesive between the two boards. Doing this ensures the boards don’t separate from each other over time, and that they expand and contract together. 

Loctite’s PL Premium Max is perfect for this application for many reasons. PL Premium Max bonds to multiple materials like laminates, drywall, concrete, brick, masonry, stone, marble, fiberglass, stainless steel, metal and wood. It can be used in both interior and exterior applications and you have roughly 20 minutes to reposition your project to make sure you get the right fit. 

This adhesive is awesome because it bonds in all weather. It’s waterproof allowing you to apply it directly to wet and frozen surfaces and in temperatures as low as 10 degrees and up to 120 degrees. 

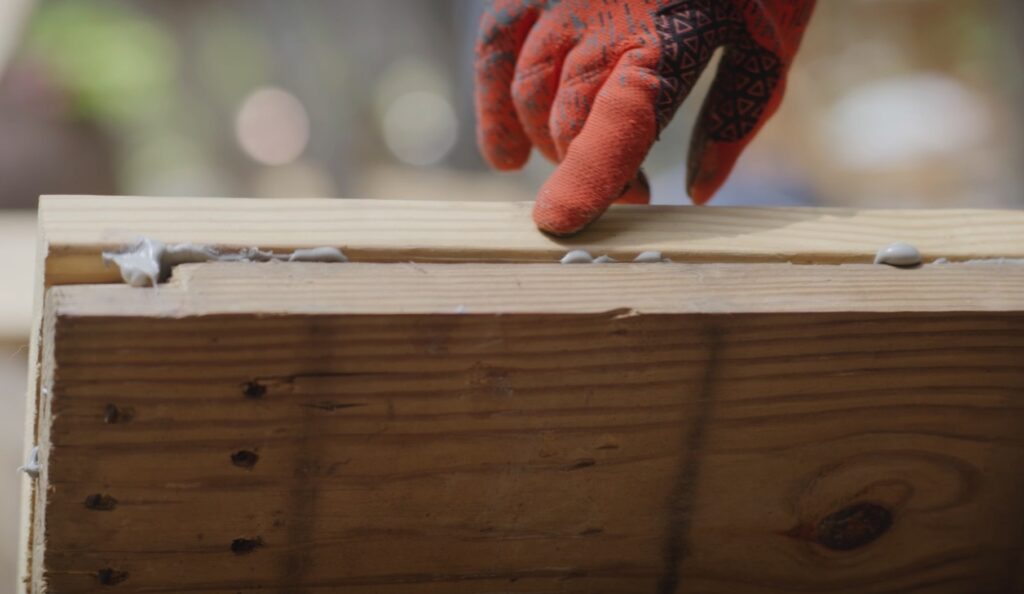
So we added a generous amount of adhesive between the joist members as advised, and also added a bead on the joist hangers to ensure they always stay in position. 

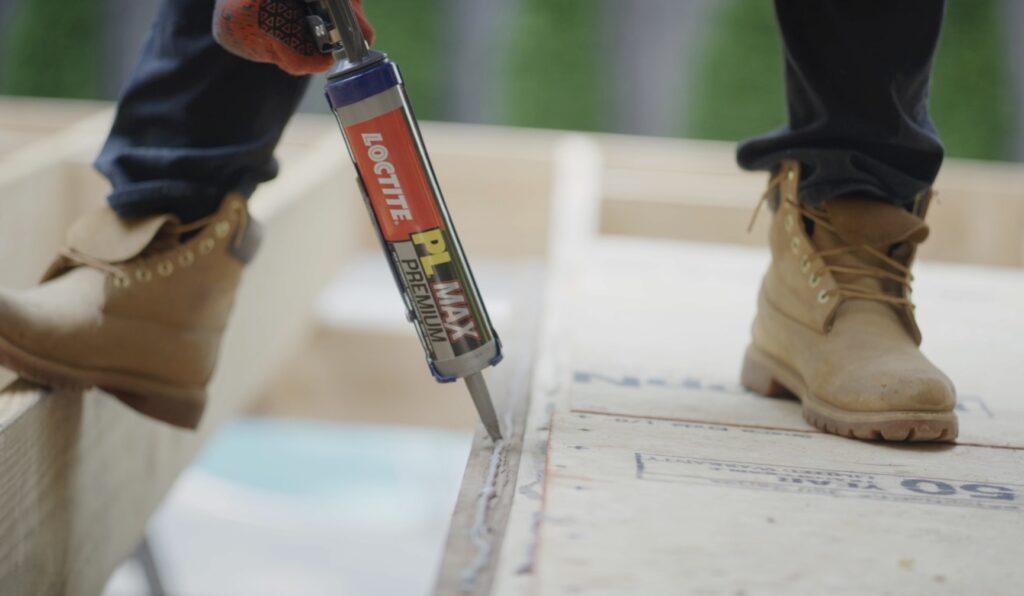
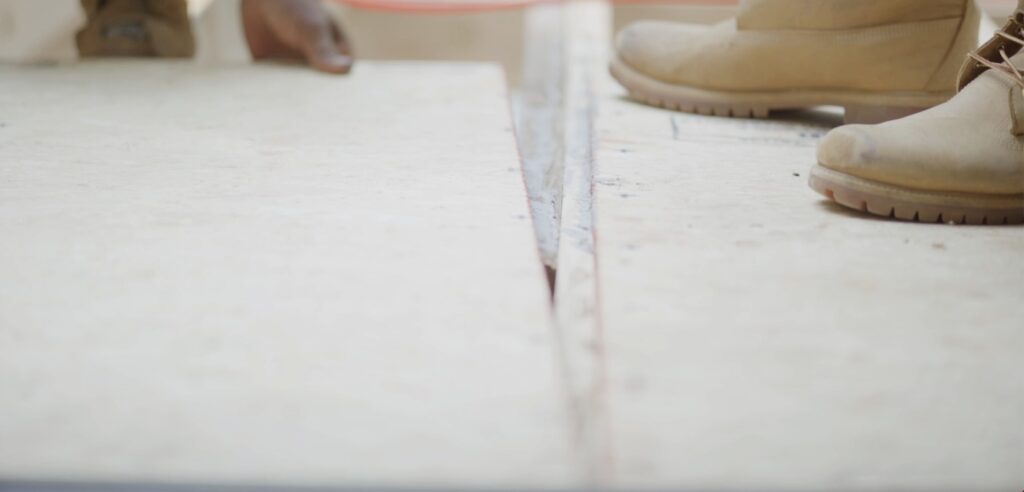
After reinforcing the floor joist, we locked everything together by applying PL Premium Max to the top of the floor joist before laying down the subfloor. 

Doing this ensures the subfloor stays locked in place as well as helps prevent spongy and squeaky floors in the future. 

Deciding to go this route created two major benefits: 

Cost savings: By not demolish the entire structure, we saved on landfill fees and eliminated the cost and time of buying and setting new posts for a new foundation. This meant time efficiency increased and our labor and material cost was reduced. 

Reduced waste: As stated earlier, we could have just tore the old structure down. Instead we choose to give the old foundation and floor joist a second chance at life.

Did you know that it takes anywhere from 50 – 100 years for wood to decompose?

It feels good to know that we did our part to help the environment!

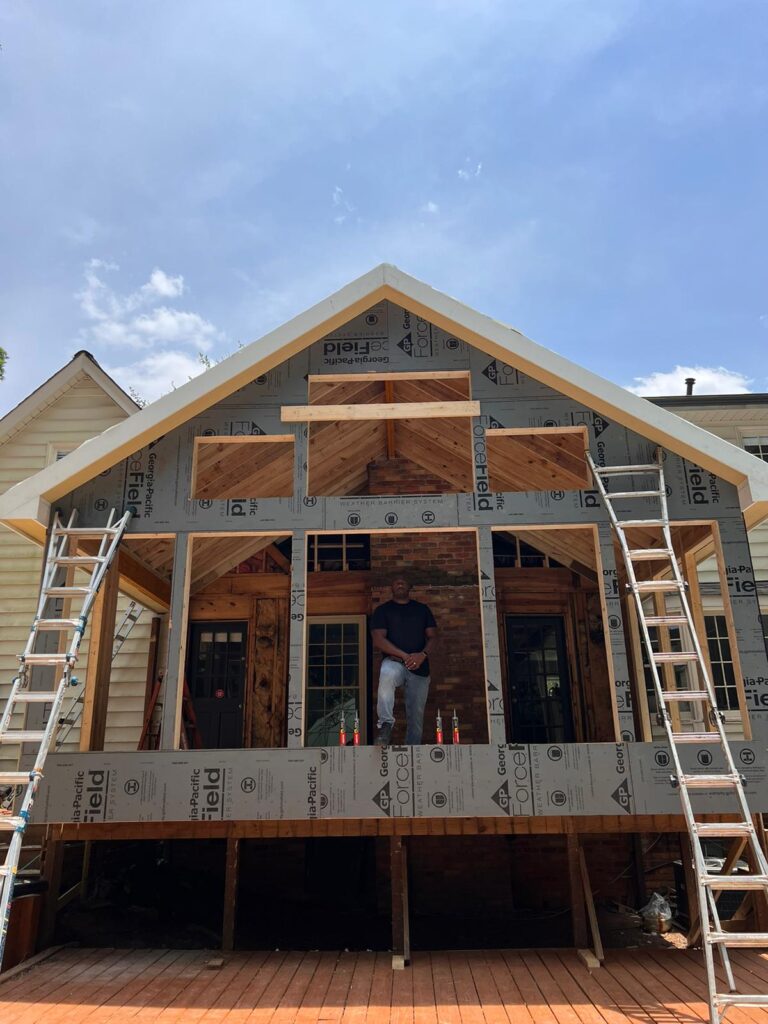
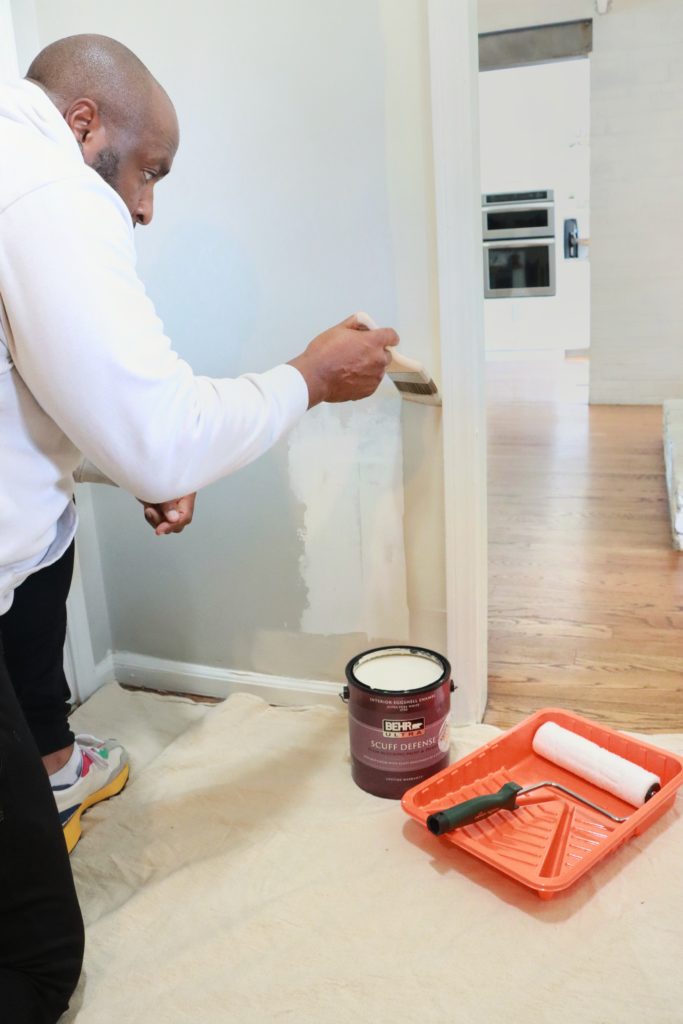
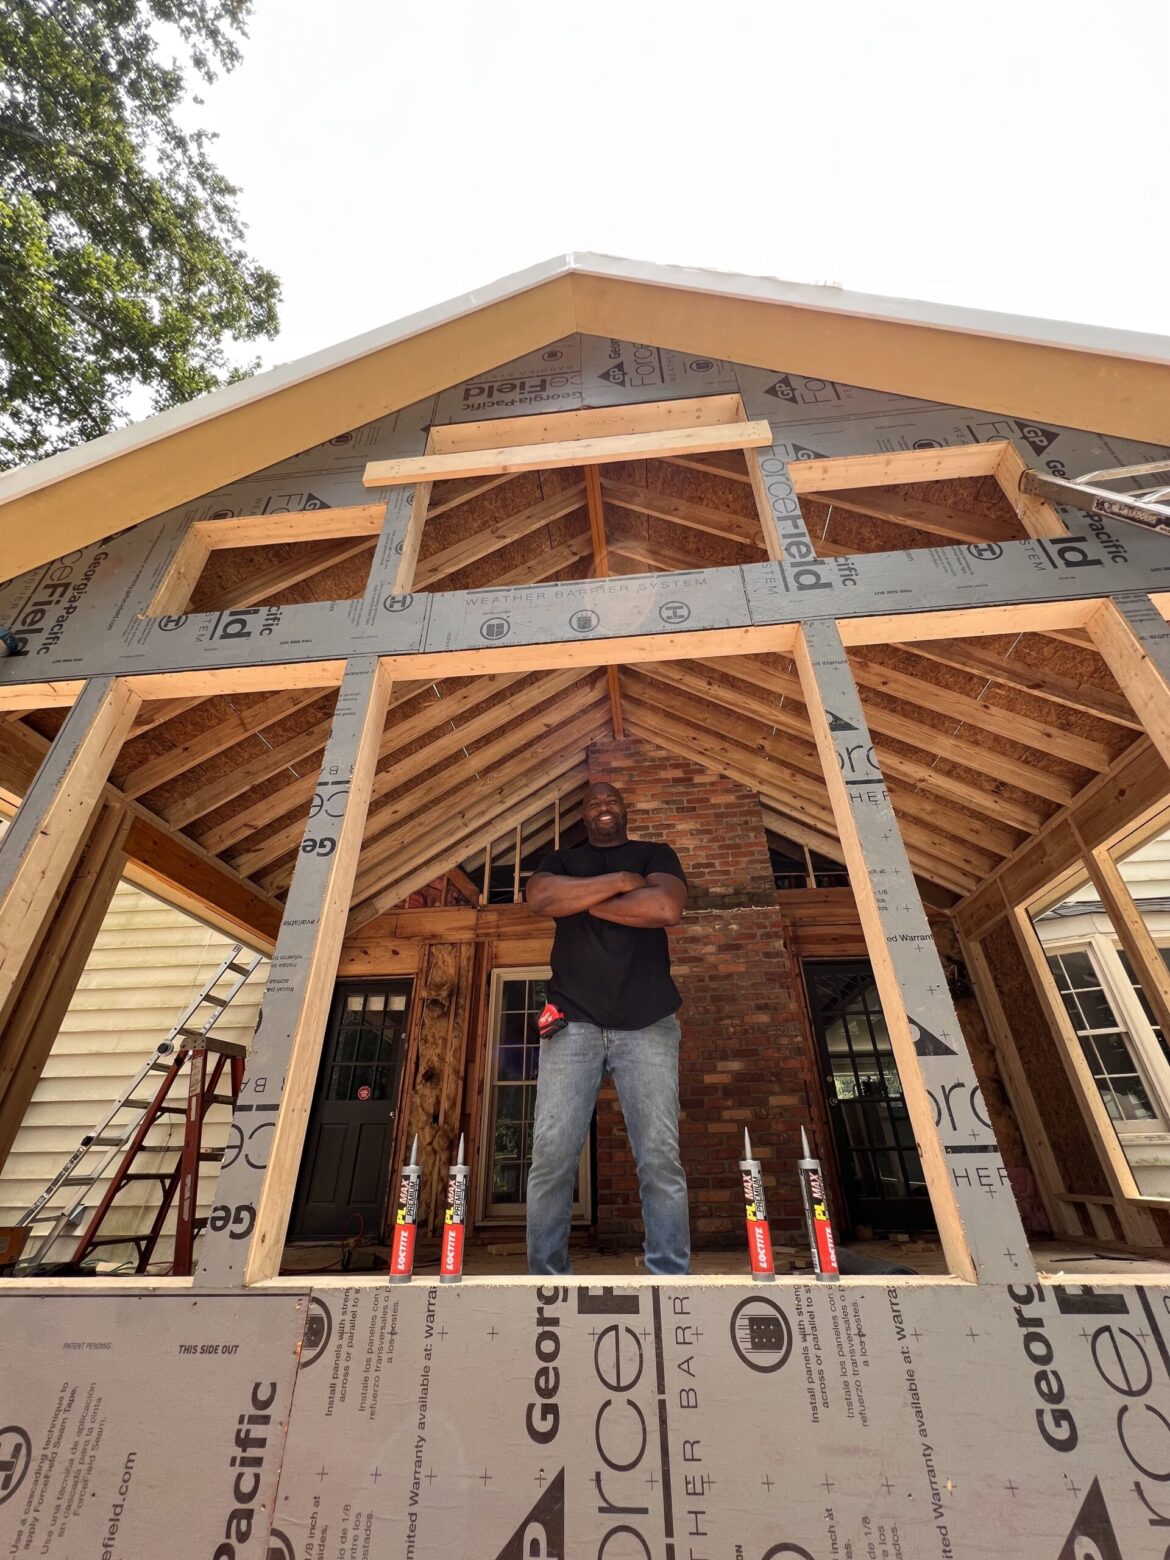
And just like we have a home addition framed, and we’re ready to move into next phases of mechanical roughing, installing windows, roofing and adding the finishes.

Lucky for us…Loctite has products that can help us do the job right in each phase to come! 

Image 6-26-23 at 11.14 AM.jpeg

Make sure to check out our Instagram tutorial on how we brought this project to life!

Take a look at our other Loctite projects on the blog here.


On to our next project….


Let’s Talk Caulk

December 13, 2022

Let’s Talk…Caulk! 

Chris and I had the pleasure of teaming up with GE Sealants to tackle some of the most common and not-so-common caulk/sealant questions out there.

This post is sponsored by GE Sealants [AD]

Caulk, which is a form of a sealant, is used to seal gaps and fill in cracks to help form a strong bond between different building materials. Caulking helps to prevent fluid, air, and even unwanted pests from getting through.  Chris and I also often apply sealants like caulk to add a clean finish to our renovation projects. 

Here are some frequently asked questions about GE-Branded Caulks and Sealants

ARE THERE DIFFERENT TYPES OF CAULK FOR DIFFERENT JOBS?

Absolutely! Choosing the best sealant for your job matters! Some caulk/sealants are more flexible and durable than others and adhere better to different materials. Some are waterproof and even paintable, and some simply are not.

Here are 5 different types of GE Caulks/Sealants: 

  1. 100% Silicone Sealant– These sealants are flexible and waterproof. They are best used in areas exposed to water and humidity like kitchens, bathrooms, windows, doors, and exterior jobs. GE Sealant has many silicone caulk options that are 100% waterproof.
  2. Latex Caulk-These caulks are best used for indoor drywall, wood, and masonry projects. They are often paintable and can come in many different colors.
  3. Siliconized Acrylic Caulk-This is a hybrid silicone. It kinda gives you the best of both worlds. They are paintable like a latex caulk, but they are also mold and mildew-resistant, waterproof, and flexible like a silicone sealant.
  4. Insulating Foam Sealant -Best for window jambs, exterior pipes, and wiring or plumbing penetrations. They can be used to fill cracks in foundations and are great for sound dampening as well.
  5. Specialty Silicone Sealant– GE Sealants offers Advanced Metal Silicone 2 Sealant and Advanced Concrete Silicone 2 Sealant which are the perfect go-to 100% waterproof 100% silicone products when you are looking for a sealant to tackle your gutter, metal, or concrete sealing projects.

HOW DO YOU APPLY CAULK?

Here are 6 simple steps to follow:

1. Choose your caulk wisely!

First things first, start by choosing the right sealant product for your job.  As explained above, there are many different types of GE Sealants to choose from.

For example, if your project is in a wet area like a kitchen or bath, you’ll want to grab a GE-Branded Kitchen and Bath Silicone for the job, as the objective here is to prevent water getting into unwanted areas like the seam between your sink and countertop.

If you are trying to insulate an area like a window or door, caulk won’t work here. Instead, you’ll need to grab a GE-Branded Insulating Foam Sealant. Whether you are looking for 100% Silicone, a Hybrid Silicone, an Acrylic paintable caulk or a Speciality item GE Sealants has it all!

2. Clean and prep your surface.

Make sure to remove any existing old sealants and take a clean lint-free cloth to remove all dirt from the area you intend to caulk.

Pro Tip: If you don’t have a steady hand, you may also want to apply painter’s tape on either side of the area to make sure the caulk is applied in a clean line. Just make sure to remove the painter’s tape before the caulk starts to dry.

3. Prep your caulk cartridge.

Make sure to prep your cartridge by first cutting the tip.

Then poke a hole in the inner seal of the cartridge to enable the flow of the product.

All before loading the cartridge into your caulk gun.

Pro Tip: Did you know that caulk guns come equipped with their own tip cutter and puncture tool attached right to the gun?

4. Apply caulk at a 45-degree angle. 

Hold the caulk gun at a 45-degree angle and push the top of the tube along the crack you are filling. This allows the product to fill the gap while eliminating air bubbles.

5. Smooth out the finish.

Make sure to wipe away any excess caulk with a caulk finishing tool (Chris likes to use his finger or a lint-free rag) to create a smooth clean bead. If you used painter’s tape, remove it immediately after tooling the bead.

6. Cap the caulk.

Don’t forget to cap off your caulk so it doesn’t dry out while stored away for future use. You can use a caulk saver cap as we do, or simply insert a nail in the opening and wrap the tip in electrical tape.

IS CAULK PAINTABLE?

The answer to this question is really quite simple…YES…and no. It all depends on which caulk/sealant you are working with. 100% silicone sealant is not paintable, however, GE-branded Supreme Silicone Window and Door comes in six popular colors you can choose from to match your window trim. Also, their Supreme Silicone Kitchen and Bath is offered in almond, clear and white.

Here are some of the GE-branded paintable caulks to choose from:

Painters Quick Dry Seal and Paint link:

Painters Pro Seal and Paint

Siliconized Advanced Acrylic Sealant


Pro-Tip: Make sure the caulk is fully cured before applying paint. Check the product label for specific cure times for each product. 

CAN YOU APPLY NEW SILICONE CAULK OVER EXISTING SILICONE SEALS?

Yes! With the help of Re-New by GE Sealants, you can now refresh areas like your kitchen and bath without removing and replacing the existing silicone.

Re-New is a specialty silicone formula that can be applied over any existing 100% silicone sealant to help you save time on your sealing jobs instead of scraping away the old sealant. It is also 100% waterproof and mold-resistant!

CAN SILICONE CAULK BE USED BELOW WATER LEVEL?

No. Even 100% waterproof silicone sealants should not be applied under water and are not intended for constant under the waterline use.

But I had a whole lot of fun making Chris test this one out in our (unheated) pool in the middle of winter!


Thanks for tuning in to this edition of “Caulk Talk”! Make sure to drop us a comment below with any other caulk questions you may have!


5 Easy DIY Upgrades to Prep for Entertaining Your Holiday Guests

November 10, 2022

The holidays can be stressful as it is, but once you add in entertaining guests at your home it can become down right overwhelming.

With family visiting from out of town this year, I asked Chris to knock out a few easy DIY upgrades in our home to get an early jump start on preparing for our holiday guests.

To make sure he had no excuses to get to work, I headed over to the Home Depot to pick up all of the items needed for each project.

This post is sponsored by The Home Depot

I even grabbed Chris an early Christmas present as a little extra motivation. The Home Depot always has the best tool deals during the holidays!

He’s been talking about upgrading all of his tools to the Milwaukee line for years! I even upgraded his small old tool boxes to this huge Husky Heavy Duty 15 Drawer Rolling Tool Chest!

Chris is definitely a happy man!!!

Now let’s put these new tools to work!

Here are 5 easy DIY upgrades you can knock out this weekend to help prep your home for your holiday entertaining: 

1. UPGRADE YOUR THERMOSTATS TO SMART THERMOSTATS

A smart thermostat is one great upgrade you can do in your home leading into the holidays. 

After researching numerous different smart thermostats’ features, we decided the Nest Learning Thermostat was the way to go for us.

We love its sleek design and that it really is “smart” enough to help track our daily energy usage while learning how we live in our home helping us to save on our energy bill all while still keeping our home feeling comfortable.

It makes controlling the temperature in your home super easy for everyone and it conveniently allows you to adjust the temperature for your guests remotely via your cell phone.

If you’re the one traveling out of town for the holidays this year, a smart thermostat like the Nest is the perfect way to conserve on energy while you are away. And again, it can all be set up and monitored via the app on your smart phone.

2. UPGRADE YOUR OUTLETS TO USB PORT OUTLETS

USB outlets are an easy upgrade that can be installed in your home in just a matter of minutes.

I can’t tell you how many times we’ve taken a trip out of town and forgotten our phone charger adaptor, but had an extra charging cord plugged into the car or thrown in our bag.

With this simple upgrade your guests can easily charge their phones with just their cords while freeing up the 3 prong outlets for other devices.

It’s actually been said that the charge is up to 40% faster this way! I’m loving this simple upgrade so much that I’ve already convinced Chris to convert all of the outlets in our bedroom, living room, and kitchen over to USB’s as well!

3. UPGRADE YOUR LOCKS TO SMART LOCKS

Another quick upgrade on our list was switching out our front door lock to a smart lock system. While at the Home Depot, I purchased the Lockly Vision Smart Lock + Video Doorbell because it is a three-in-one solution.  A doorbell, a smart keypad door lock and a camera all in one!

Adding a smart lock system to your home makes it super easy to lock and unlock your doors from afar with the convenience of your smart phone.

You can also give your visitors a temporary keypad code which gives guests the freedom to come and go as they please without having to worry about needing a key.

Not only does Lockly’s smart keypad make things more convenient for you and your guests, but the HD Video doorbell also adds another level of security to your home, which during the holiday season is a must! 

4. UPGRADE GARAGE DOORS TO SMART GARAGE DOOR OPENERS

Next up let’s talk about garage doors openers.  I know you’re probably thinking “Why upgrade my garage door openers for the holidays?” That’s a great question and I think I have a few great reasons why. 

While shopping at the Home Depot I picked up two of the Chamberlain LED Smart Garage Door Openers for Chris to install before the holiday season in hopes of adding Security, Convenience and Comfort to our home and for our guests. 


The Chamberlain Smart Garage Opener is a decently inexpensive option for those looking to add smart technology to their home. 

With many homes having a guest bedroom above or near the garage, installing an ultra quiet system like the Chamberlain is a great way to add additional comfort to your guests stay.

And with the convenience of the MyQ mobile app, you can easily give your guests access to your home while you are away.

You can even link this system to Key by Amazon for convenient and secure gift and grocery deliveries to your home during the holiday season.

Now do you see why it’s on our holiday prep list?!!!

5. TACKLE THOSE PESKY PAINT TOUCH UPS 

It never fails that when the holiday season approaches we are always doing last minute paint touch-ups around the house just hours before our guests arrive.

But not this year! This year I made sure to grab one of our favorite paints, Behr Ultra Scuff Defense, to help get our (well Chris’) paint party started early!

A smudge here…a chip there…or in our case a whole wall, Behr Ultra Scuff Defense is a paint and primer in one with advanced scuff resistance and outstanding durability for all your high traffic areas.


It totally lives up to all of the hype!

The great thing about these 5 easy DIY upgrades is that you can knock them all out in a weekend! Prepping to entertain this holiday season doesn’t have to be stressful if you just make a point to plan ahead.

Check out our latest Youtube Short of Chris in action knocking out all of these easy upgrades!

Holiday Prep-Part 1

Holiday Prep-Part 2

On to our next project…

This post contains affiliate links for your convenience.

Pin the images below to your DIY boards on Pinterest (just click the Pin button in the top left corner). You can also follow along with us on Pinterest!

Pinterest PIn 5 Easy DIY Upgrades to Prep for your Holiday Guests

Pinterest Pin 5 DIY Upgrades to Prep Your Home for Entertaining Your Holiday Guest

Follow our journey one day at a time on Instagram @ReclaimedKarma