Custom Home Office Built for a King
July 28, 2017
Chris and I had a great time working together building out…
reclaimedkarma@gmail.com


Chris and I had a great time working together building out…
One of the many things that I knew I wanted to change about our home…


When we bought our home a few years back…
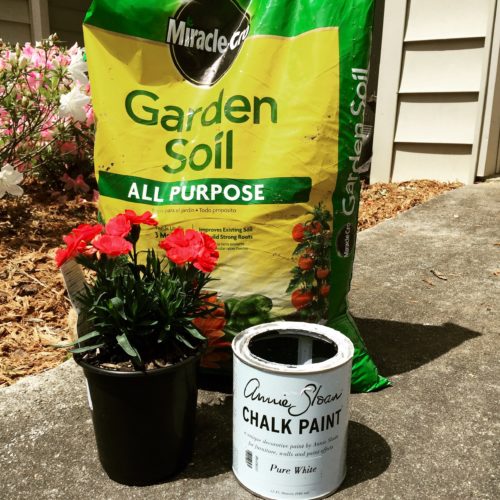
When Spring time comes along, I like so many people am often rushing out to the local home and garden buying up all the flowers and plants I can find. I swear I have been back and forth this entire month spending every dollar I have adding color to our front flower bed and throughout our back yard. I’m always in search of the next cutest flower pot. So, as I was cleaning out my workshop, I came across my stash of empty paint cans. They looked like the perfect size for a small flower arrangement![]() . What a great reason to head back out to my favorite home and garden spot and grab some pretty pink Dianthus.
. What a great reason to head back out to my favorite home and garden spot and grab some pretty pink Dianthus.
A little elbow grease…
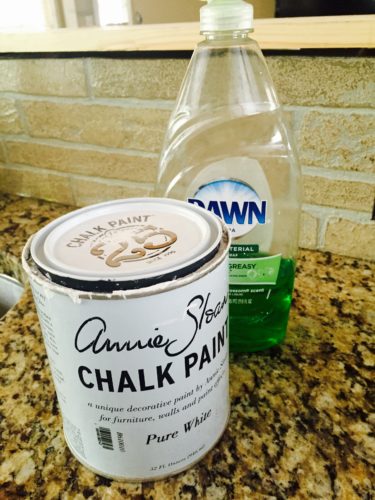
Potting soil (all I had on hand was Garden Soil on hand and I was anxious) and some of your favorite flowers.
I definitely wont be throwing out my old paint cans again any time soon. Simple and way too cute!
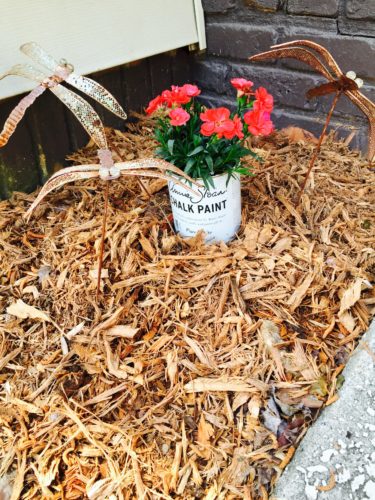
On to our next project!
Creatively Yours….

“Custom…Reclaimed…Restored. We do it all! Send us a note.”
So this is a problem we seem to have weekly at our Reclaimed Karma workshop. We find the most beautiful antique piece of furniture with so much history, but then when it comes to the construction of the piece the drawers seem to always be a problem! It never fails…the curse of the broken drawer slide hits us again!
Whether the drawers have Side-Mounts…
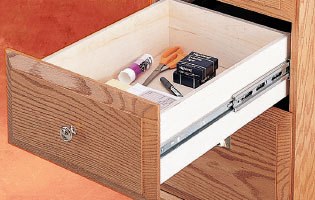
Center-Mounts…
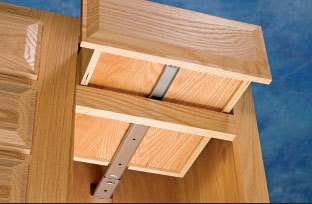
or Under-Mount glides…
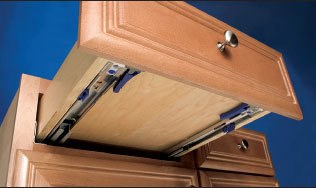
They can always pose a problem when you are dealing with upcycling an old piece. Lately, Chris and I seem to have the biggest problems with our antique pieces that normally are built with center-mount slides. That is…until late the other night…when Chris stumbled upon a fool proof way to fix those pesky broken slides. We decided to shot a quick youtube video breaking down how scotch tape has become our new best friend. 🙂
Hope our little discovery helps you as much as it’s helped us!
Creatively Yours….
“Custom…Reclaimed…Restored. We do it all! Send us a note.”
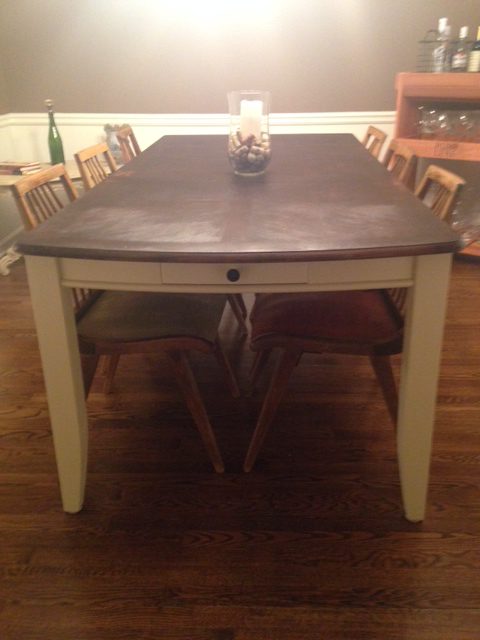
In some ways this is a continuation of an earlier post about our adorable Kitchen/Dining room table we sold to a cute new expecting mom. Well, that same mom contacted us about a week later and said she had found chairs she would like to have stained to match the top of her new kitchen table. My first thought was “No Problem! That’ll be EASY!”. So I did what I love to do most…I signed my husband Chris up for the job. 🙂
After carefully staining the chairs in a beautiful Kona (chocolate) yummy color to match the table top,

Chris ran out to buy his favorite polyurethane product Minwax-Satin Polyurethane Fast Drying Spray. He came home and immediately sprayed those suckers down and waited for them to dry! He just knew he was done with the chairs and they were on their way to their new home!!!
So we called the customer and she headed right over to pick them up. While waiting on her, I sat them out in our dining room, which has a huge window and brings in a ton of light. As I glanced back at the chairs, I noticed that the light was making the chairs appear cloudy and milky!
ARE YOU KIDDING ME!!! I can’t send these home with our trusting customer looking like this!!! Anyone that knows me knows that I don’t sell anything that I can’t proudly put our Reclaimed Karma stamp of approval on! Call me a perfectionist…but that’s just how it is! I had to tell her it would be a few more days, and that she would have to make her way home once again without her chairs.
Back to the drawing board we went. We spent some time that night researching online how to finish furniture with polyurethane and not have a “milky/cloudy” finish. We decided that maybe our satin poly spray was the problem with this specific piece and decided to try the more detailed, time consuming way called…a can of high gloss polyurethane and a paint brush. 🙂
After carefully painting on another good layer of polyurethane and letting it dry for most of the next day, we knew we had found the answer. They were looking awesome!
The next morning, I went into our work room to check on these infamous chairs and they still were looking beautiful. The color was deep and rich, the shine was clear as day…but when I went to touch them, they felt gritty and rough.
Here we go again!!! Back to my good friend “google” I went. What the heck were we going to do? We can’t hand our work back to the customer and have it feeling like sand paper. I found out quickly that many people have problems with staining their projects. From the stain having brush strokes, to the finish coming out cloudy/milky, to the polyurethane drying gritty and rough. It was normal!
One more trip to the hardware store to pick up:
1. Steel Wool (you could also use a VERY FINE GRIT Sand Paper 400-600 or even paper from a paper bag)
2. Buffing Towels
I started with sanding every inch of the chairs. WARNING, when you do this, it will look dusty and cloudy and will look like you are ruining the poly top shine, but that’s why you have your buffing cloth. After I sanded down my entire piece of furniture, I went back over it with my buffing towel and buffed the shine right back into the finish. When I was done, the chairs were as smooth as a baby’s bottom and they shined like the sun!!! Even I was impressed!


Long story short :-)…Staining Aint Easy Baby!!! If you know that it’s going to be a long detailed process when you walk into it, and you are prepared with the right tools from the start and prepared to take your time to do it right, you’ll be ok!
“For more information on any of our pieces or to have a piece custom reclaimed for you please send us a note”

Originally, I thought about upcycling this mirror to then sell. But once I was finished, I knew the perfect place in our home that was calling it’s name. The Mantel!
We cater to those who seek a more intimate approach to design and construction.
Business License: GBL-1123-25000
GC License: RLQA004721