LOADING...

2022

Let’s Talk Caulk

December 13, 2022

Let’s Talk…Caulk! 

Chris and I had the pleasure of teaming up with GE Sealants to tackle some of the most common and not-so-common caulk/sealant questions out there.

This post is sponsored by GE Sealants [AD]

Caulk, which is a form of a sealant, is used to seal gaps and fill in cracks to help form a strong bond between different building materials. Caulking helps to prevent fluid, air, and even unwanted pests from getting through.  Chris and I also often apply sealants like caulk to add a clean finish to our renovation projects. 

Here are some frequently asked questions about GE-Branded Caulks and Sealants

ARE THERE DIFFERENT TYPES OF CAULK FOR DIFFERENT JOBS?

Absolutely! Choosing the best sealant for your job matters! Some caulk/sealants are more flexible and durable than others and adhere better to different materials. Some are waterproof and even paintable, and some simply are not.

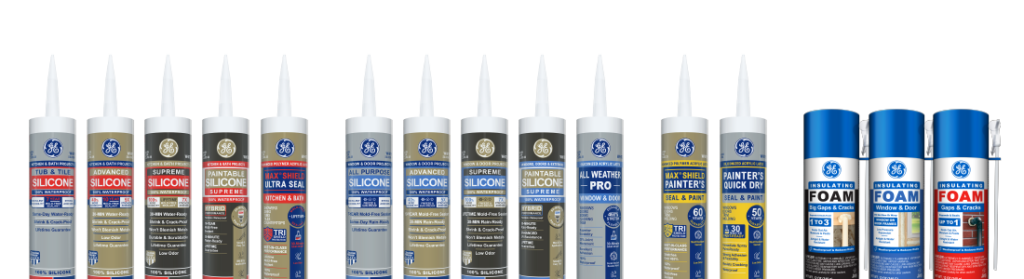
Here are 5 different types of GE Caulks/Sealants: 

  1. 100% Silicone Sealant– These sealants are flexible and waterproof. They are best used in areas exposed to water and humidity like kitchens, bathrooms, windows, doors, and exterior jobs. GE Sealant has many silicone caulk options that are 100% waterproof.
  2. Latex Caulk-These caulks are best used for indoor drywall, wood, and masonry projects. They are often paintable and can come in many different colors.
  3. Siliconized Acrylic Caulk-This is a hybrid silicone. It kinda gives you the best of both worlds. They are paintable like a latex caulk, but they are also mold and mildew-resistant, waterproof, and flexible like a silicone sealant.
  4. Insulating Foam Sealant -Best for window jambs, exterior pipes, and wiring or plumbing penetrations. They can be used to fill cracks in foundations and are great for sound dampening as well.
  5. Specialty Silicone Sealant– GE Sealants offers Advanced Metal Silicone 2 Sealant and Advanced Concrete Silicone 2 Sealant which are the perfect go-to 100% waterproof 100% silicone products when you are looking for a sealant to tackle your gutter, metal, or concrete sealing projects.

HOW DO YOU APPLY CAULK?

Here are 6 simple steps to follow:

1. Choose your caulk wisely!

First things first, start by choosing the right sealant product for your job.  As explained above, there are many different types of GE Sealants to choose from.

For example, if your project is in a wet area like a kitchen or bath, you’ll want to grab a GE-Branded Kitchen and Bath Silicone for the job, as the objective here is to prevent water getting into unwanted areas like the seam between your sink and countertop.

If you are trying to insulate an area like a window or door, caulk won’t work here. Instead, you’ll need to grab a GE-Branded Insulating Foam Sealant. Whether you are looking for 100% Silicone, a Hybrid Silicone, an Acrylic paintable caulk or a Speciality item GE Sealants has it all!

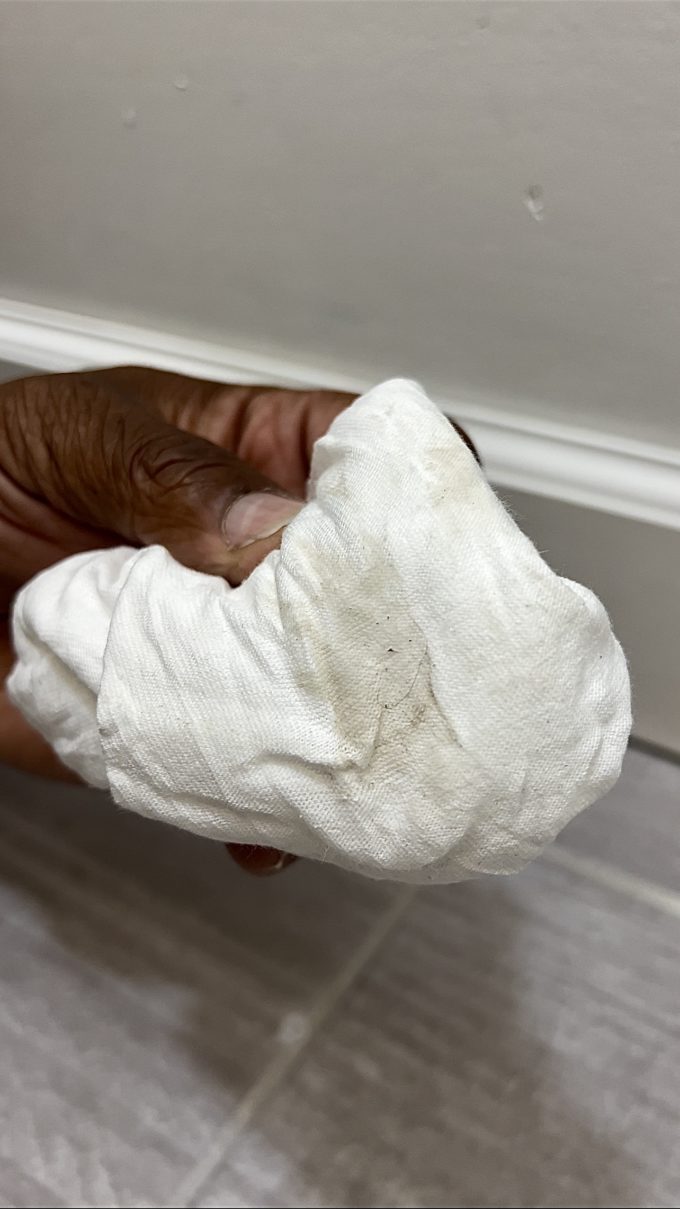
2. Clean and prep your surface.

Make sure to remove any existing old sealants and take a clean lint-free cloth to remove all dirt from the area you intend to caulk.

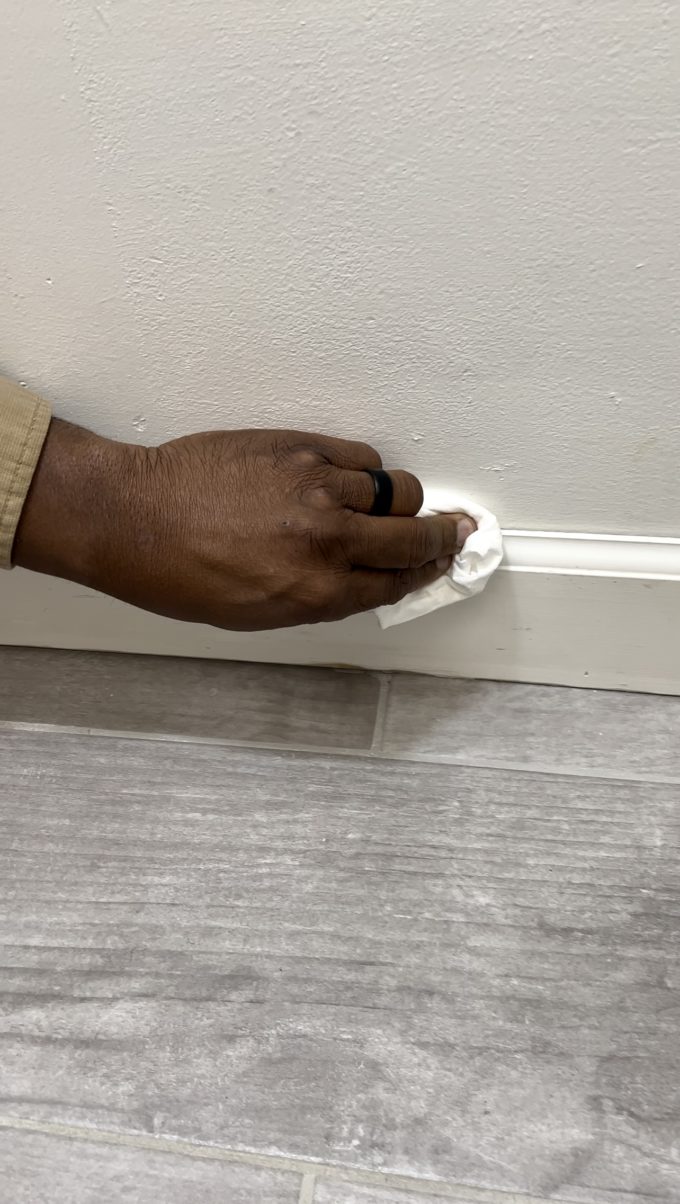
Pro Tip: If you don’t have a steady hand, you may also want to apply painter’s tape on either side of the area to make sure the caulk is applied in a clean line. Just make sure to remove the painter’s tape before the caulk starts to dry.

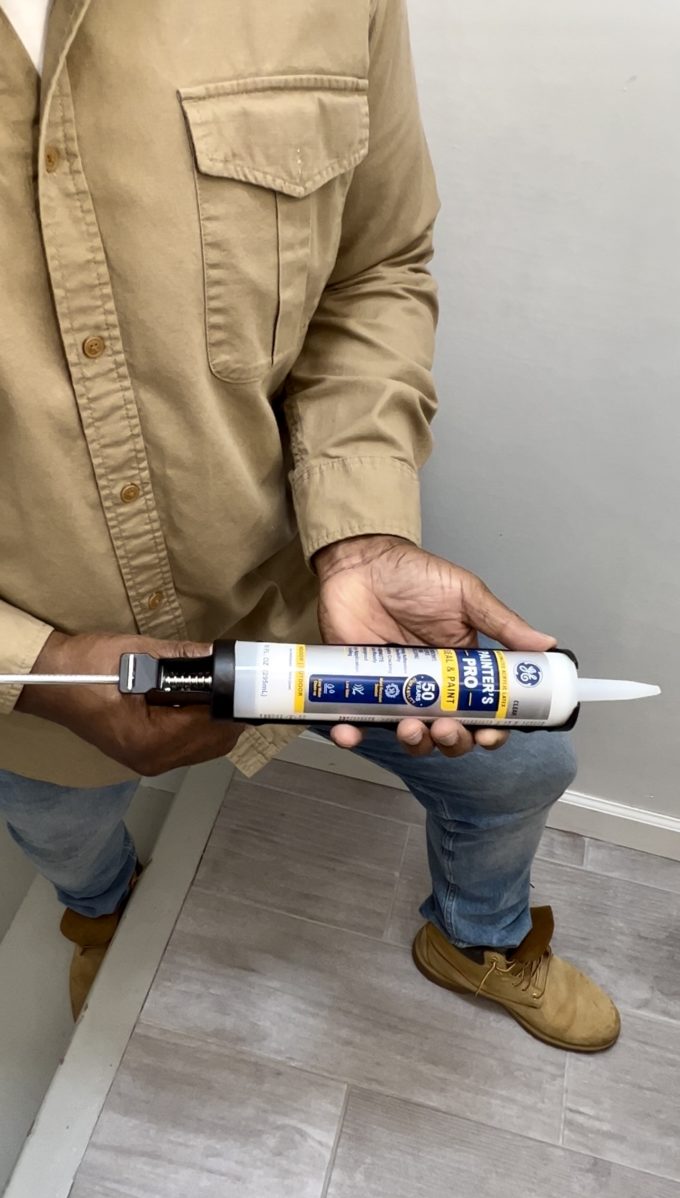
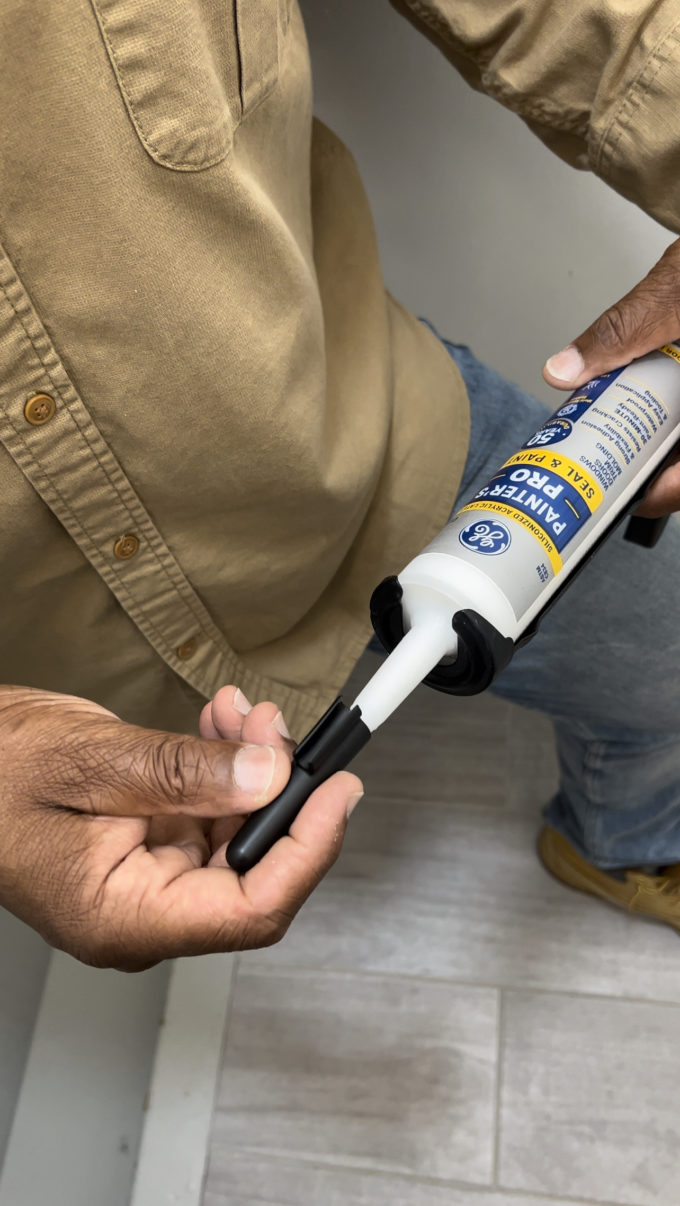
3. Prep your caulk cartridge.

Make sure to prep your cartridge by first cutting the tip.

Then poke a hole in the inner seal of the cartridge to enable the flow of the product.

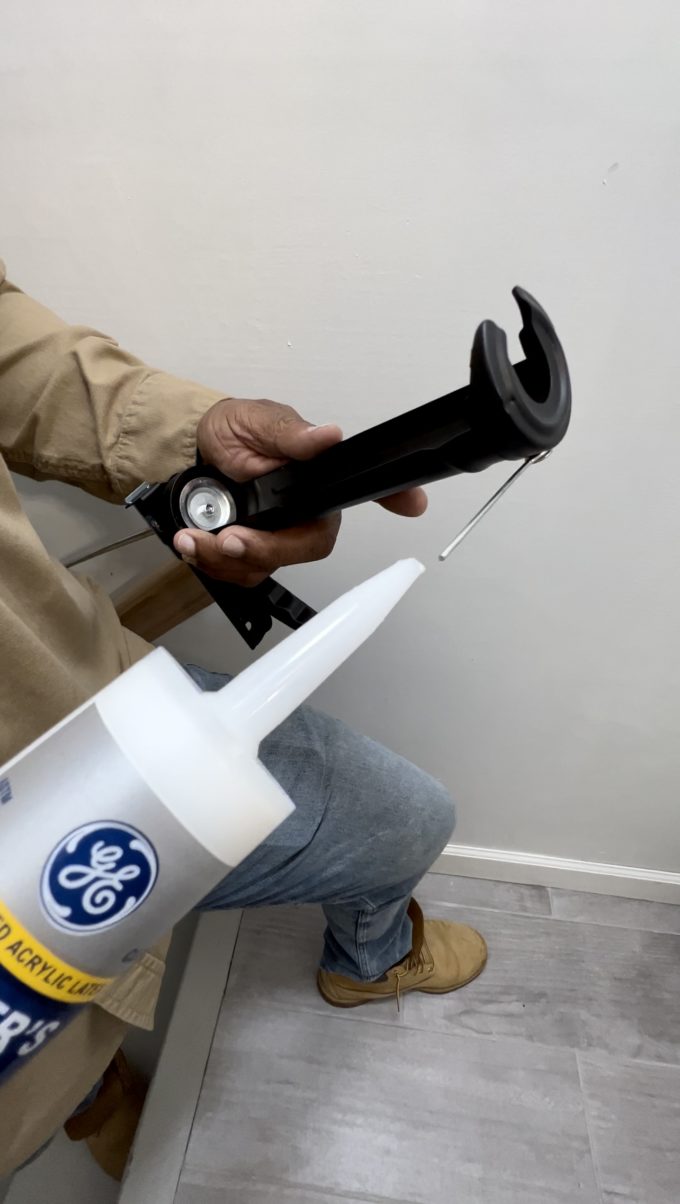
All before loading the cartridge into your caulk gun.

Pro Tip: Did you know that caulk guns come equipped with their own tip cutter and puncture tool attached right to the gun?

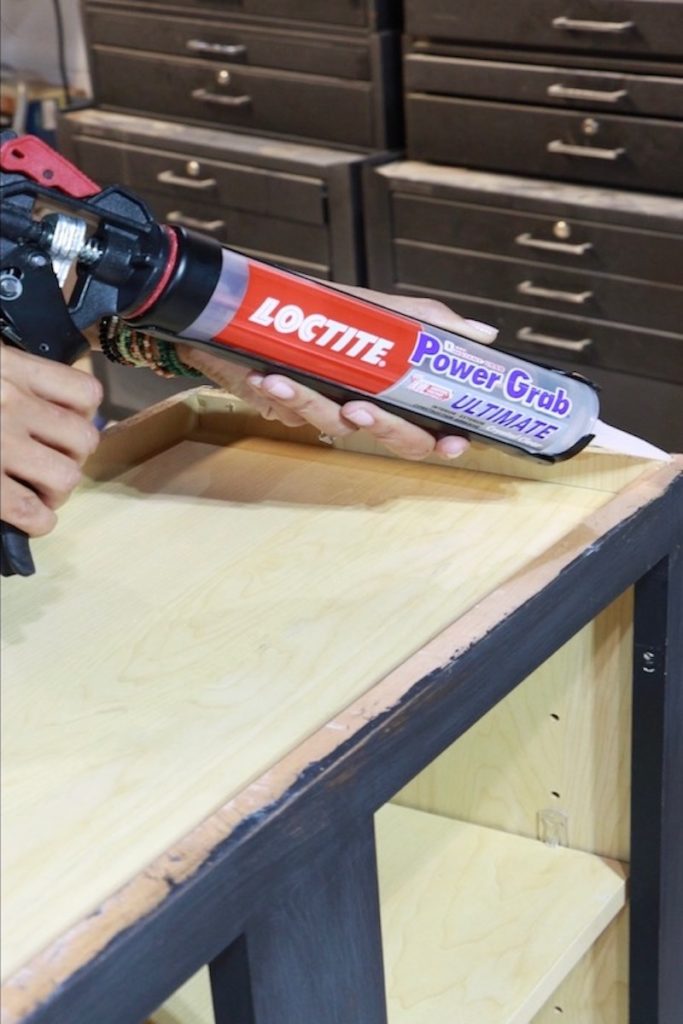
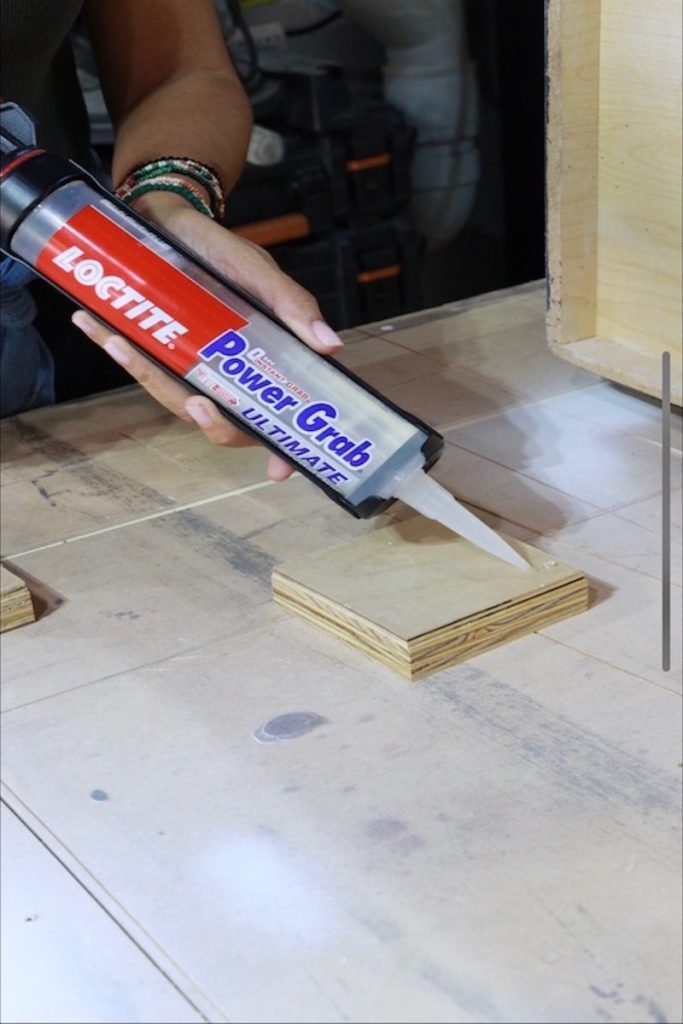
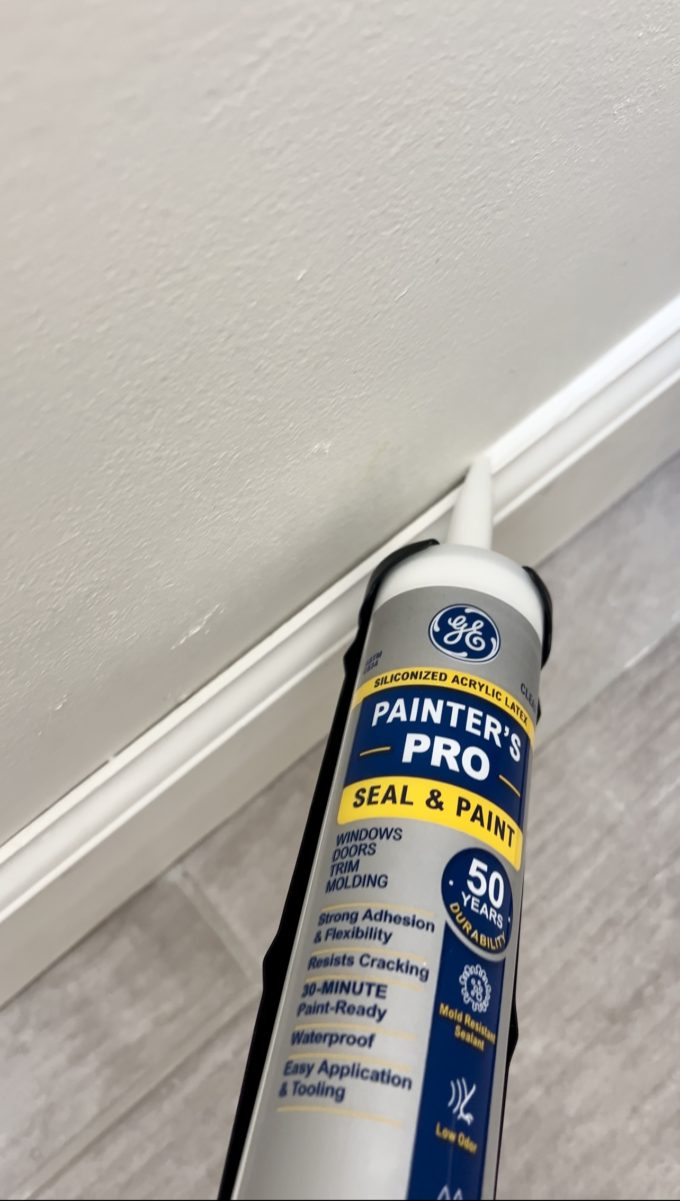
4. Apply caulk at a 45-degree angle. 

Hold the caulk gun at a 45-degree angle and push the top of the tube along the crack you are filling. This allows the product to fill the gap while eliminating air bubbles.

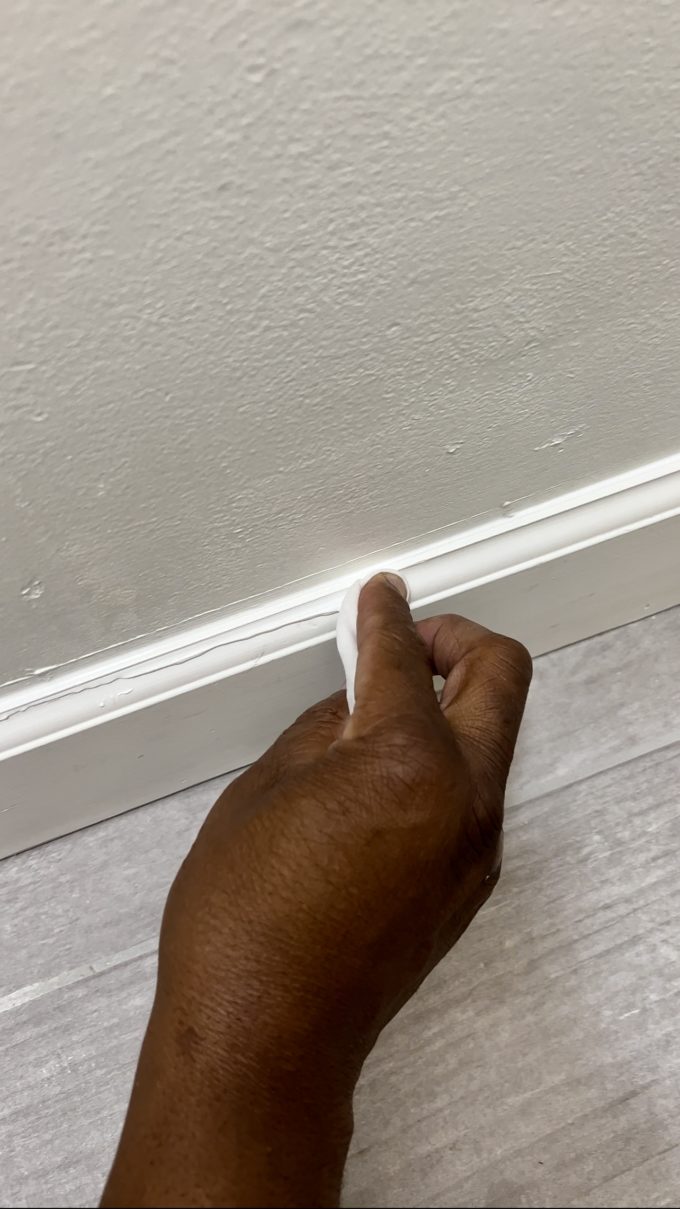
5. Smooth out the finish.

Make sure to wipe away any excess caulk with a caulk finishing tool (Chris likes to use his finger or a lint-free rag) to create a smooth clean bead. If you used painter’s tape, remove it immediately after tooling the bead.

6. Cap the caulk.

Don’t forget to cap off your caulk so it doesn’t dry out while stored away for future use. You can use a caulk saver cap as we do, or simply insert a nail in the opening and wrap the tip in electrical tape.
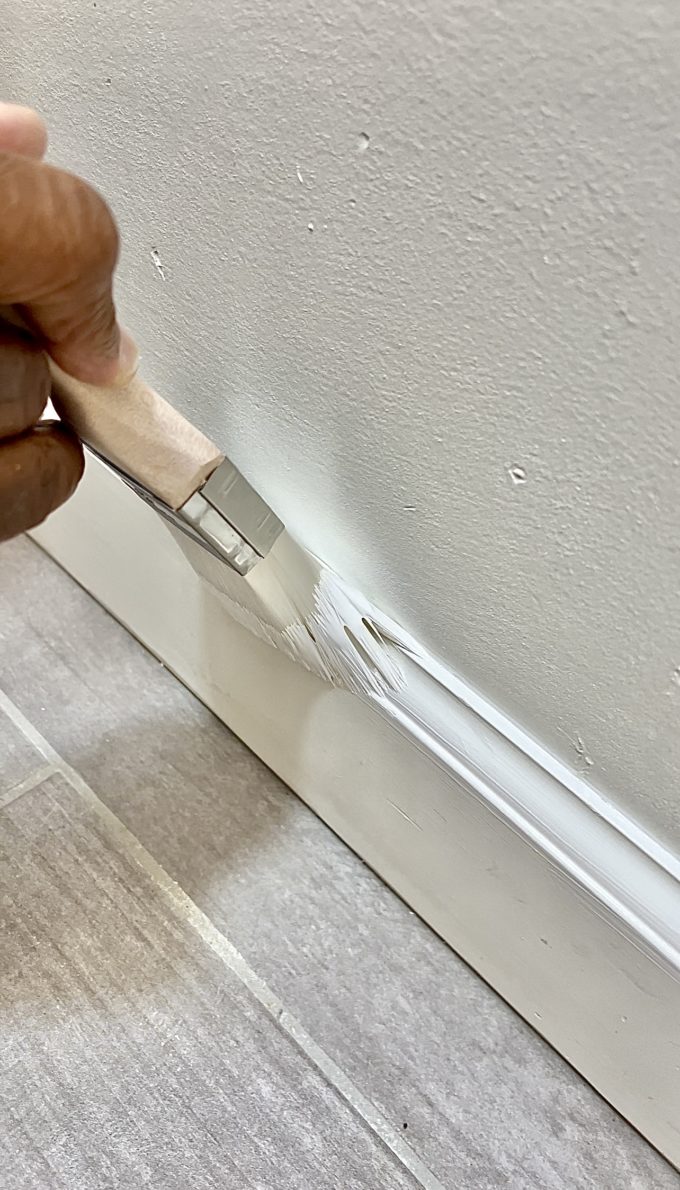
IS CAULK PAINTABLE?

The answer to this question is really quite simple…YES…and no. It all depends on which caulk/sealant you are working with. 100% silicone sealant is not paintable, however, GE-branded Supreme Silicone Window and Door comes in six popular colors you can choose from to match your window trim. Also, their Supreme Silicone Kitchen and Bath is offered in almond, clear and white.

Here are some of the GE-branded paintable caulks to choose from:

Painters Quick Dry Seal and Paint link:

Painters Pro Seal and Paint

Siliconized Advanced Acrylic Sealant


Pro-Tip: Make sure the caulk is fully cured before applying paint. Check the product label for specific cure times for each product. 

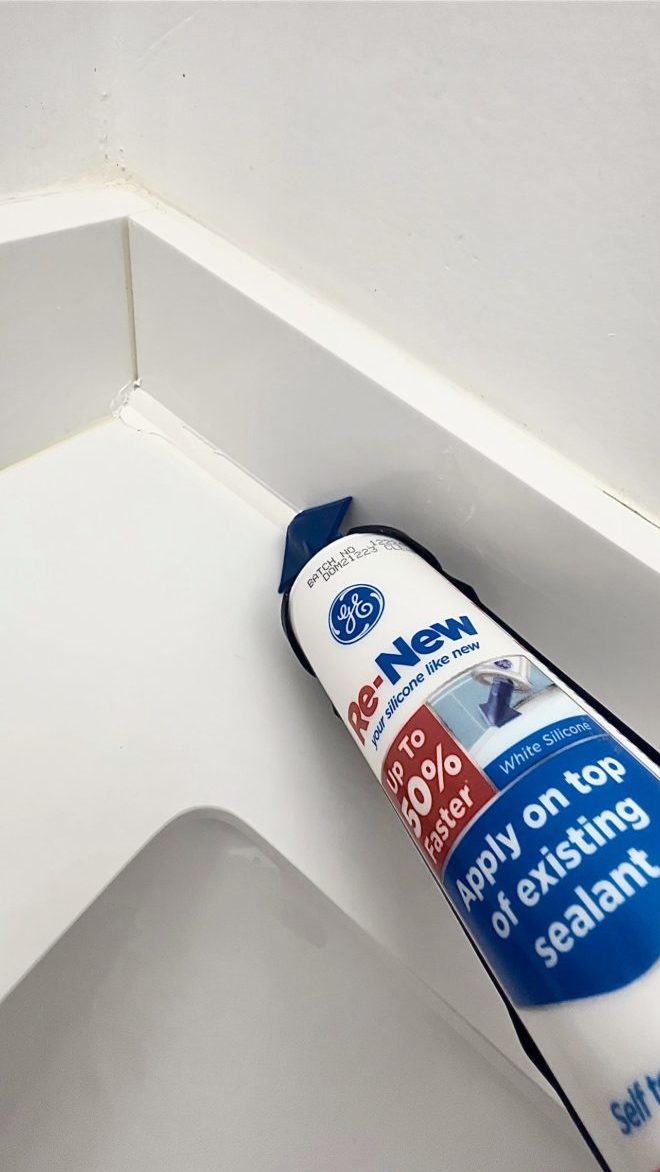
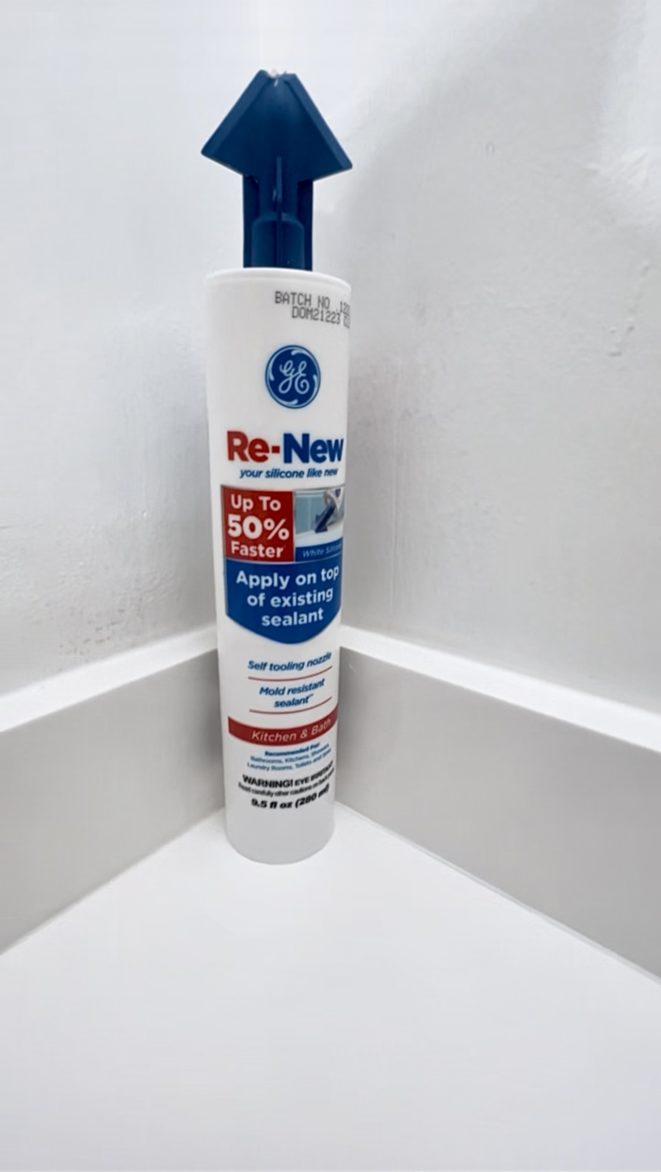
CAN YOU APPLY NEW SILICONE CAULK OVER EXISTING SILICONE SEALS?

Yes! With the help of Re-New by GE Sealants, you can now refresh areas like your kitchen and bath without removing and replacing the existing silicone.

Re-New is a specialty silicone formula that can be applied over any existing 100% silicone sealant to help you save time on your sealing jobs instead of scraping away the old sealant. It is also 100% waterproof and mold-resistant!

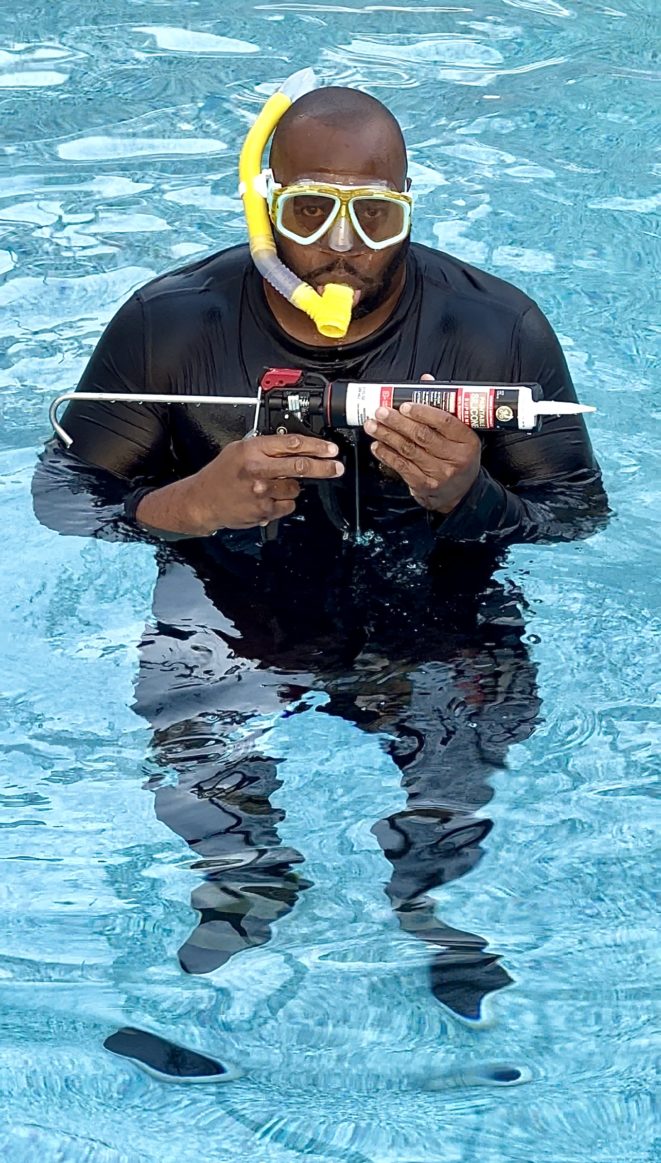
CAN SILICONE CAULK BE USED BELOW WATER LEVEL?

No. Even 100% waterproof silicone sealants should not be applied under water and are not intended for constant under the waterline use.

But I had a whole lot of fun making Chris test this one out in our (unheated) pool in the middle of winter!


Thanks for tuning in to this edition of “Caulk Talk”! Make sure to drop us a comment below with any other caulk questions you may have!


5 Easy DIY Upgrades to Prep for Entertaining Your Holiday Guests

November 10, 2022

The holidays can be stressful as it is, but once you add in entertaining guests at your home it can become down right overwhelming.

With family visiting from out of town this year, I asked Chris to knock out a few easy DIY upgrades in our home to get an early jump start on preparing for our holiday guests.

To make sure he had no excuses to get to work, I headed over to the Home Depot to pick up all of the items needed for each project.

This post is sponsored by The Home Depot

I even grabbed Chris an early Christmas present as a little extra motivation. The Home Depot always has the best tool deals during the holidays!

He’s been talking about upgrading all of his tools to the Milwaukee line for years! I even upgraded his small old tool boxes to this huge Husky Heavy Duty 15 Drawer Rolling Tool Chest!

Chris is definitely a happy man!!!

Now let’s put these new tools to work!

Here are 5 easy DIY upgrades you can knock out this weekend to help prep your home for your holiday entertaining: 

1. UPGRADE YOUR THERMOSTATS TO SMART THERMOSTATS

A smart thermostat is one great upgrade you can do in your home leading into the holidays. 

After researching numerous different smart thermostats’ features, we decided the Nest Learning Thermostat was the way to go for us.

We love its sleek design and that it really is “smart” enough to help track our daily energy usage while learning how we live in our home helping us to save on our energy bill all while still keeping our home feeling comfortable.

It makes controlling the temperature in your home super easy for everyone and it conveniently allows you to adjust the temperature for your guests remotely via your cell phone.

If you’re the one traveling out of town for the holidays this year, a smart thermostat like the Nest is the perfect way to conserve on energy while you are away. And again, it can all be set up and monitored via the app on your smart phone.

2. UPGRADE YOUR OUTLETS TO USB PORT OUTLETS

USB outlets are an easy upgrade that can be installed in your home in just a matter of minutes.

I can’t tell you how many times we’ve taken a trip out of town and forgotten our phone charger adaptor, but had an extra charging cord plugged into the car or thrown in our bag.

With this simple upgrade your guests can easily charge their phones with just their cords while freeing up the 3 prong outlets for other devices.

It’s actually been said that the charge is up to 40% faster this way! I’m loving this simple upgrade so much that I’ve already convinced Chris to convert all of the outlets in our bedroom, living room, and kitchen over to USB’s as well!

3. UPGRADE YOUR LOCKS TO SMART LOCKS

Another quick upgrade on our list was switching out our front door lock to a smart lock system. While at the Home Depot, I purchased the Lockly Vision Smart Lock + Video Doorbell because it is a three-in-one solution.  A doorbell, a smart keypad door lock and a camera all in one!

Adding a smart lock system to your home makes it super easy to lock and unlock your doors from afar with the convenience of your smart phone.

You can also give your visitors a temporary keypad code which gives guests the freedom to come and go as they please without having to worry about needing a key.

Not only does Lockly’s smart keypad make things more convenient for you and your guests, but the HD Video doorbell also adds another level of security to your home, which during the holiday season is a must! 

4. UPGRADE GARAGE DOORS TO SMART GARAGE DOOR OPENERS

Next up let’s talk about garage doors openers.  I know you’re probably thinking “Why upgrade my garage door openers for the holidays?” That’s a great question and I think I have a few great reasons why. 

While shopping at the Home Depot I picked up two of the Chamberlain LED Smart Garage Door Openers for Chris to install before the holiday season in hopes of adding Security, Convenience and Comfort to our home and for our guests. 


The Chamberlain Smart Garage Opener is a decently inexpensive option for those looking to add smart technology to their home. 

With many homes having a guest bedroom above or near the garage, installing an ultra quiet system like the Chamberlain is a great way to add additional comfort to your guests stay.

And with the convenience of the MyQ mobile app, you can easily give your guests access to your home while you are away.

You can even link this system to Key by Amazon for convenient and secure gift and grocery deliveries to your home during the holiday season.

Now do you see why it’s on our holiday prep list?!!!

5. TACKLE THOSE PESKY PAINT TOUCH UPS 

It never fails that when the holiday season approaches we are always doing last minute paint touch-ups around the house just hours before our guests arrive.

But not this year! This year I made sure to grab one of our favorite paints, Behr Ultra Scuff Defense, to help get our (well Chris’) paint party started early!

A smudge here…a chip there…or in our case a whole wall, Behr Ultra Scuff Defense is a paint and primer in one with advanced scuff resistance and outstanding durability for all your high traffic areas.


It totally lives up to all of the hype!

The great thing about these 5 easy DIY upgrades is that you can knock them all out in a weekend! Prepping to entertain this holiday season doesn’t have to be stressful if you just make a point to plan ahead.

Check out our latest Youtube Short of Chris in action knocking out all of these easy upgrades!

Holiday Prep-Part 1

Holiday Prep-Part 2

On to our next project…

This post contains affiliate links for your convenience.

Pin the images below to your DIY boards on Pinterest (just click the Pin button in the top left corner). You can also follow along with us on Pinterest!

Pinterest PIn 5 Easy DIY Upgrades to Prep for your Holiday Guests

Pinterest Pin 5 DIY Upgrades to Prep Your Home for Entertaining Your Holiday Guest

Follow our journey one day at a time on Instagram @ReclaimedKarma


Reduce Reuse and Restore with Loctite

October 13, 2022

So what do you do when you’re finishing up a project and need that one special piece but there’s no money in the budget!?!

Reduce, Reuse and Restore with Loctite!!! 

This post is sponsored by Loctite

As we finished up the renovation of our clients new retail shop in one of the cutest areas of Marietta, Georgia, I knew we needed the perfect storage piece for her new moody and bold bathroom. With no money left in the budget, I convinced Chris to do a little dumpster diving in search for that perfect piece.


By salvaging this old beat up kitchen cabinet from our client’s dumpster, not only were we able to save on our strained budget, but we felt great knowing we were also reducing the waste going into our landfills.  


I then set out to reuse that same kitchen wall cabinet by restoring it as a new chic and cute bathroom storage piece.

First I made sure to clean the cabinet of the 30 years of grease and grime and build up it acquired in its previous life. 


Next I added a countertop by cutting some plywood and trim molding and attaching it to the top of the cabinet with Loctite Power Grab Ultimate Crystal Clear construction adhesive. By using Loctite Power Grab Ultimate Crystal Clear, I eliminated having to fill or sand any nail holes.


Loctite Power Grab is an interior/exterior construction adhesive that is super easy to use and works in all conditions, all weather and on most all materials.

I then painted the piece a bright crisp clean white to add a pop to our client’s otherwise dark and moody space.  


While I was at it, I grabbed some old legs and hardware pulls out of our garage and spruced them up with a touch of champagne gold spray paint. 


Since the piece was originally an upper wall cabinet, it was not originally meant to have legs attached to it.  I reached for the Loctite Power Grab Ultimate Crystal Clear construction adhesive once again and attached some simple blocking pieces I made from scrap wood to the bottom of the cabinet for the legs to screw into. Loctite has a zero second instant grab so I was immediately able to attach the legs. 


Last but not least…with Loctite’s help I added one more pop of fun to this piece with these adorable gold 3d butterflies.


I love that this Loctite product dries crystal clear so it actually looks like the butterflies are fluttering up the piece. 


All that was left to do was deliver this cutie to its new home. 


Shout out to Loctite for this product! It really helped us bring this salvaged piece to life! Loctite makes an array of products perfect for big construction jobs and specialty DIY projects like this cute little cabinet here!!!


On to our next project…

My-Signature-300x160.png

This post contains affiliate links for your convenience.

Follow our journey one day at a time on Instagram @ReclaimedKarma