Let’s Talk Caulk
Let’s Talk…Caulk!
Chris and I had the pleasure of teaming up with GE Sealants to tackle some of the most common and not-so-common caulk/sealant questions out there.
This post is sponsored by GE Sealants [AD]
Caulk, which is a form of a sealant, is used to seal gaps and fill in cracks to help form a strong bond between different building materials. Caulking helps to prevent fluid, air, and even unwanted pests from getting through. Chris and I also often apply sealants like caulk to add a clean finish to our renovation projects.
Here are some frequently asked questions about GE-Branded Caulks and Sealants
ARE THERE DIFFERENT TYPES OF CAULK FOR DIFFERENT JOBS?

Absolutely! Choosing the best sealant for your job matters! Some caulk/sealants are more flexible and durable than others and adhere better to different materials. Some are waterproof and even paintable, and some simply are not.

Here are 5 different types of GE Caulks/Sealants:
- 100% Silicone Sealant– These sealants are flexible and waterproof. They are best used in areas exposed to water and humidity like kitchens, bathrooms, windows, doors, and exterior jobs. GE Sealant has many silicone caulk options that are 100% waterproof.
- Latex Caulk-These caulks are best used for indoor drywall, wood, and masonry projects. They are often paintable and can come in many different colors.
- Siliconized Acrylic Caulk-This is a hybrid silicone. It kinda gives you the best of both worlds. They are paintable like a latex caulk, but they are also mold and mildew-resistant, waterproof, and flexible like a silicone sealant.
- Insulating Foam Sealant -Best for window jambs, exterior pipes, and wiring or plumbing penetrations. They can be used to fill cracks in foundations and are great for sound dampening as well.
- Specialty Silicone Sealant– GE Sealants offers Advanced Metal Silicone 2 Sealant and Advanced Concrete Silicone 2 Sealant which are the perfect go-to 100% waterproof 100% silicone products when you are looking for a sealant to tackle your gutter, metal, or concrete sealing projects.
HOW DO YOU APPLY CAULK?

Here are 6 simple steps to follow:
1. Choose your caulk wisely!
First things first, start by choosing the right sealant product for your job. As explained above, there are many different types of GE Sealants to choose from.
For example, if your project is in a wet area like a kitchen or bath, you’ll want to grab a GE-Branded Kitchen and Bath Silicone for the job, as the objective here is to prevent water getting into unwanted areas like the seam between your sink and countertop.
If you are trying to insulate an area like a window or door, caulk won’t work here. Instead, you’ll need to grab a GE-Branded Insulating Foam Sealant. Whether you are looking for 100% Silicone, a Hybrid Silicone, an Acrylic paintable caulk or a Speciality item GE Sealants has it all!
2. Clean and prep your surface.
Make sure to remove any existing old sealants and take a clean lint-free cloth to remove all dirt from the area you intend to caulk.
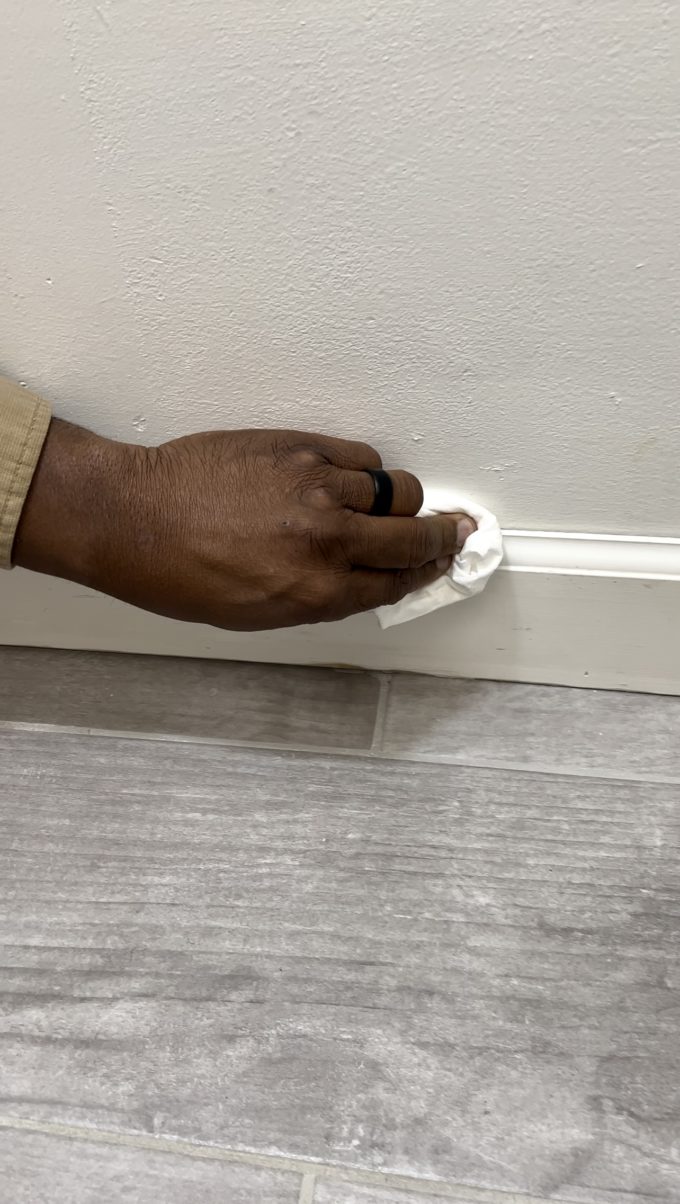
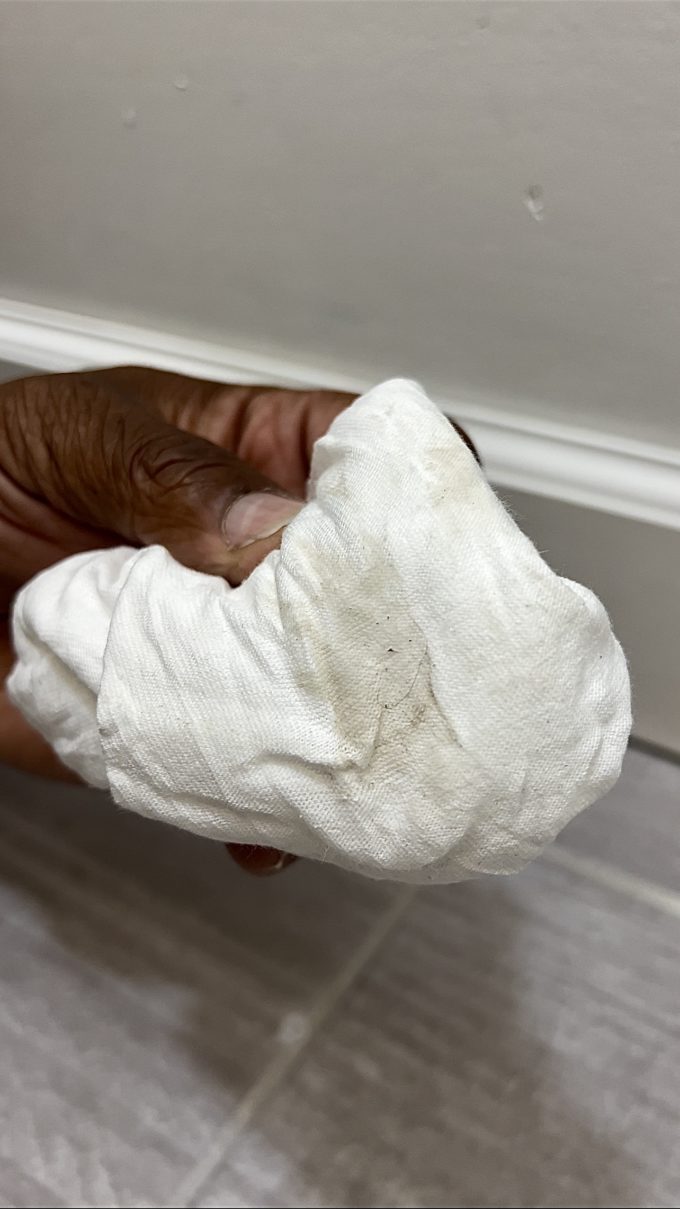
Pro Tip: If you don’t have a steady hand, you may also want to apply painter’s tape on either side of the area to make sure the caulk is applied in a clean line. Just make sure to remove the painter’s tape before the caulk starts to dry.
3. Prep your caulk cartridge.
Make sure to prep your cartridge by first cutting the tip.
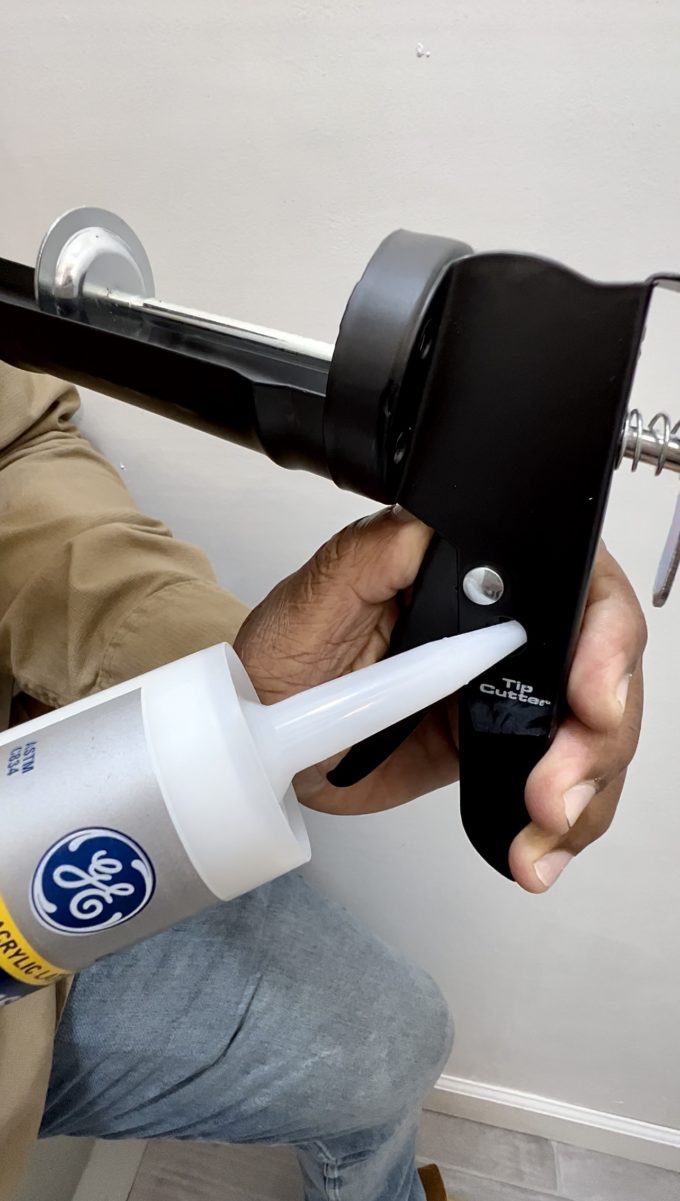
Then poke a hole in the inner seal of the cartridge to enable the flow of the product.
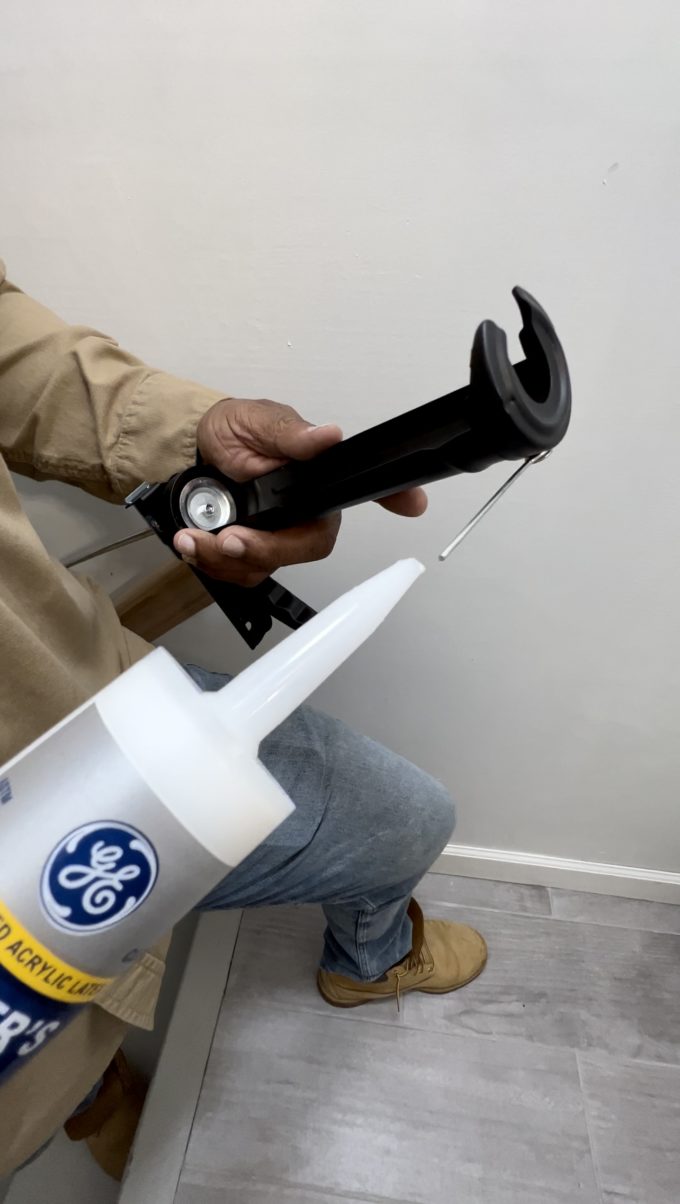
All before loading the cartridge into your caulk gun.
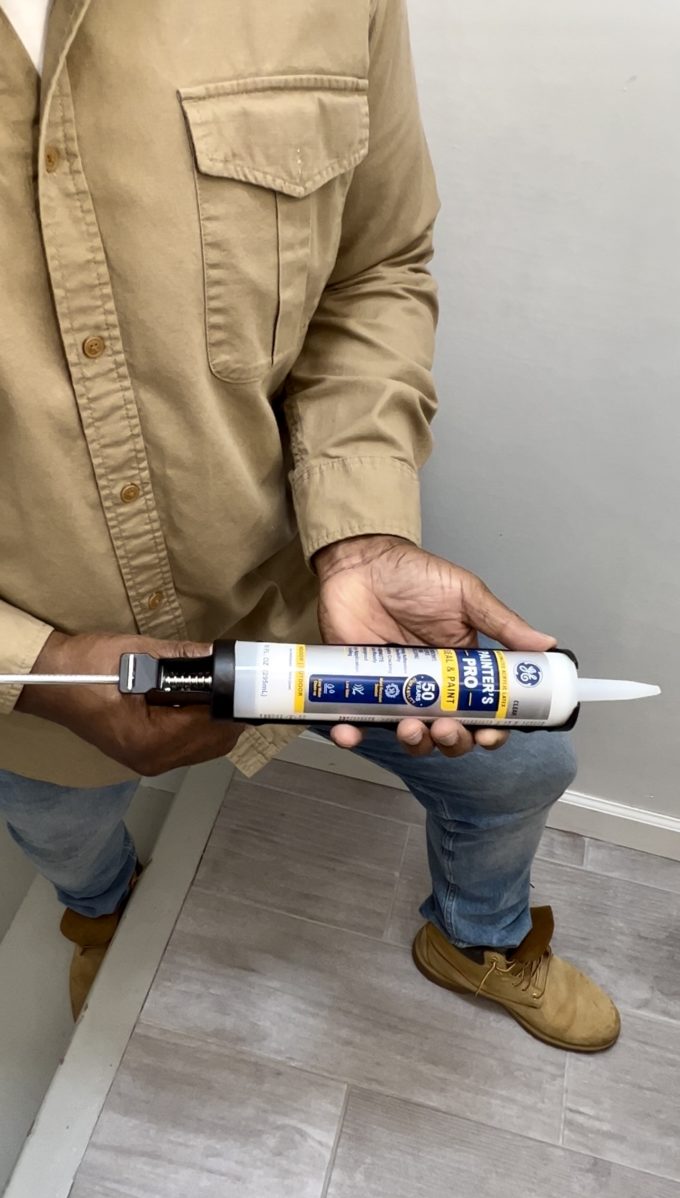
Pro Tip: Did you know that caulk guns come equipped with their own tip cutter and puncture tool attached right to the gun?
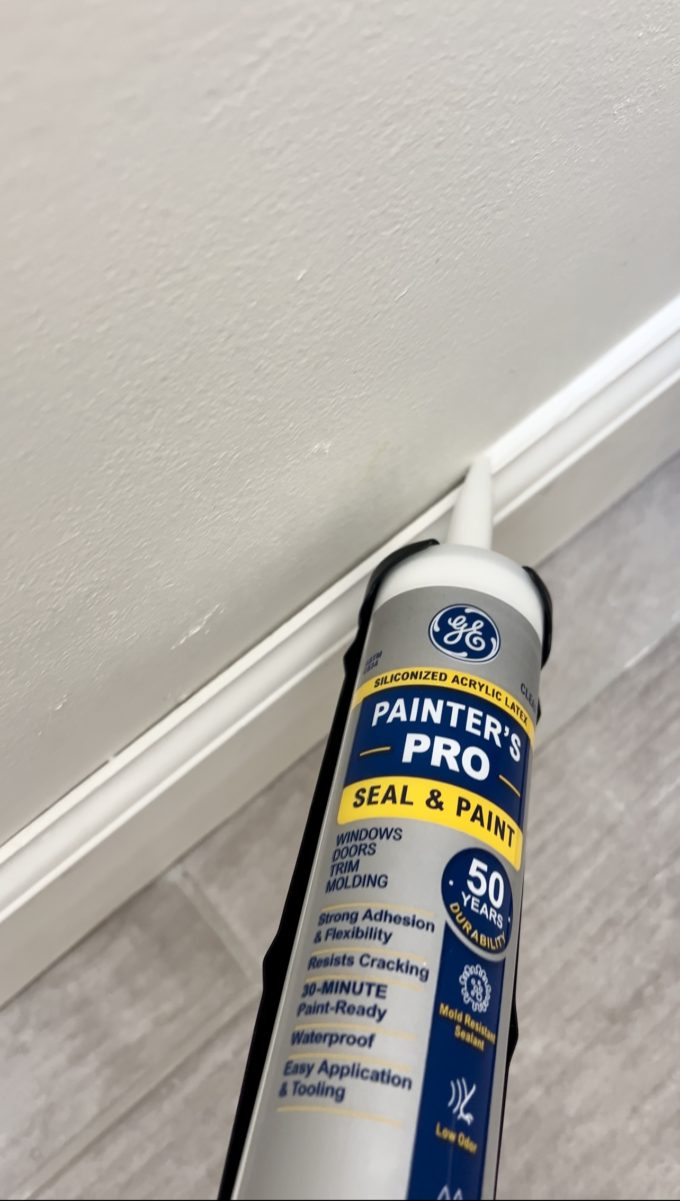
4. Apply caulk at a 45-degree angle.
Hold the caulk gun at a 45-degree angle and push the top of the tube along the crack you are filling. This allows the product to fill the gap while eliminating air bubbles.
5. Smooth out the finish.
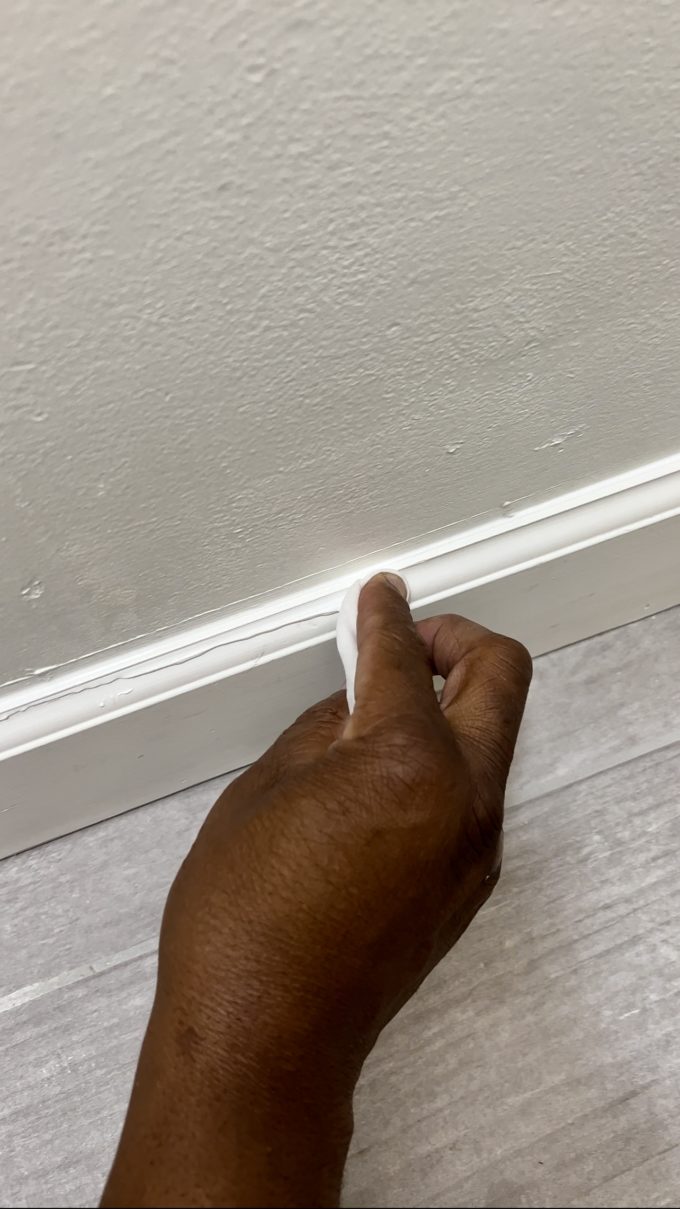
Make sure to wipe away any excess caulk with a caulk finishing tool (Chris likes to use his finger or a lint-free rag) to create a smooth clean bead. If you used painter’s tape, remove it immediately after tooling the bead.
6. Cap the caulk.
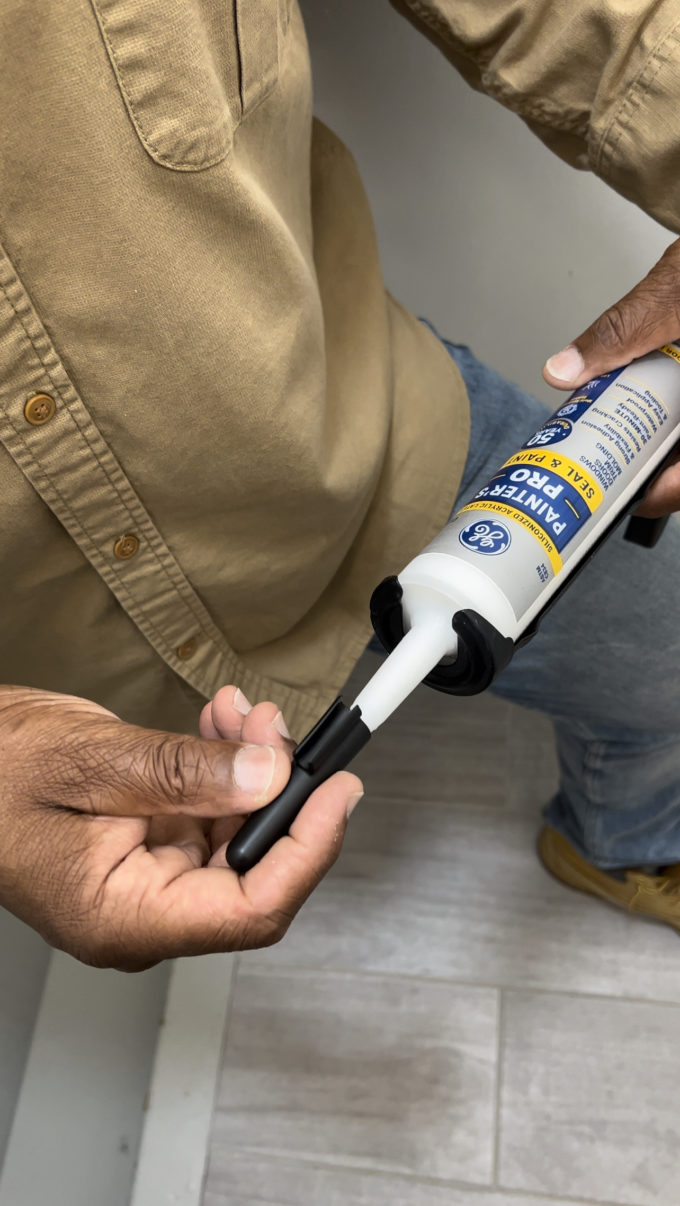
Don’t forget to cap off your caulk so it doesn’t dry out while stored away for future use. You can use a caulk saver cap as we do, or simply insert a nail in the opening and wrap the tip in electrical tape.
IS CAULK PAINTABLE?

The answer to this question is really quite simple…YES…and no. It all depends on which caulk/sealant you are working with. 100% silicone sealant is not paintable, however, GE-branded Supreme Silicone Window and Door comes in six popular colors you can choose from to match your window trim. Also, their Supreme Silicone Kitchen and Bath is offered in almond, clear and white.
Here are some of the GE-branded paintable caulks to choose from:
Painters Quick Dry Seal and Paint link:
Siliconized Advanced Acrylic Sealant
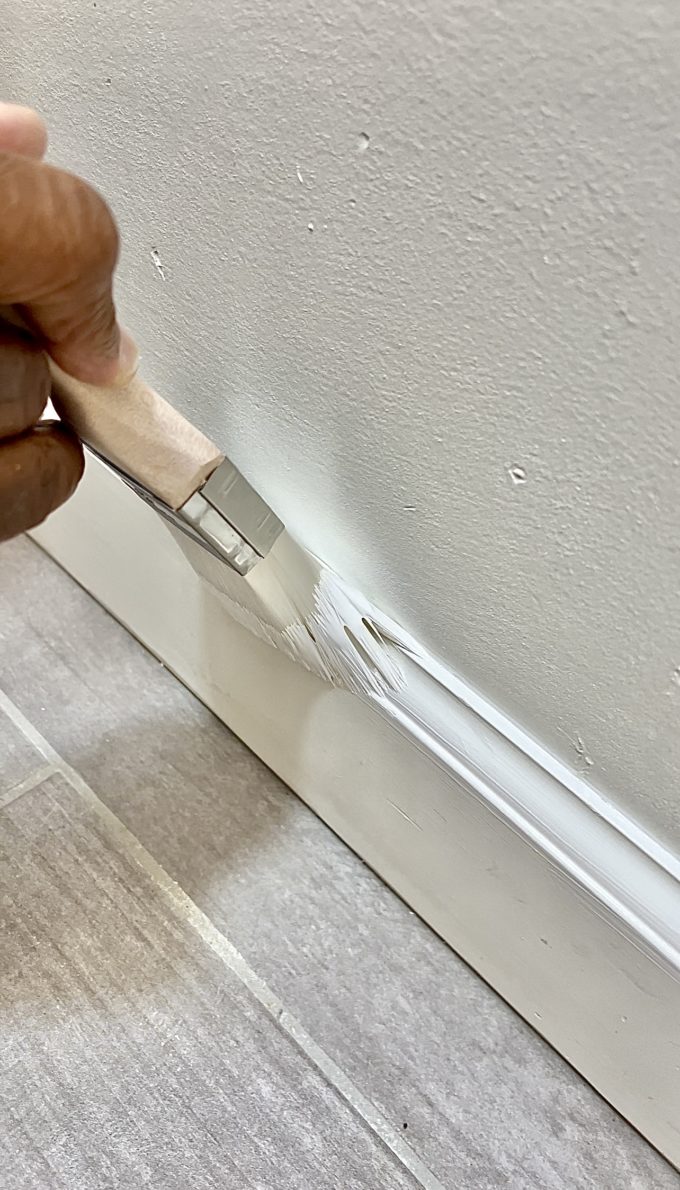
Pro-Tip: Make sure the caulk is fully cured before applying paint. Check the product label for specific cure times for each product.
CAN YOU APPLY NEW SILICONE CAULK OVER EXISTING SILICONE SEALS?

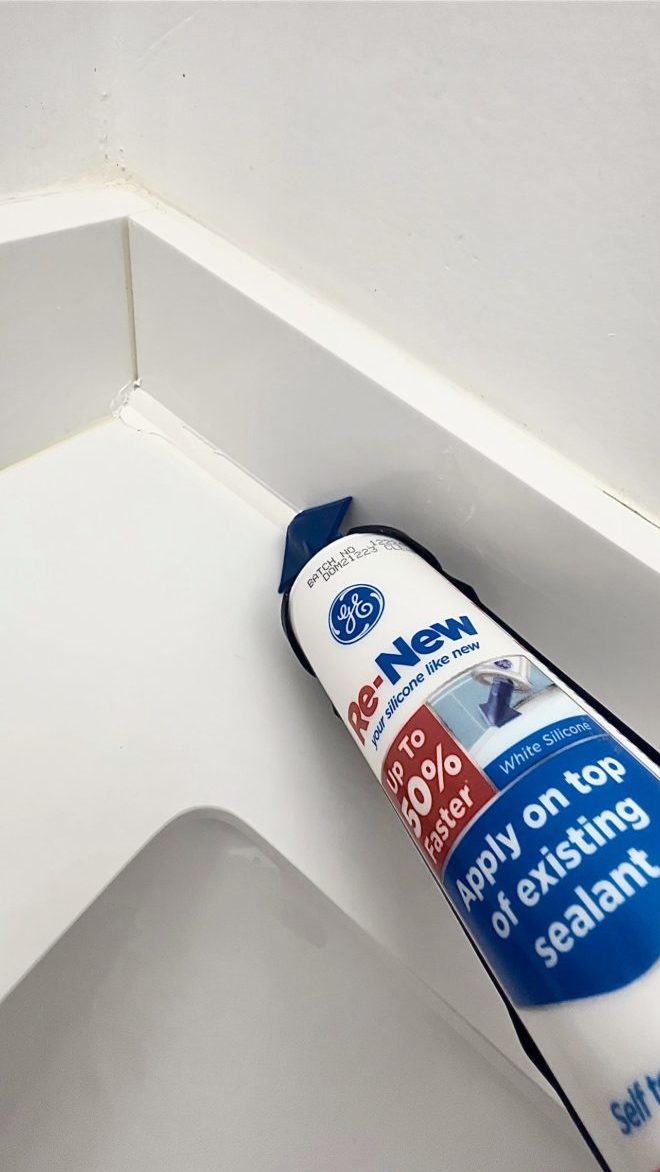
Yes! With the help of Re-New by GE Sealants, you can now refresh areas like your kitchen and bath without removing and replacing the existing silicone.
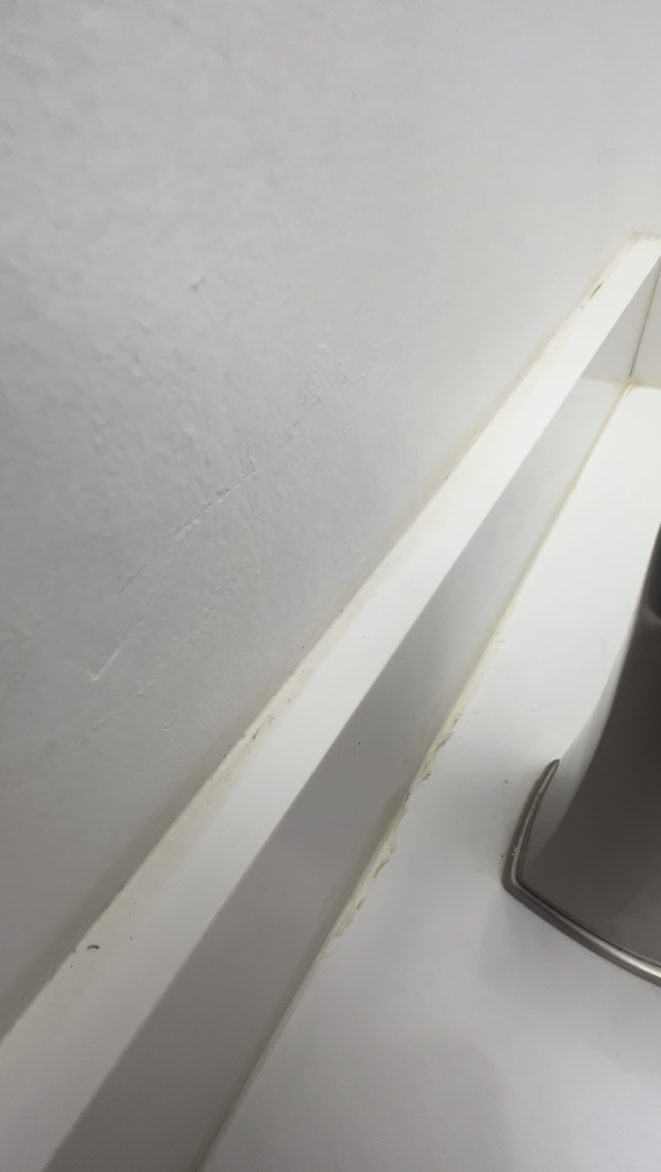
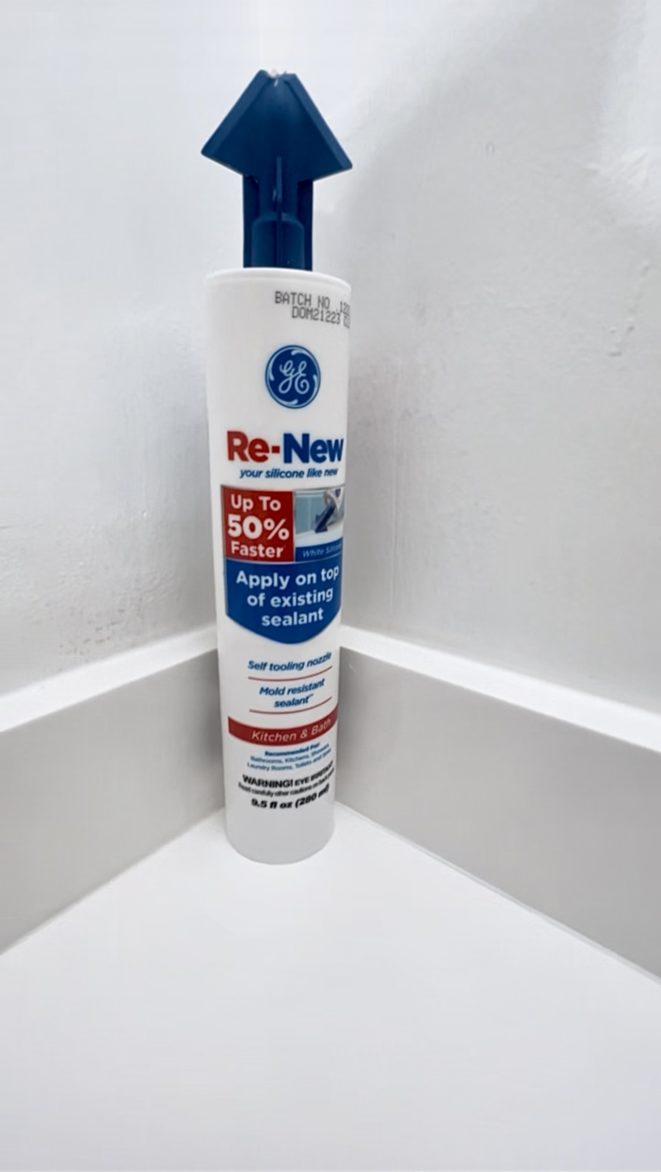
Re-New is a specialty silicone formula that can be applied over any existing 100% silicone sealant to help you save time on your sealing jobs instead of scraping away the old sealant. It is also 100% waterproof and mold-resistant!
CAN SILICONE CAULK BE USED BELOW WATER LEVEL?

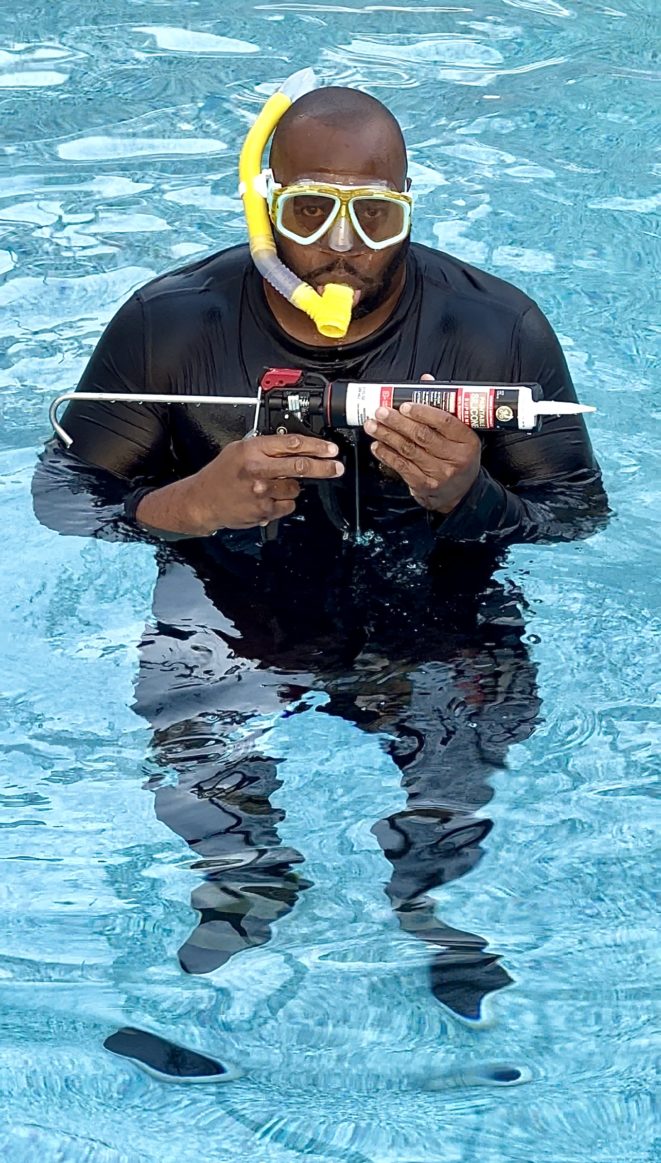
No. Even 100% waterproof silicone sealants should not be applied under water and are not intended for constant under the waterline use.
But I had a whole lot of fun making Chris test this one out in our (unheated) pool in the middle of winter!
Thanks for tuning in to this edition of “Caulk Talk”! Make sure to drop us a comment below with any other caulk questions you may have!


