


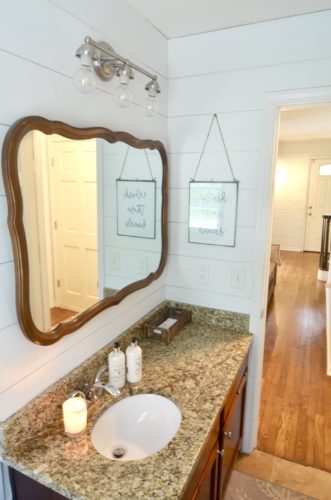
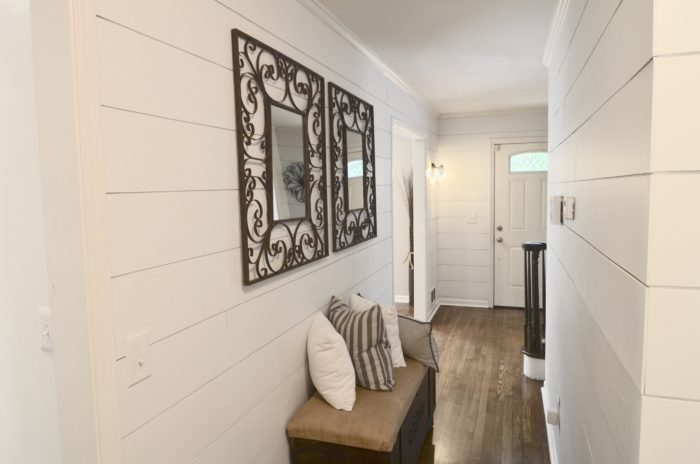
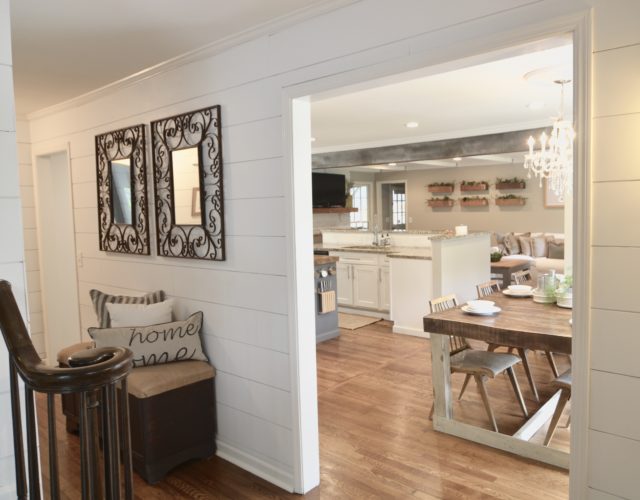
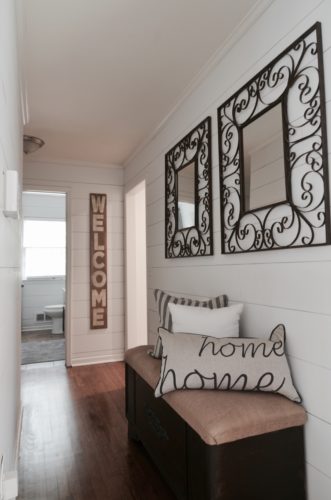
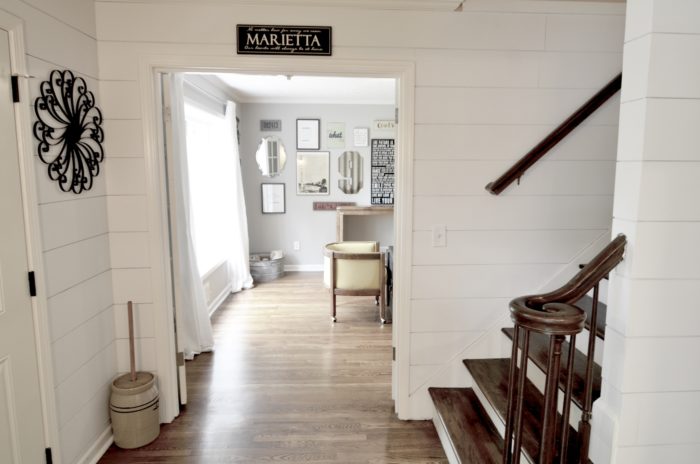
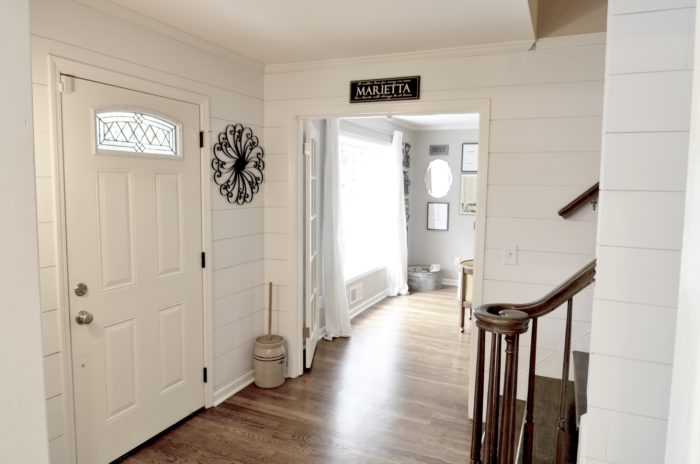
When we bought our home a few years back, Chris and I agreed that one of the first things to go would be the TERRIBLE mudding and paint job the prior “contractors” did throughout the whole house. Well…nearly three years later…we have not only remodeled the entire first floor of our home, but we finally installed “Shiplap” over our hallway, bathroom and staircase walls. No more bumpy, dingy looking walls! I’m loving the fresh, clean, bright new look this DIY Shiplap technique gave us…and all for under $250! You can’t beat that!!!
Here are the tools and supplies you will need….
TOOLS & SUPPLIES:
- 4’x8′ sheets of 1/4″ Plywood ripped down to your preferred width
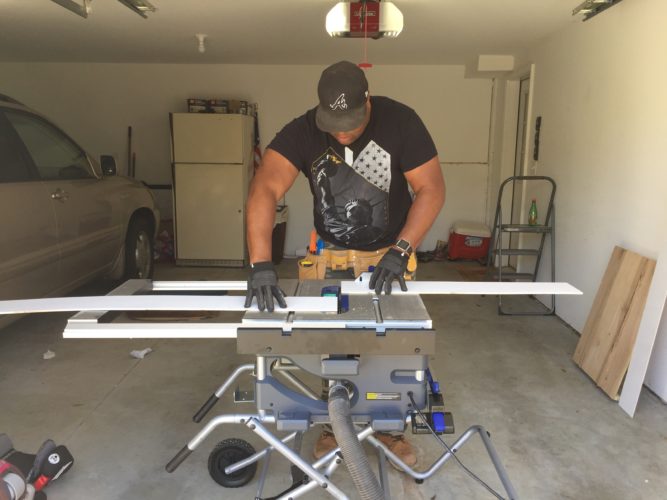
- Table Saw (or hand held circular saw) to rip your boards to perfect size
- Chop Saw or Miter Saw to make your cuts
- Jig Saw to do your cut outs for your electrical outlets etc…
- Brad Nailer
- Brad Nails for your gun
- Contractors glue
- A level (you don’t want your boards crooked)
- A Spacer (Quarters or Steel Flat Plate about 1/8th inch thick worked great for us!)
- Speed Square (great for making perfect cuts)
- Measuring Tape
- Pencil
- Wood Filler (for the nail holes)
- Orbital Sander (for those edges and wood filler)
- Sand Paper (250 grit)
- Your favorite Roller (I love )
- Primer (I used)
- Paint (I used)
- Caulk (for all those corners & edges)
**An extra set of hands always helps!
STEP ONE:
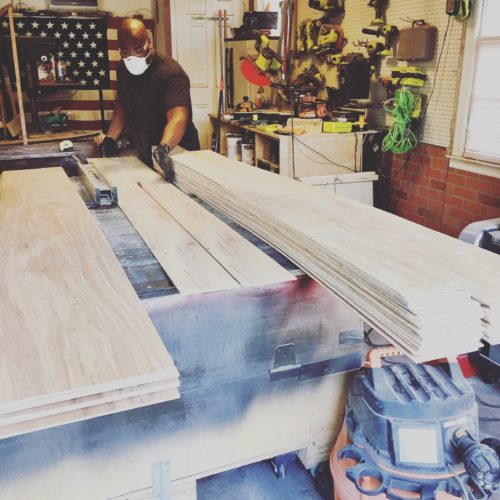
Measure your space and pick up the correct amount of plywood at your local hardware/lumber store. We decided to go with 4’x8′ sheets of 1/4″ Plywood and we had our local hardware store rip each sheet down into three 16″ boards (Most stores will rip your boards down but for safety reasons they wont go much smaller than 12″).
Once we got home, we used our table saw to rip each 16″ board in half into two 8″ boards.
STEP TWO:
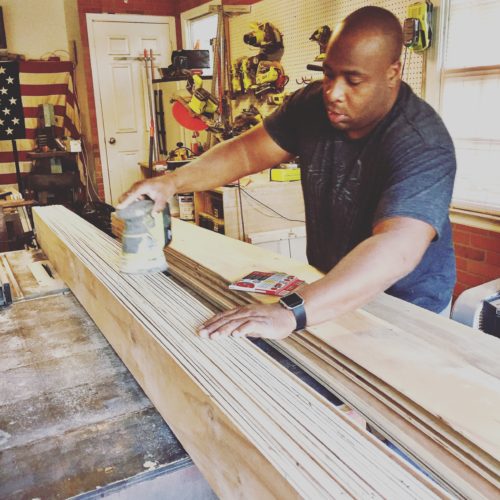
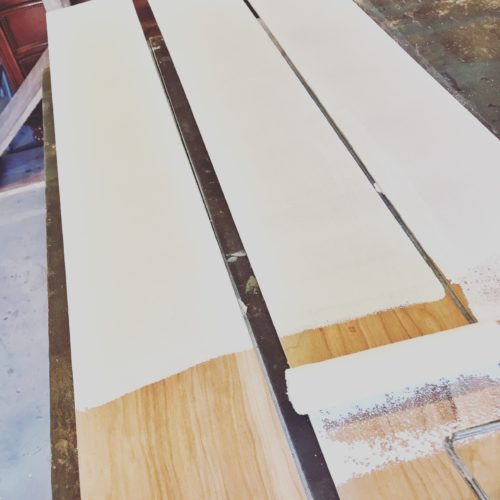
Sand the edges of your boards so they don’t look frayed, they don’t catch on people’s clothes and they don’t look like plywood when installed.
*It is much easier to sand your plywood prior to installation!
*We stacked our boards and sanded them all at one time. Very simple!!!
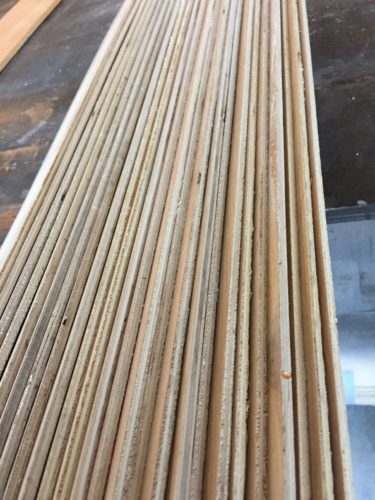
Before
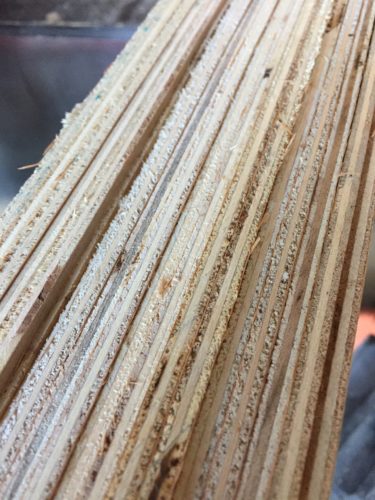
After
STEP THREE:
Prime all of your board edges before installing (we decided to prime the entire board including the edges before installing) your boards on the wall. This will save you from having to figure out how to get your paint brush to fit in between each of your wood boards when you notice that your edges are brown and your shiplap is white.
STEP FOUR:
Prime the walls you will be covering prior to installing your boards. Before you start to install your shiplap, if the walls you are covering are not white/off white etc…think about painting the entire wall/area you will be covering with a coat or two of white primer/paint. If you skip this step, you will see the wall color peaking through the gaps between the boards.
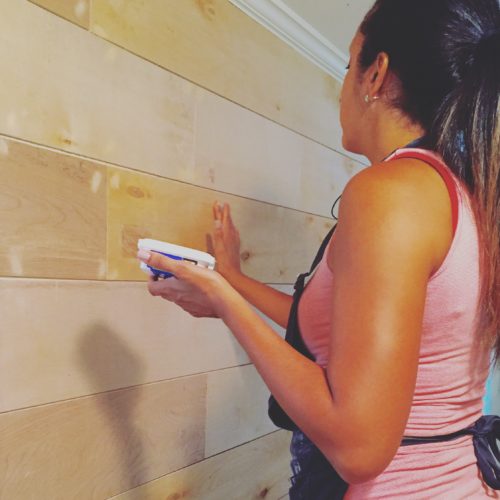
STEP FIVE:
It’s time to install!
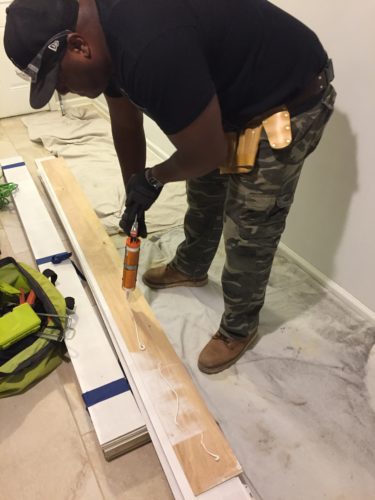
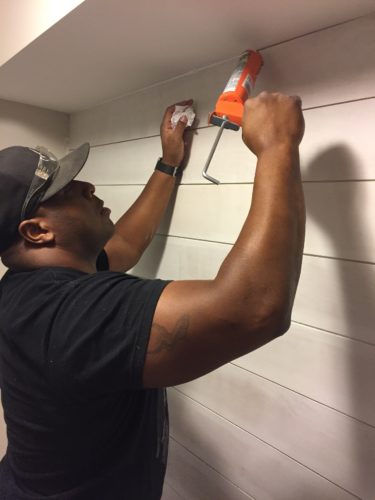
You’ll need your contractor’s glue as extra precaution to make sure your shiplap is there to stay…
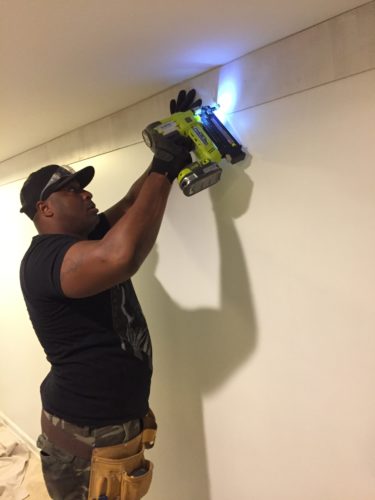
You’ll need your Brad Nailer and Brad Nails for reinforcement…
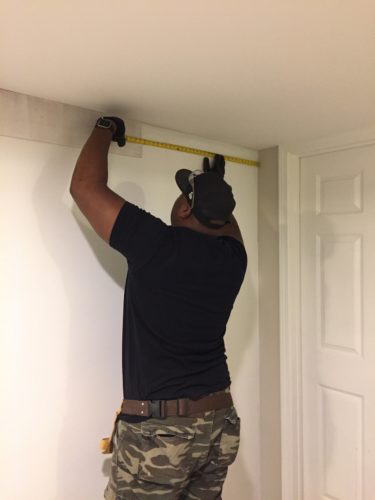
You’ll need measuring tape to measure the cuts you’ll need to make…
You’ll need your Chop Saw or Mider Saw to cut your boards down to fit your wall…
You’ll need a “divider” to make an even gap between each row of boards. Some people use quarters, but we have found using a 1/8th inch thick steel flat plate we picked up at our local hardware store has worked the best for us…
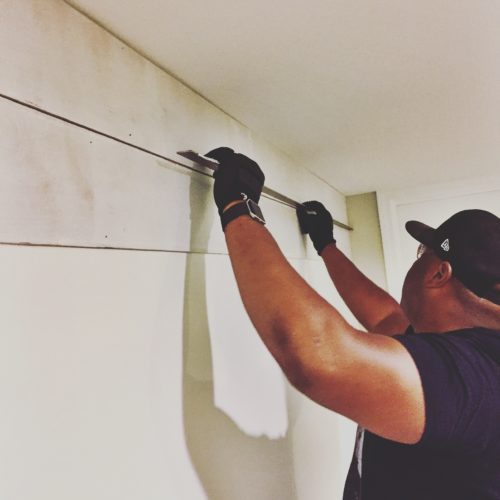
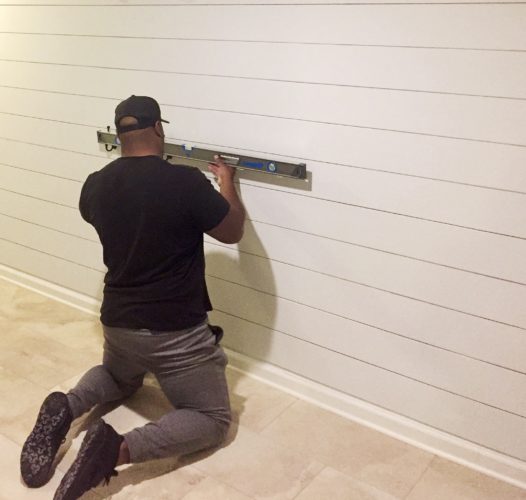
You’ll need a level to make sure your boards are installed straight…
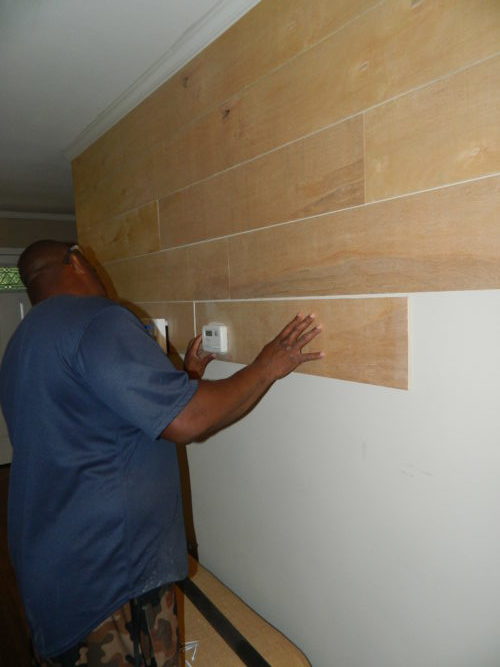
*You’ll need a Jig Saw to cut around those pesky outlets, doors and window panes…
STEP SIX:
Fill each nail hole with wood filler.
Helpful hint (I figured this out after my first shiplap job) Purchase a tub of 3M Patch Plus Primer Spackling Compound from your local hardware store. It will save you a ton of time. It will fill your nail holes and it goes on white and matched the primer and white paint perfectly.
STEP SEVEN:
Grab your orbital sander or a piece of 250 grit sand paper and get to sanding. Sand down any excess filler or imperfections you may see.
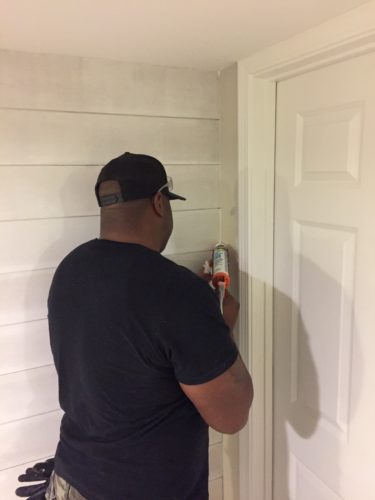
STEP EIGHT:
Caulk all your corners and edges…9 times out of 10 your walls will not be straight so caulk will become your new best friend!
STEP NINE:
Paint (or Prime & Paint if you didn’t prime prior to install) all your shiplap walls with your preferred color choice. I went with Sherwin Williams “Extra White”.

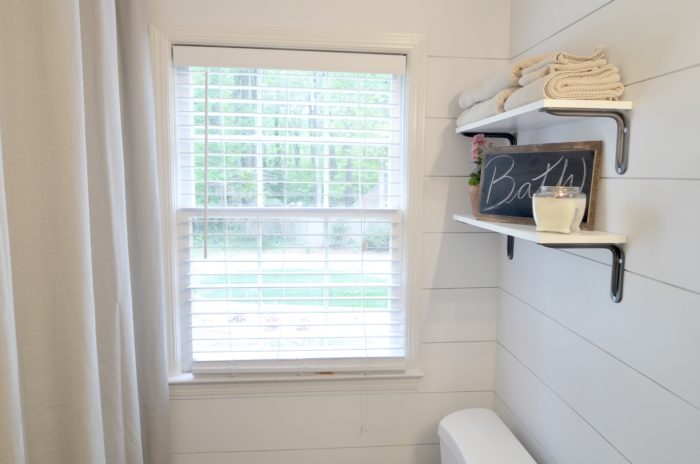
STEP TEN:
Admire your work!

*After ripping your plywood pieces down to the desired size, sand the edges of each ripped piece of plywood before installing. We placed all of our wood planks together and sanded all of their sides at one time. It was quick and easy.
*Prime all of your board edges before installing (we decided to prime the entire board including the edges before installing) your boards on the wall. This will save you from having to figure out how to get your paint brush to fit in between each of your wood boards when you notice that your edges are brown and your shiplap is white.
*Before you start to install your shiplap, if the walls you are covering are not white/off white etc…think about painting the entire wall/area you will be covering with a coat or two of primer. If you skip this step, you will see the wall color peaking through the gaps between the boards.
CHECK OUT OUR DIY SHIPLAP “HOW TO” VIDEOS FROM START TO FINISH!
All and all it was a pretty simple (but tedious) project. We loved the results and had to stop ourselves from shiplapping the entire house from floor to ceiling! 😉
Now on to our next project!!!
Creatively Yours…

“Custom…Reclaimed…Restored…Remodeled. We do it all! Send us a note.”


1 Comments
Measure your space and pick up the correct amount of plywood at your local hardware/lumber store.